littergitter Silver Post Medal for All Time! 418 Posts
August 9, 2007
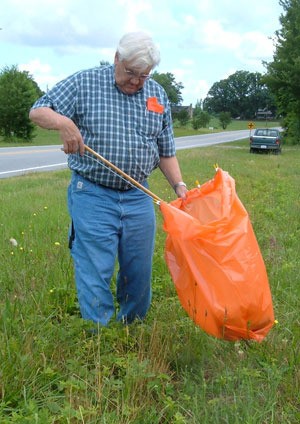
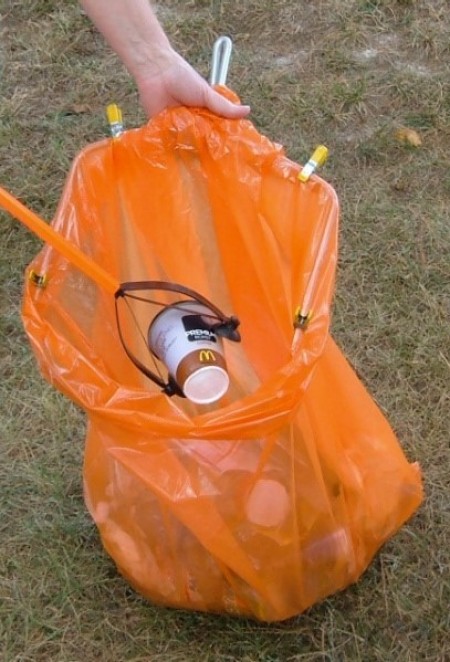
Bag holder for picking up litter!
To make the holder you need:
Advertisement
36" X 1/4 inch aluminum rod
37" X 1/4 inch vinyl tubing
4 mini size heavy-duty metal spring clamps
We found all of these materials at Home Depot.
Instructions for making the bag holder:
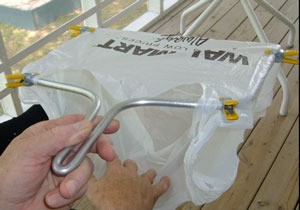
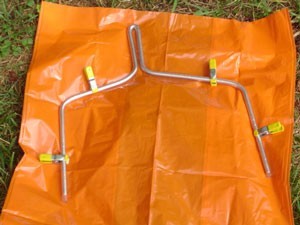
Insert the aluminum rod into the vinyl tubing. A quick way to do this is with the use of an air compressor. Blow air into the tubing while someone else pushes the rod into the tubing. Don't turn the rod loose though as it will shoot out like an arrow. Press the rod up into the tubing about 1/2 inch so the tubing will overlap the sharp ends of the rod. The tubing gives the clamps grip and makes the holder more comfortable to handle.
Using a vice, bend the rod in the middle. Come down approximately 4 inches and bend to the right and to the left. Then bend down 7 inches from the tips. We shaped it like this so it will fit most any size bag. The handle is necessary as it aids in controlling the opening and closing of the bag. It also serves as a brace which makes the holder strong and durable.
Advertisement
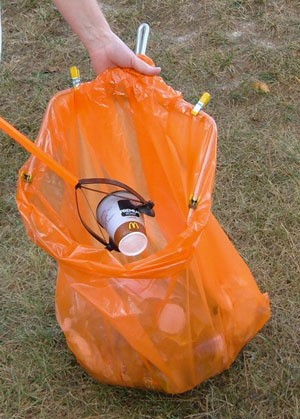
To put the bag on the holder, overlap 3-5 inches of the top of the bag over the rod. Cuff the part of the bag that is not attached to the holder. Clamp the bag to the holder as shown in the picture. You can use the full opening of the bag or make the opening small by gathering the bag at the handle. Wrap the excess around the rod. Using the 4 clamps, clamp at top and at tips of the rod. We don't have any problem with the clamps coming off if they are put on tightly.
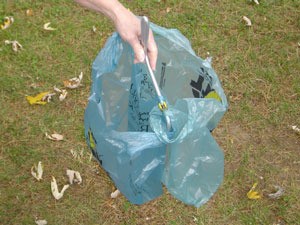
To put a small shopping bag on the holder, put the rod down into the bag and stretch the back of the bag over the holder and clamp into place. This works well for picking up a small amount of litter. You can put two bags on the holder by attaching a bag to the back of the holder using the same clamps.
Advertisement
When doing my daily walks, I put 2 Wal-mart bags on the holder and put trash in one and recyclables in the other. I always take extras bags with me including a large trash bag just in case I run into a more litter than expected. Then, all I have to do is switch to the large bag.
littergitter Silver Post Medal for All Time! 418 Posts
November 29, 2020
There is a great need for volunteers to help clean up our roads these days. I have found that the winter months are the best time for me as the grass is short and the litter is so accessible and there are no biting insects to bother me.
 Bag holder for picking up litter!