social

Making Crochet Bangles


Silver Post Medal for All Time! 293 Posts
January 18, 2015

wearing two bangles
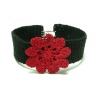
If you love jewelry and you know how to single crochet, then this is the pattern for you. With regular worsted weight yarn and a mere 15 minutes start to finish, you can create a one of a kind bangle bracelet.

Advertisement


Why not make one for every outfit? They require very small amounts of yarn. You can use up those scraps and be a frugal fashionista at the same time. Enjoy!
These are very easily adjusted for various sized wrists. Simply chain more or less when you begin. This pattern was written with an average 7 1/2" woman's wrist in mind.

Total Time: 15 minutes

Yield: The more the merrier!:)

Source: Trying to remember a picture of a bracelet I saw online a long time ago. And a love of jewelry!

Supplies:

  • "g" crochet hook
  • tiny amounts worsted weight #4 yarn
  • scissors
  • embroidery needle for weaving in ends

Steps:

  1. This pattern is meant to be crocheted very tightly. This is in order to achieve a "stiff" bangle.
  2. finished blue bangle
     
  3. Chain 45.
  4. chain
     
    Advertisement

  5. Being careful not to twist your chain, join with a slip stitch to your first chain. This creates your ring. This ring will look too big for your wrist at first. Don't worry, once it's finished it "shrinks" somehow.:)
  6. connecting chain
     
  7. Ch 1, sc in same space as ch. Sc in each ch around until you reach the end. Join with a slip stitch in the back loop of your first sc.
  8. Ch 1, sc in same space and back loop only of each stitch around. See? Only the back loop. The reason for this is that it will leave a nice ridge and give your bangle a more textured look.
  9. single crochet in each chain stitch
     
    Advertisement

  10. Repeat last row 2 more times.
  11. repeat last row two times
     
  12. Now please take the time to weave in your starting end. Make sure you do this on the "wrong" side, the side without the ridges.
  13. Fold your strip in half, see? Be sure the ridges are on the outside. This is the pretty side that you want to show when complete.
  14. fold in half with ridges on outside
     
  15. Ch 1, slip stitch through "both" edges. You will be using only the back loop of the sc edge, and the single loop of your starting edge.
  16. slip stitch through back edges
     
    Advertisement

  17. Continue this all the way around until you have closed up your entire seam.
  18. continue until edges are joined
     
  19. Fasten off, weave your end on the inside of your bangle with your embroidery needle.
  20. fasten off and weave end in on inside
     
  21. See how nice?
  22. two finished bangles
     
  23. See your ridges?
  24. view of ridges
     
  25. Mix and match.
  26. wearing four different bangles
     
    Advertisement

  27. These would also make great gifts.
  28. holding the four bangles
     
  29. Enjoy!:)
  30. bangles arrayed on white surface
     
Read More Comments

Videos

August 27, 2015

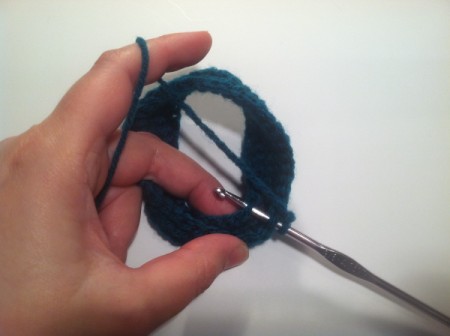
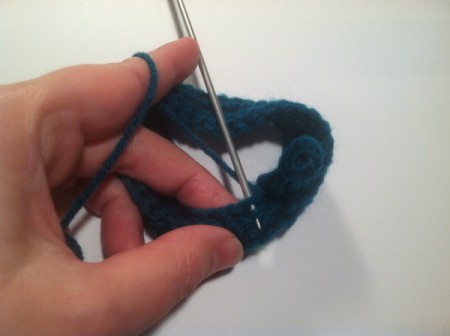
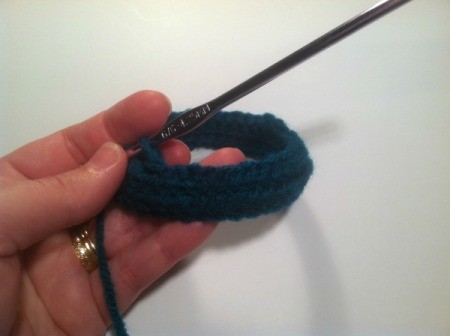
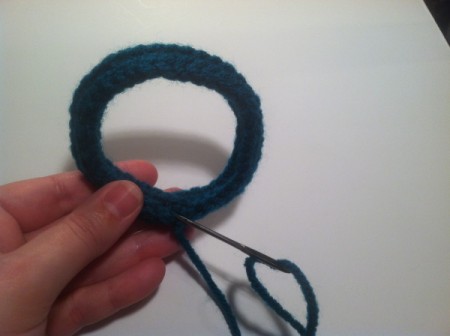
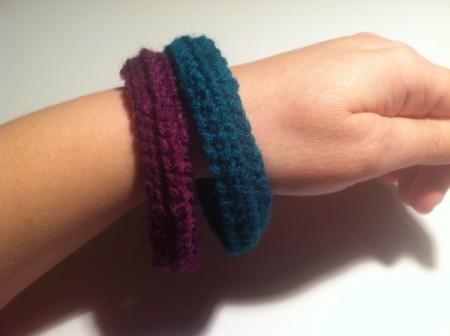
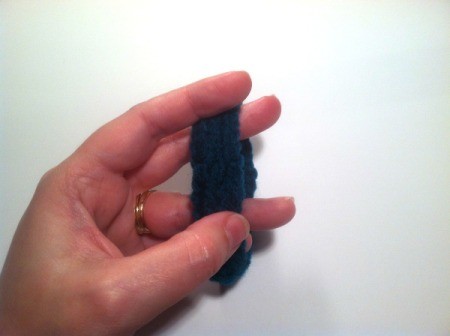
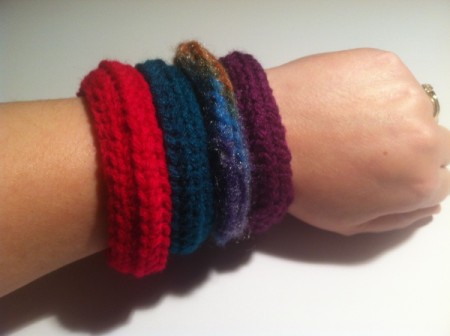
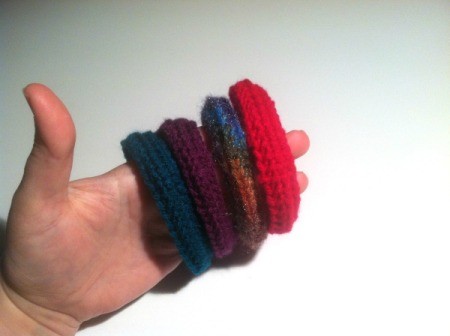
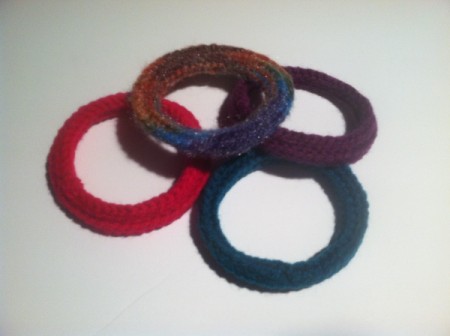
These crocheted bangles are quick and easy. Learn how to make them in this short video.

In This Page
Categories
Crafts Crochet PatternsDecember 1, 2016
Pages
More
🐰
Easter Ideas!
🌻
Gardening
🍀
St. Patrick's Ideas!
Facebook
Pinterest
YouTube
Instagram
Categories
Better LivingBudget & FinanceBusiness and LegalComputersConsumer AdviceCoronavirusCraftsEducationEntertainmentFood and RecipesHealth & BeautyHolidays and PartiesHome and GardenMake Your OwnOrganizingParentingPetsPhotosTravel and RecreationWeddings
Published by ThriftyFun.
Desktop Page | View Mobile
Disclaimer | Privacy Policy | Contact Us
Generated 2024-02-29 11:18:36 in 8 secs. ⛅️️
© 1997-2024 by Cumuli, Inc. All Rights Reserved.
https://www.thriftyfun.com/15-Minute-Crochet-Bangles.html