social

3D Orchid in a Jar Card


Diamond Post Medal for All Time! 1,246 Posts

3D Orchid in a Jar Card - finished orchid card
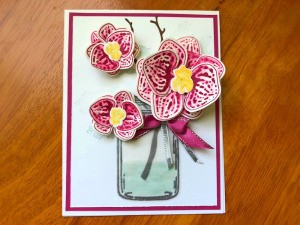
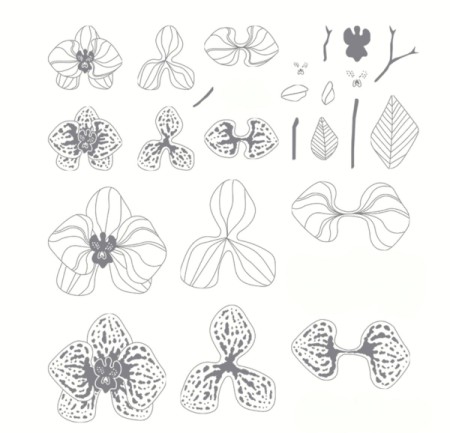
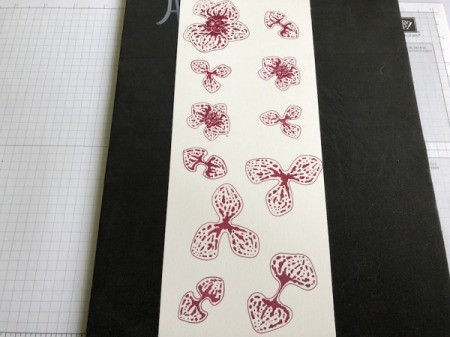
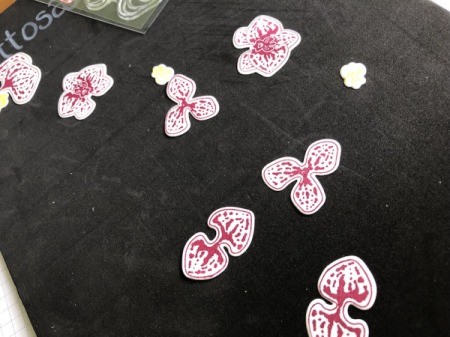
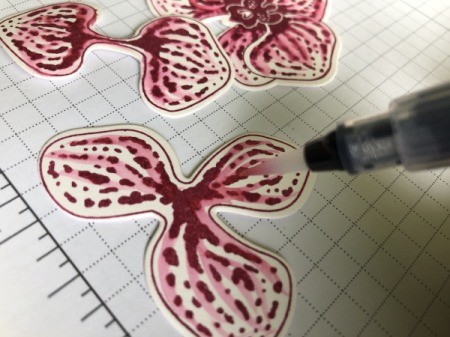
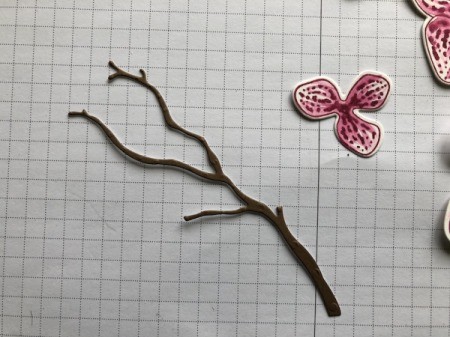
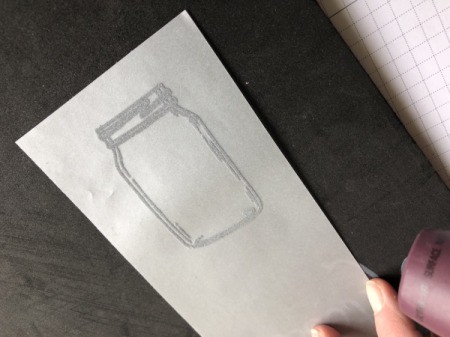
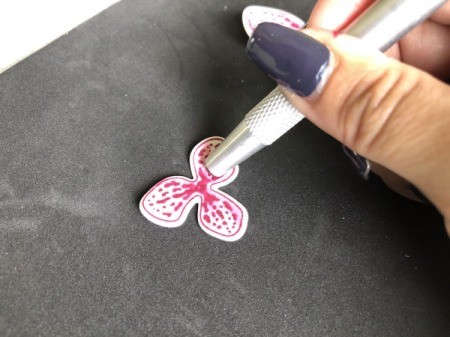
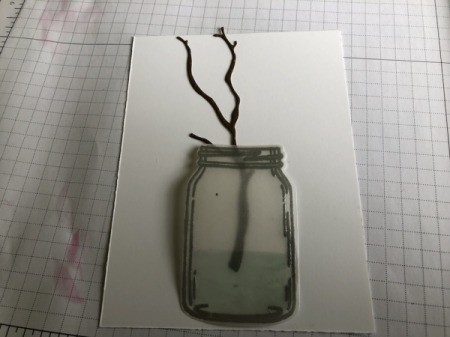
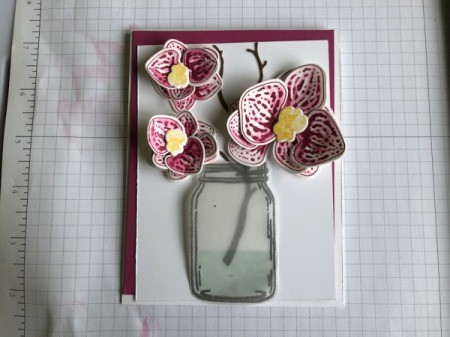
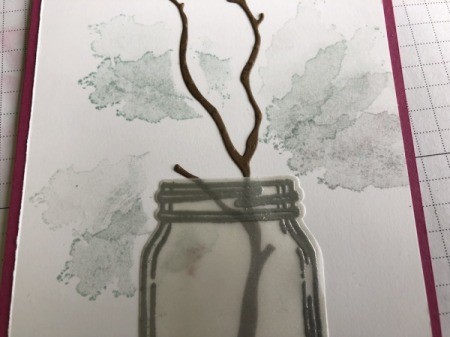
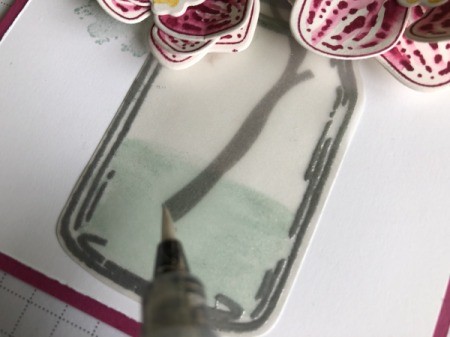
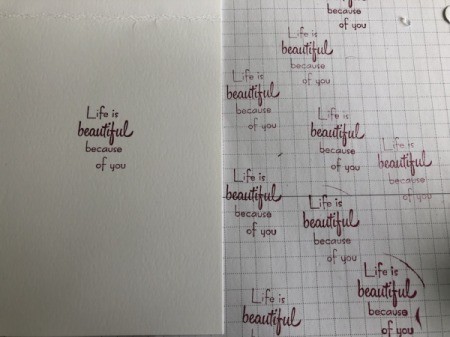
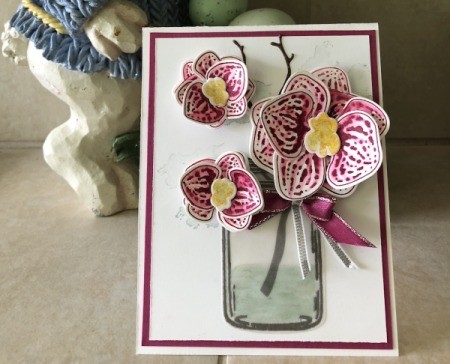
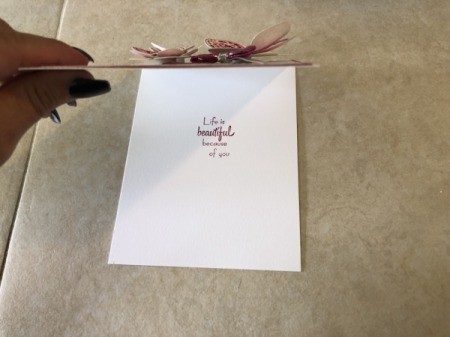
This is a card I made for my mother because she adores orchids. I used a stamp set to make this, so I've attached the orchid and jar templates for you to print out, colour, and cut out. You can use markers to colour it, then paint some water on top to make this beautiful watercolour look. The card opens vertically so it can stand and be viewed from anywhere in the room!

Advertisement

Thanks to my dear friend, Laurieann, for letting me use her supplies to make this for my mum! Happy Mother's Day!

Total Time: 1 hour

Supplies:

3D Orchid in a Jar Card
 
3D Orchid in a Jar Card
 

Steps:

  1. Print out the orchid template, then go over the lines and dots in the colour of your choice (I used pink).
  2. 3D Orchid in a Jar Card - print out the orchid template and go over the lines with the marker of choice
     
  3. Cut the orchid pieces out right outside the lines. Flip the pistils over (dark grey blobs from upper right on template) and colour them in yellow.
  4. 3D Orchid in a Jar Card - cut out just outside the lines, flip pistils over and color yellow
     
    Advertisement

  5. Brush water onto orchids to distribute the colours from the marker.
  6. 3D Orchid in a Jar Card - brush the marker lines with a wet brush
     
  7. Cut out a branch from the brown craft paper about 4 inches high.
  8. 3D Orchid in a Jar Card - cut out a branch from the brown craft paper
     
  9. Trace the jar onto the piece of translucent vellum with the silver marker, then cut it out right outside the lines.
  10. 3D Orchid in a Jar Card - trace jar onto translucent velum with the silver marker and cut just outside the lines
     
  11. Cut out a piece of white card stock about 10" x 3", then fold it so it's 5" x 3". Cut out a piece of pink card stock 1/4" smaller than that, then one more piece of white card stock 1/4" smaller than that one.
  12. 3D Orchid in a Jar Card - cut two pieces of white cardstock to size and one of pink
     
    Advertisement

  13. To lift the petals for a 3D effect, firmly roll the ball tip embossing pen on the centers of your orchid petals. Do this on top of a foam board or a t-shirt folded in half on your workspace.
  14. 3D Orchid in a Jar Card - create the 3D effect using an embossing pen
     
  15. Continue with the rest of the petals.
  16. 3D Orchid in a Jar Card - continue on all of the petals
     
  17. Place the branch on the smallest piece of white card stock, then add the jar. Play around with them to see how you'd like it to end up. Fill the jar with water by adding some light blue marker onto the vellum.
  18. 3D Orchid in a Jar Card - place the branch and the jar on the smaller piece of white paper, play with layout, use light blue marker to add water to the jar
     
    Advertisement

  19. Now arrange the petals without glue to see what you'd like as the end result.
  20. 3D Orchid in a Jar Card - add the petals for layout
     
  21. Glue down the branch, then glue the jar down on top of it. If you'd like, use a stamp, sponge or paper towel with ink on it to add texture to the card before gluing on the petals.
  22. 3D Orchid in a Jar Card - glue down the branch, then the jar - you can use a sponge, stamp, or paper towel and ink to add texture before adding flowers, then glue them in place
     
  23. Add some metallic shimmer to the water. Glue the card onto the pink card stock.
  24. 3D Orchid in a Jar Card - add metallic shimmer to the water, glue to the pink paper
     
  25. Lift the large folded piece of card stock vertically to add your message. I used a rubber stamp after practicing a clean stamp several times on a piece of scratch paper.
  26. 3D Orchid in a Jar Card - add message to the large folded piece of cardstock
     
    Advertisement

  27. Glue the card onto the folded card base. Make a little bow tie with your ribbon and glue it under the lip of the jar, under the petals.
  28. 3D Orchid in a Jar Card - glue the pink card stock to the folded piece. Add a ribbon bow below the lip of the jar.
     
  29. Lift the front of the card up to reveal the message.
  30. 3D Orchid in a Jar Card - lift the front of the card to see the message
     

Add your voice! Click below to comment. ThriftyFun is powered by your wisdom!


Diamond Post Medal for All Time! 1,298 Posts
May 17, 20181 found this helpful

Beautiful card!! My mom too loves orchids :)


Diamond Post Medal for All Time! 1,246 Posts
May 17, 20180 found this helpful

Thank you! They are beautiful flowers-- I just don't know how to care for them right, so cards are the better option. ;)

 
August 2, 20180 found this helpful

HI, THANK YOU SO MUCH FOR SHARING THIS WONDERFUL CRAFT PROJECT. VERY KIND OF YOU. CHEERS TRIXIE.


Diamond Post Medal for All Time! 1,246 Posts
September 19, 20180 found this helpful

You're welcome Trixie!!


Add your voice! Click below to comment. ThriftyFun is powered by your wisdom!

 
In This Page
Categories
Crafts Paper CardsMay 17, 2018
Pages
More
💘
Valentine's Ideas!
🎂
Birthday Ideas!
🍀
St. Patrick's Ideas!
Facebook
Pinterest
YouTube
Instagram
Categories
Better LivingBudget & FinanceBusiness and LegalComputersConsumer AdviceCoronavirusCraftsEducationEntertainmentFood and RecipesHealth & BeautyHolidays and PartiesHome and GardenMake Your OwnOrganizingParentingPetsPhotosTravel and RecreationWeddings
Published by ThriftyFun.
Desktop Page | View Mobile
Disclaimer | Privacy Policy | Contact Us
Generated 2024-01-22 22:34:33 in 1 secs. ⛅️️
© 1997-2024 by Cumuli, Inc. All Rights Reserved.
https://www.thriftyfun.com/3D-Orchid-in-a-Jar-Card.html