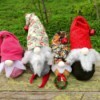
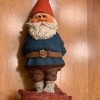
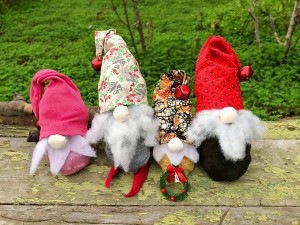
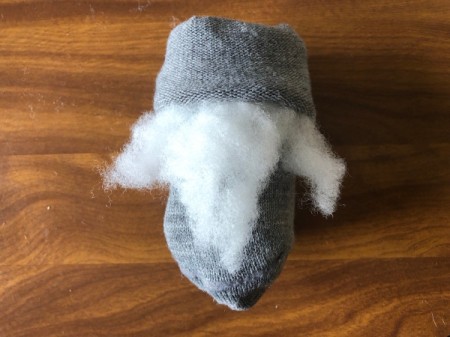
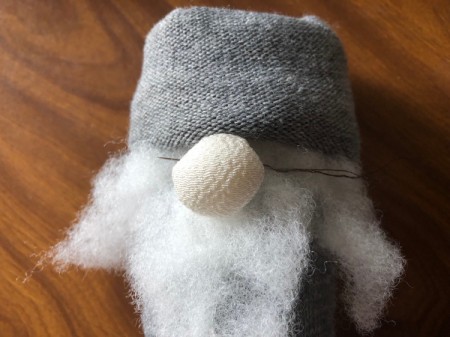
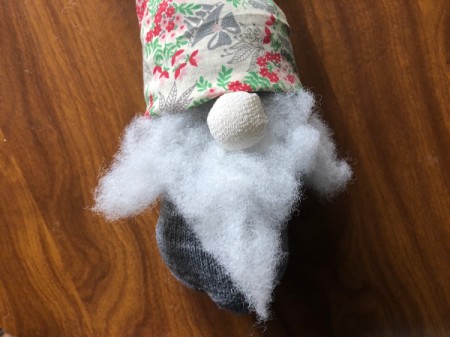
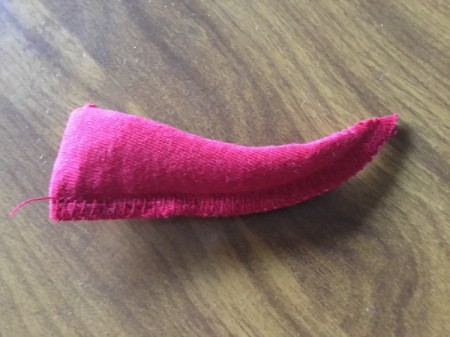
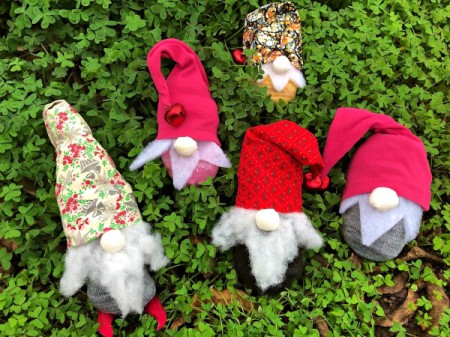
 My mum and I sorted through a bunch of clothes and items from around the house to donate to charity. Whatever did not seem good enough for a second life went into our craft materials pile. These gnomes were made from those scraps. We used socks, shirts, and shoulder pads. It was a lot of fun!
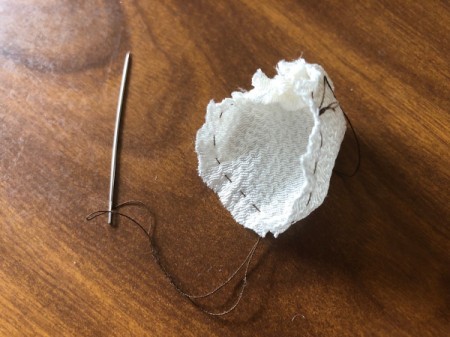
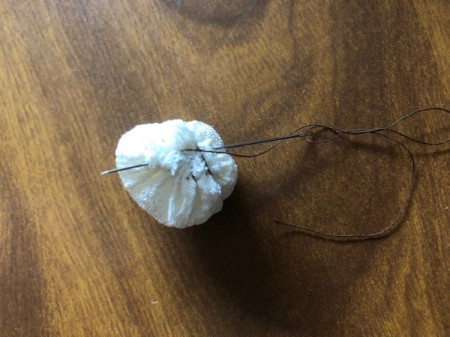
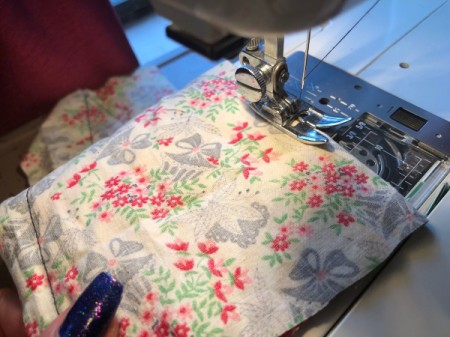
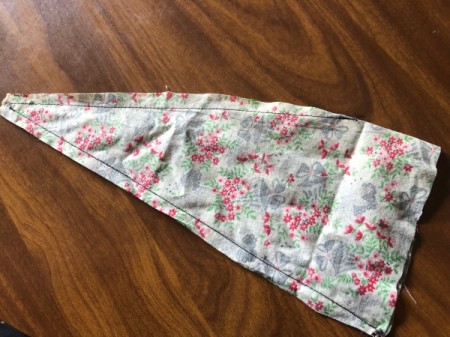
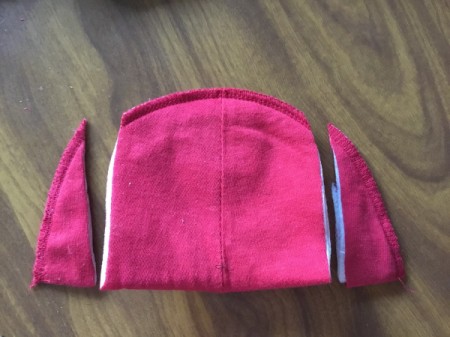
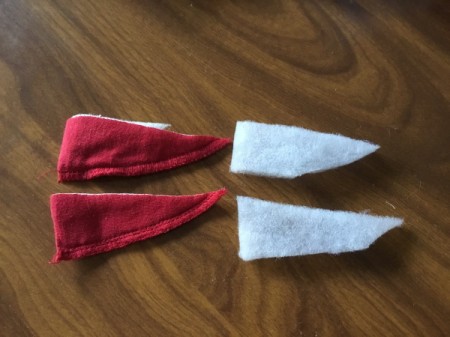
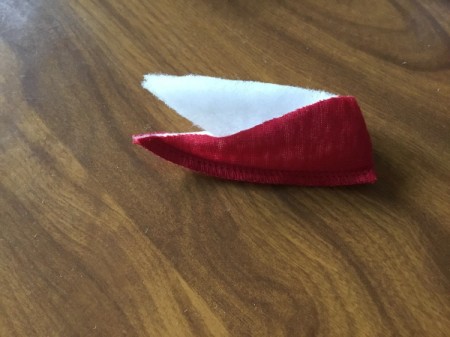
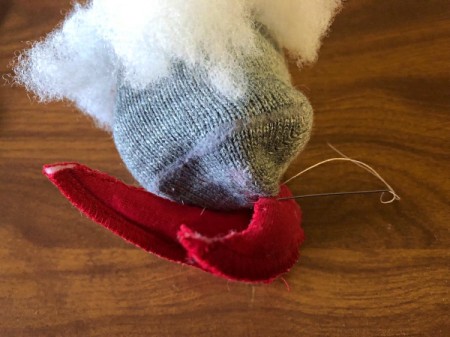
A sewing machine is optional here. It just makes things a bit faster. If you don't have sewing skills, a hot glue gun is a good friend! I know; I use it as a substitute sometimes! :)
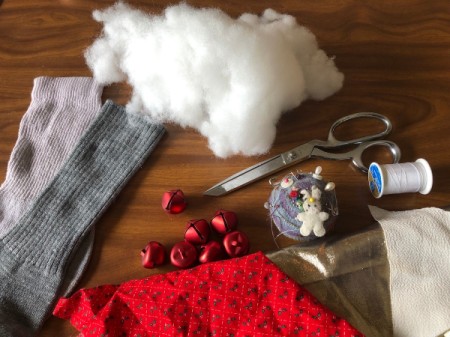
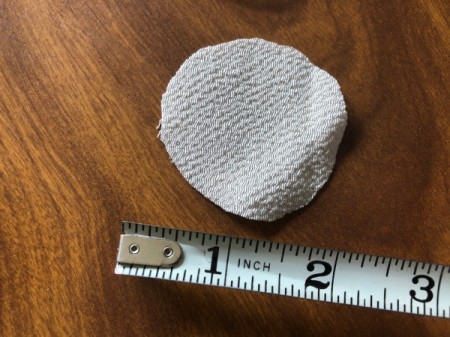
Supplies:
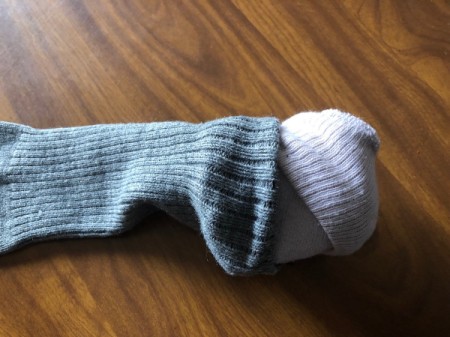
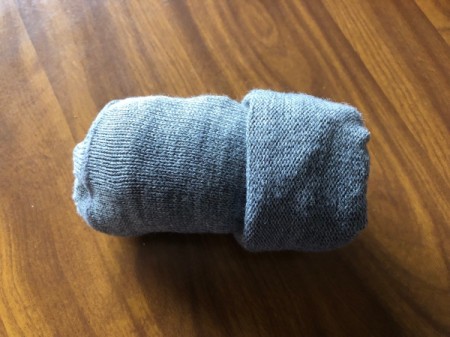
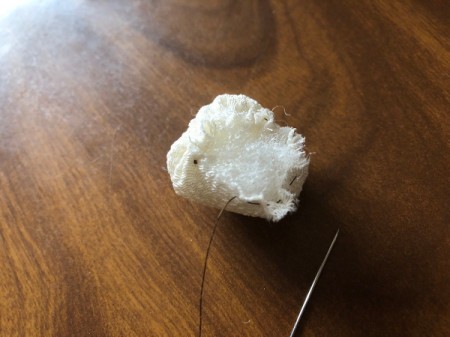
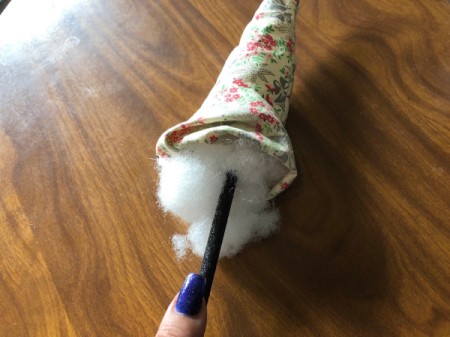
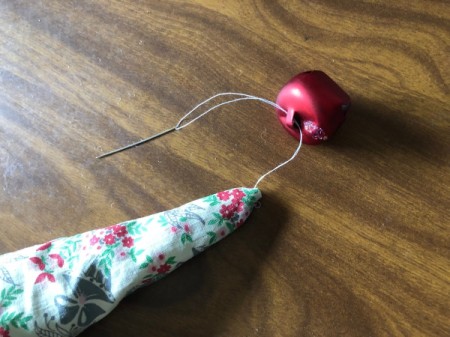
Steps:


Add your voice! Click below to comment. ThriftyFun is powered by your wisdom!
Add your voice! Click below to comment. ThriftyFun is powered by your wisdom!