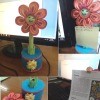
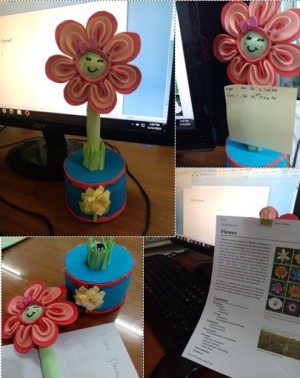
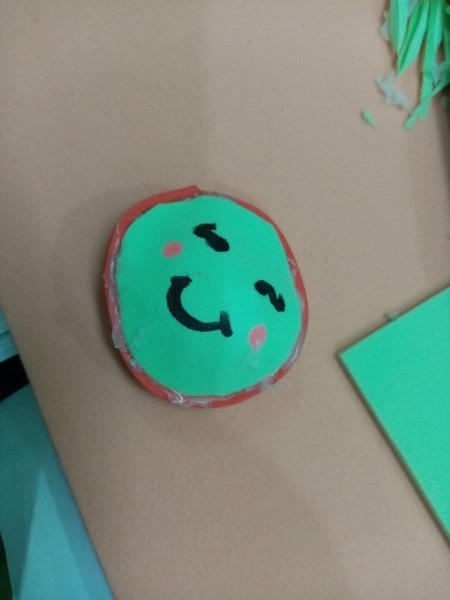
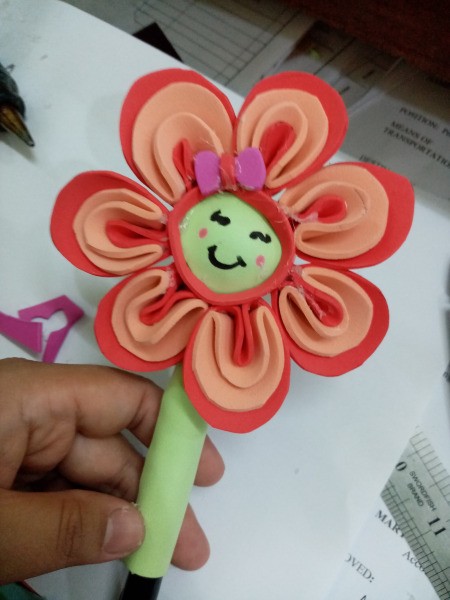
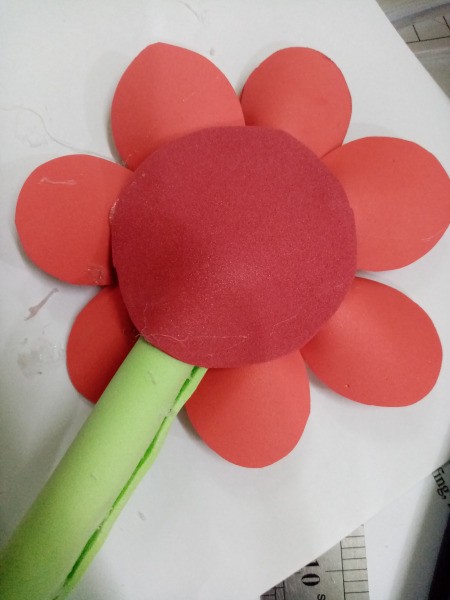
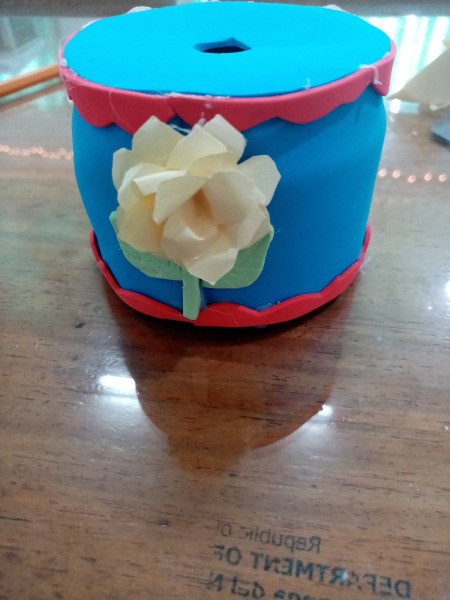
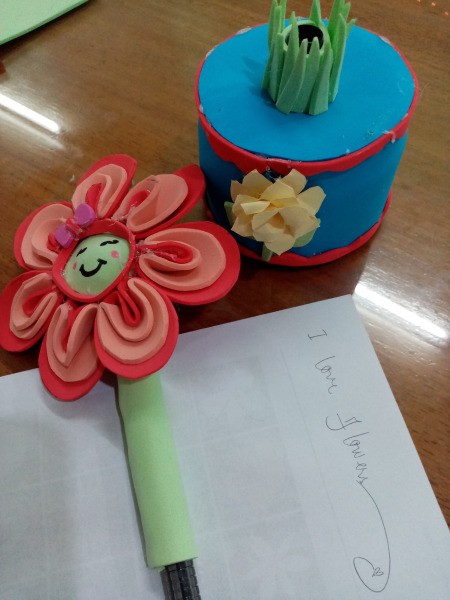
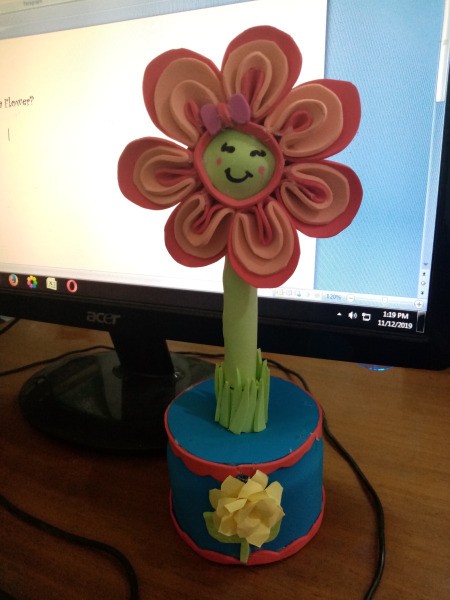
 It's really fun doing things that have multiple uses. Multipurpose - that's how I call it. So far, in my projects this is the one that has the most uses. At first you will see it as a simple table decoration. You'll see its transformation here.
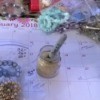
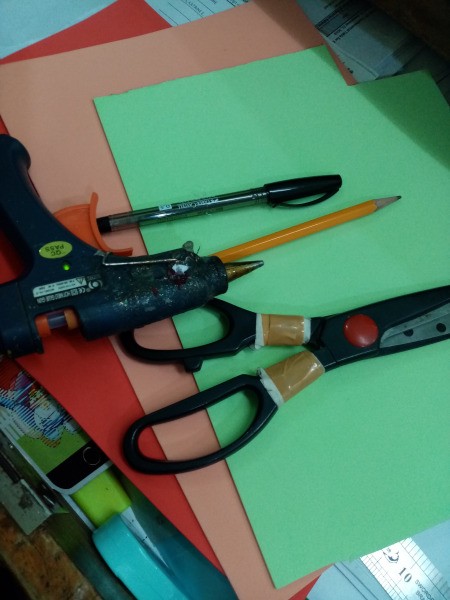
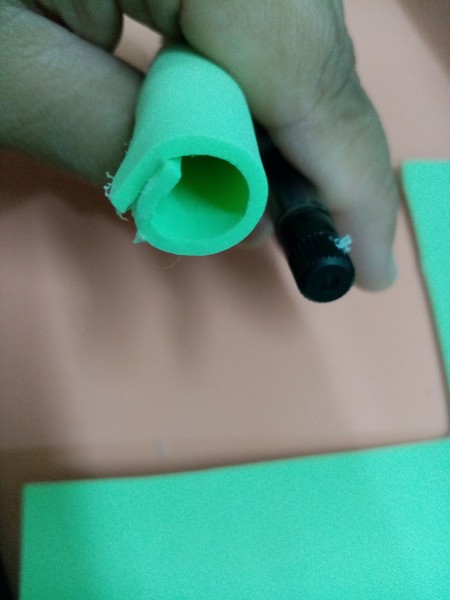
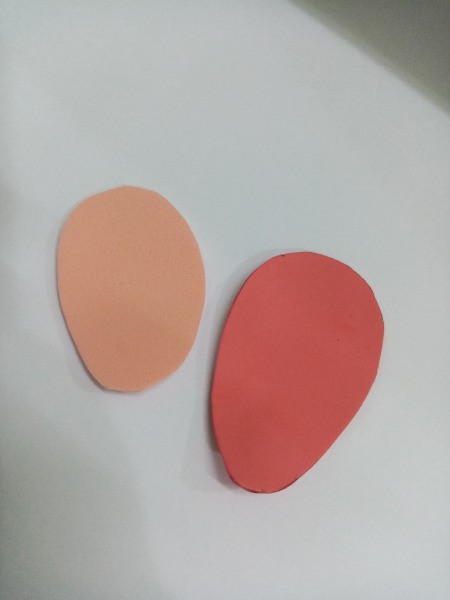
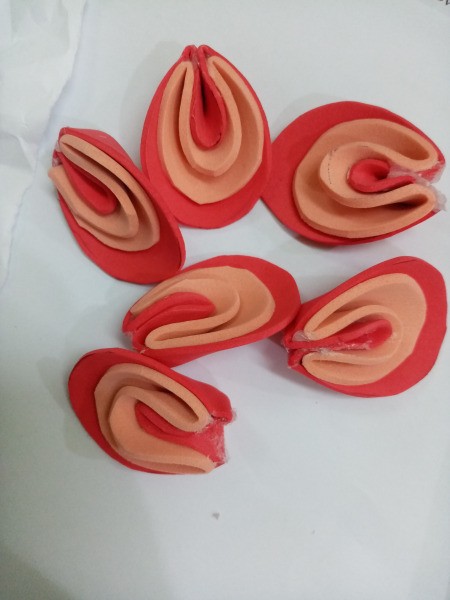
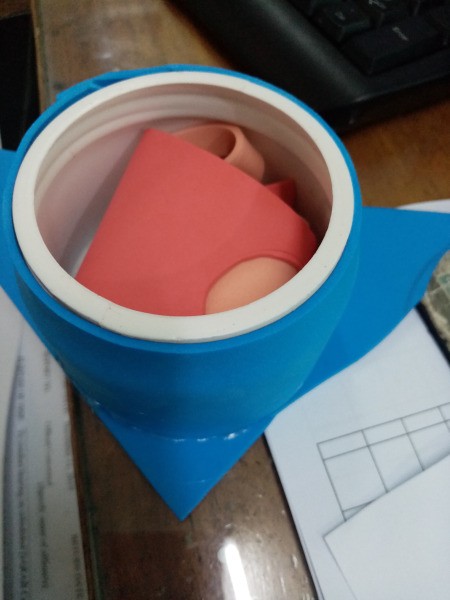
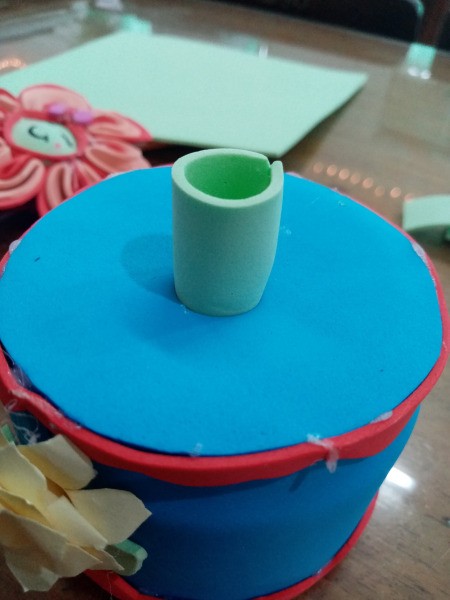
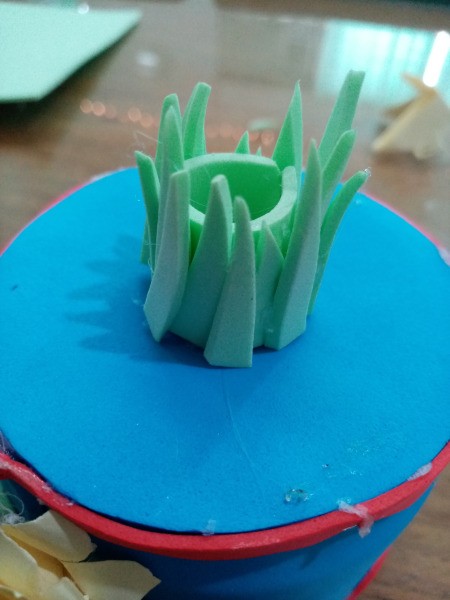
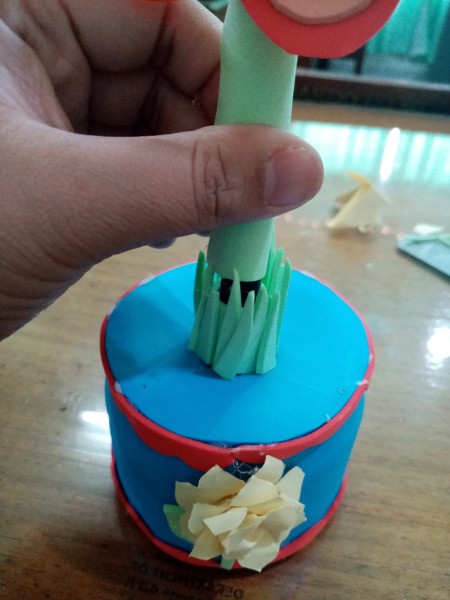
Supplies:
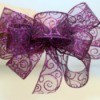
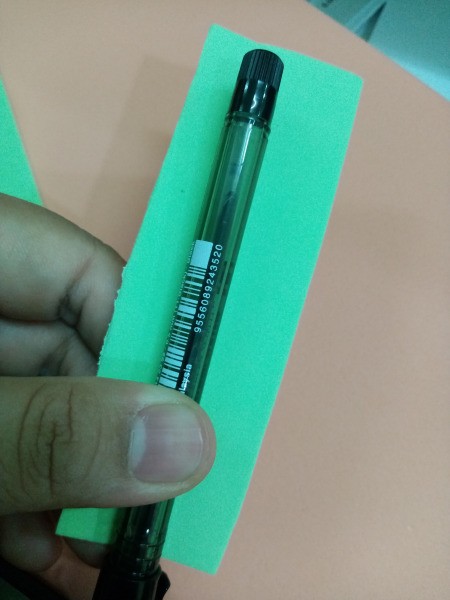
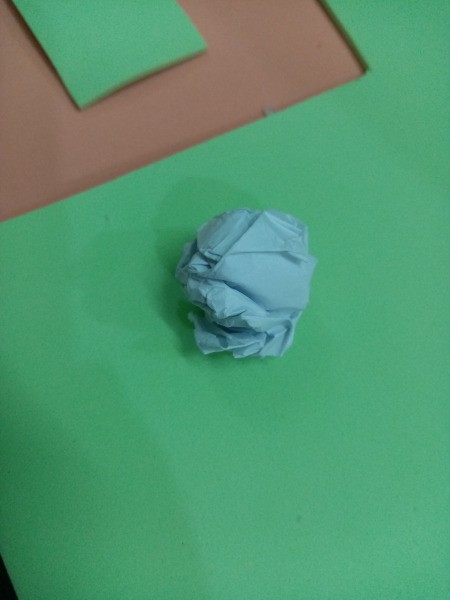
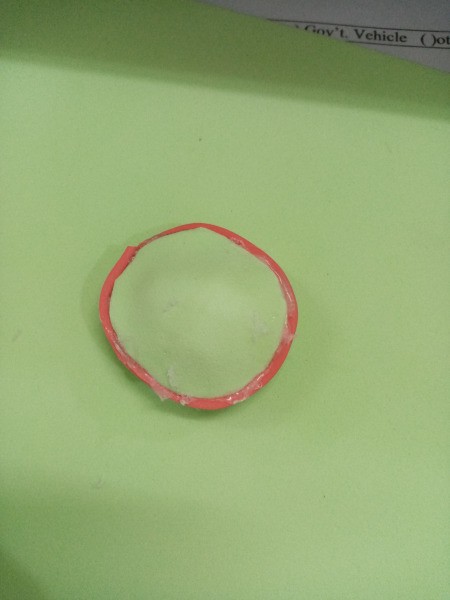
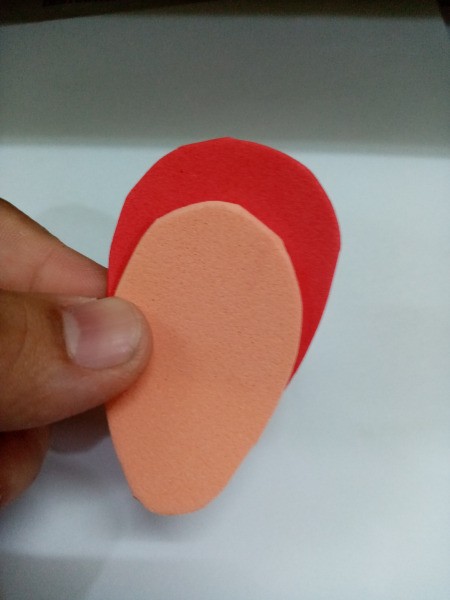
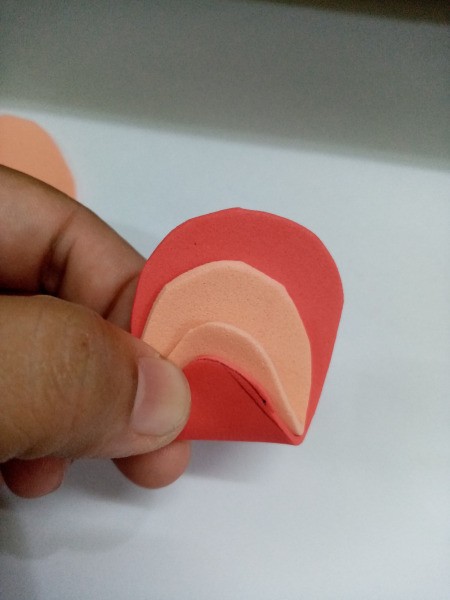
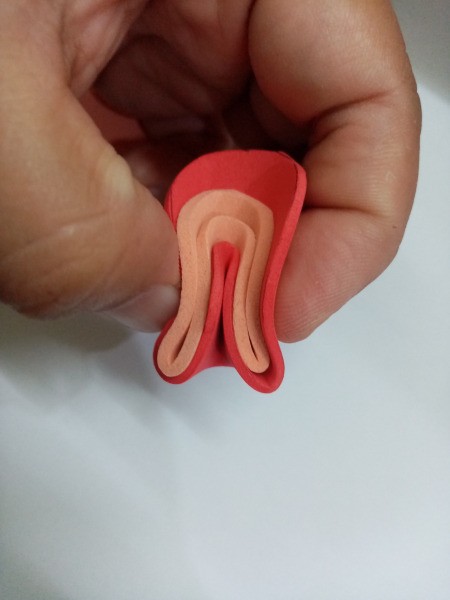
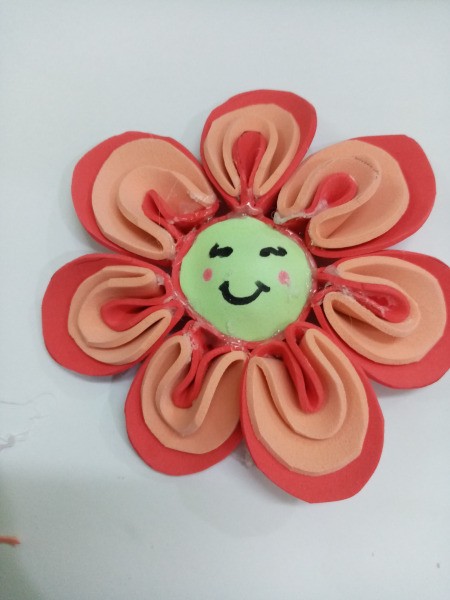
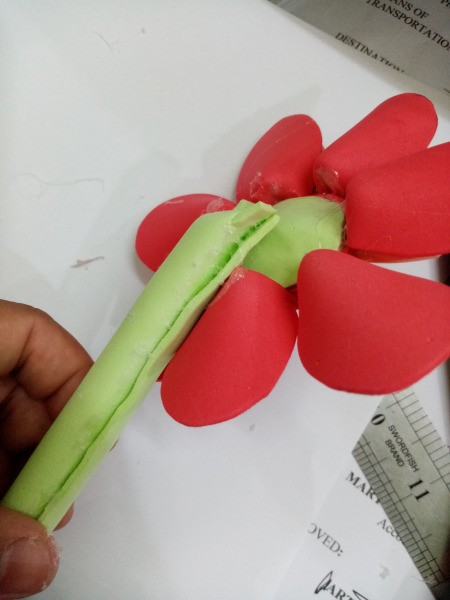
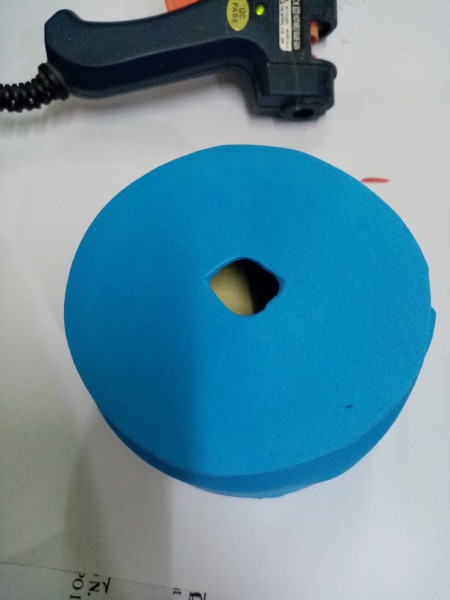
Steps:

Add your voice! Click below to comment. ThriftyFun is powered by your wisdom!