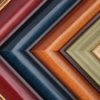
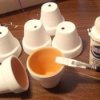
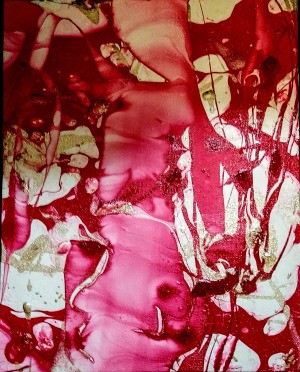
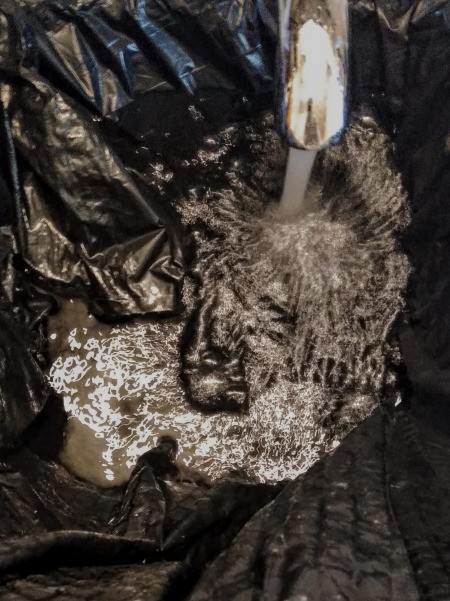
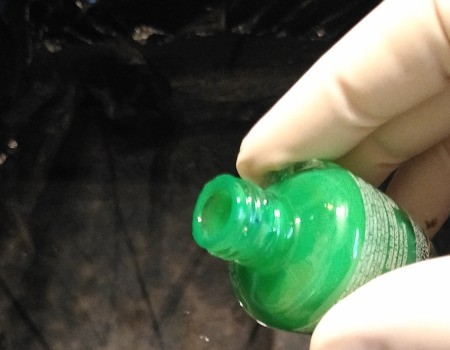
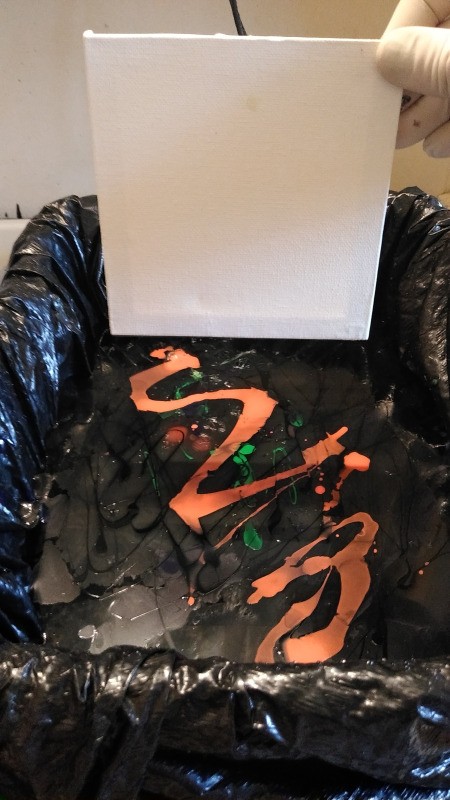
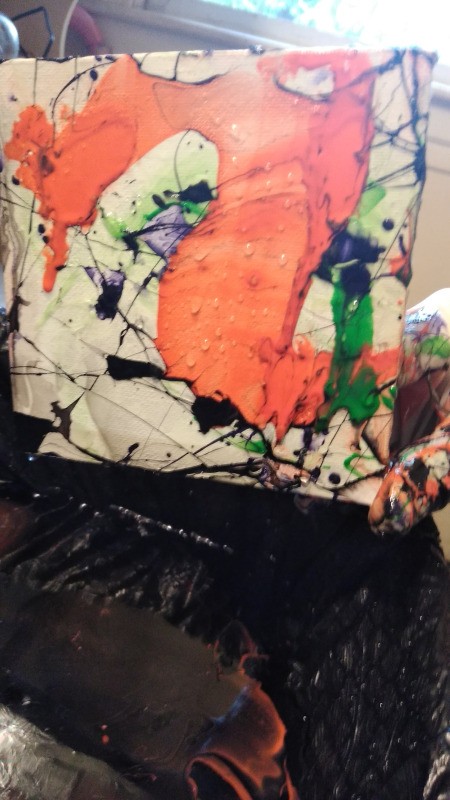
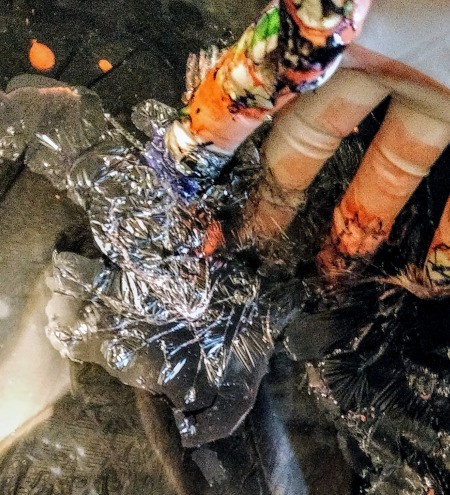
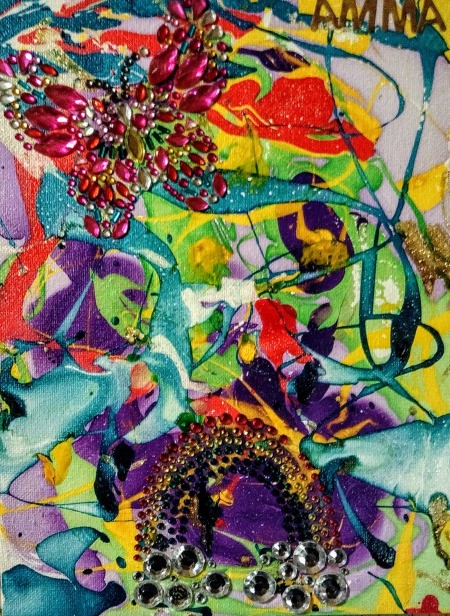
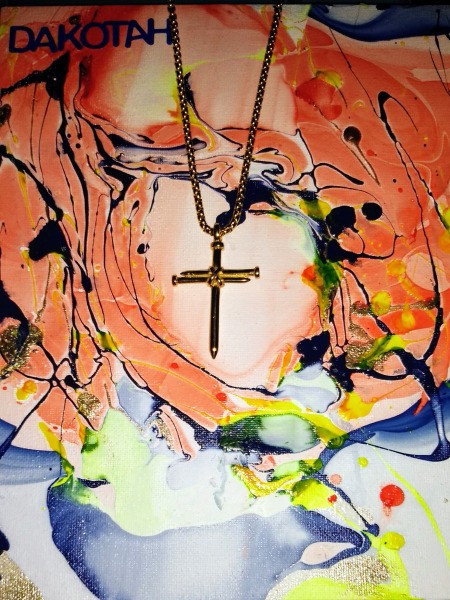
 This is a fun, simple way to create eye stunning and unique artwork without having to have any artistic talent. You can use this technique on countless objects to gain the same marbleized look, but for this project I've chosen canvas panels. All you need is the object you want marbleized, a bin filled with water, and nail polish and you too will soon be creating beautiful artwork and decorations.
Total Time: 30 minutes
Yield: 2
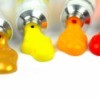
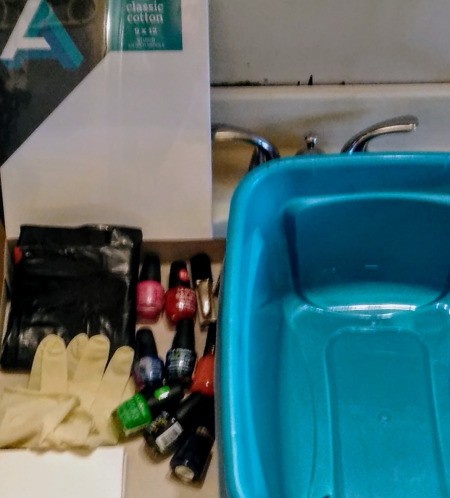
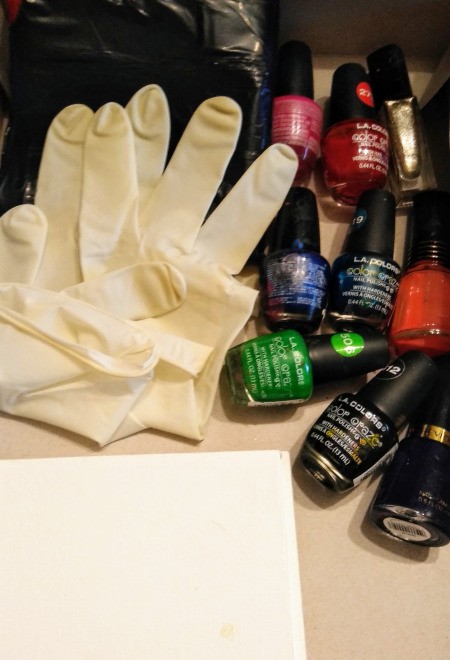
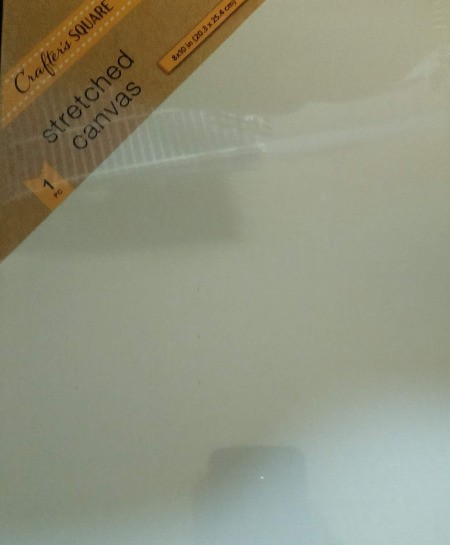
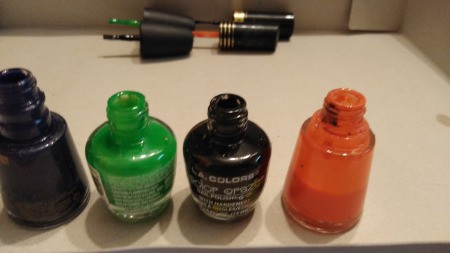
Supplies:
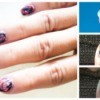
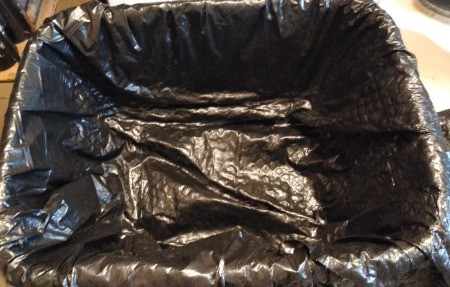
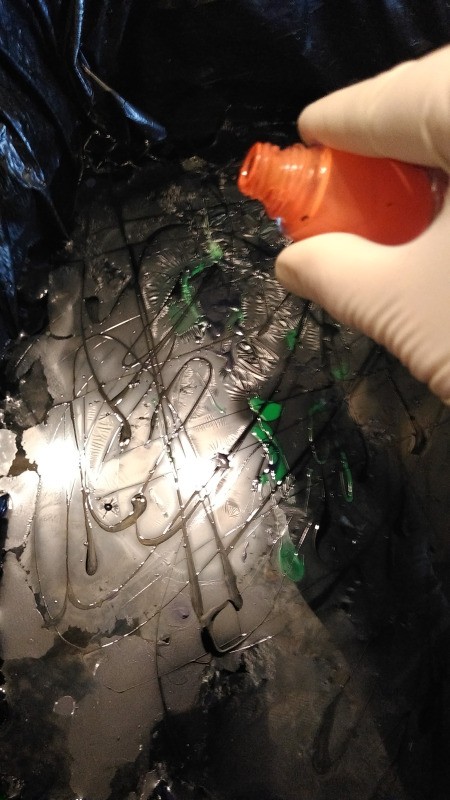
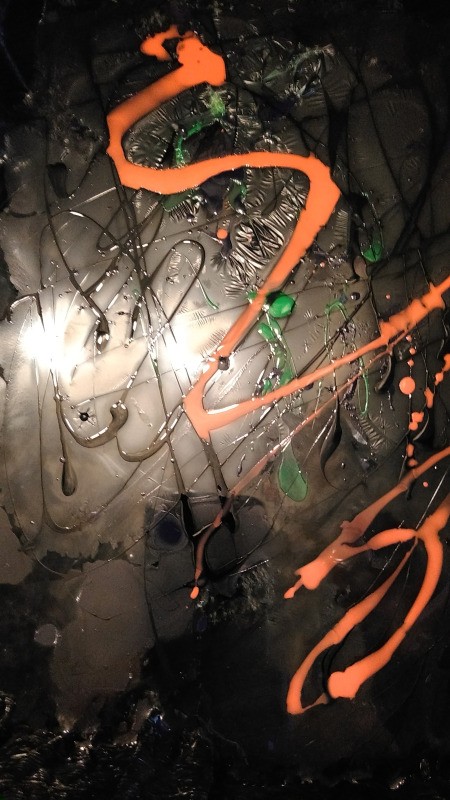
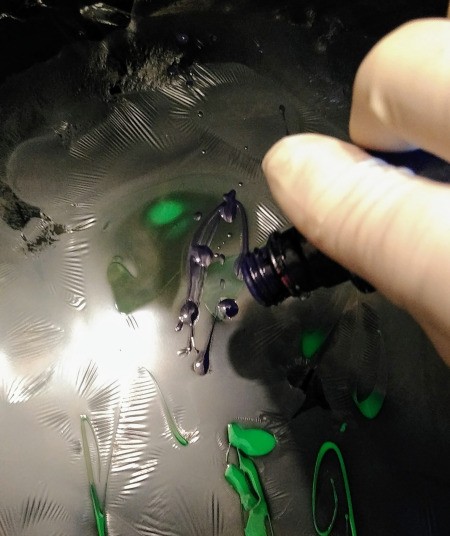
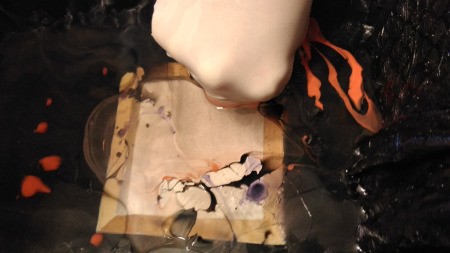
Steps:
Share on ThriftyFunThis page contains the following solutions. Have something to add? Please share your solution!
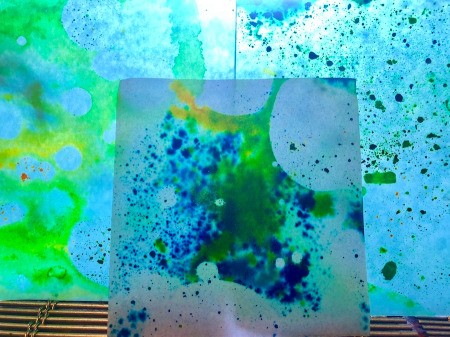
This is a fun way to marblize paper with food colouring and oil, using no harmful chemicals. Since oil and water don't mix, the food colouring only stains the paper where the oil doesn't settle, creating beautiful and exciting scenes. This is a fantastic and low-cost craft to do with kids.