social

Making a Button Tree


Bronze Craft Medal for All Time! 63 Crafts
August 5, 2011

Styrofoam cone covered with pink buttons. The finished cone is sitting in a pedestal candy dish.
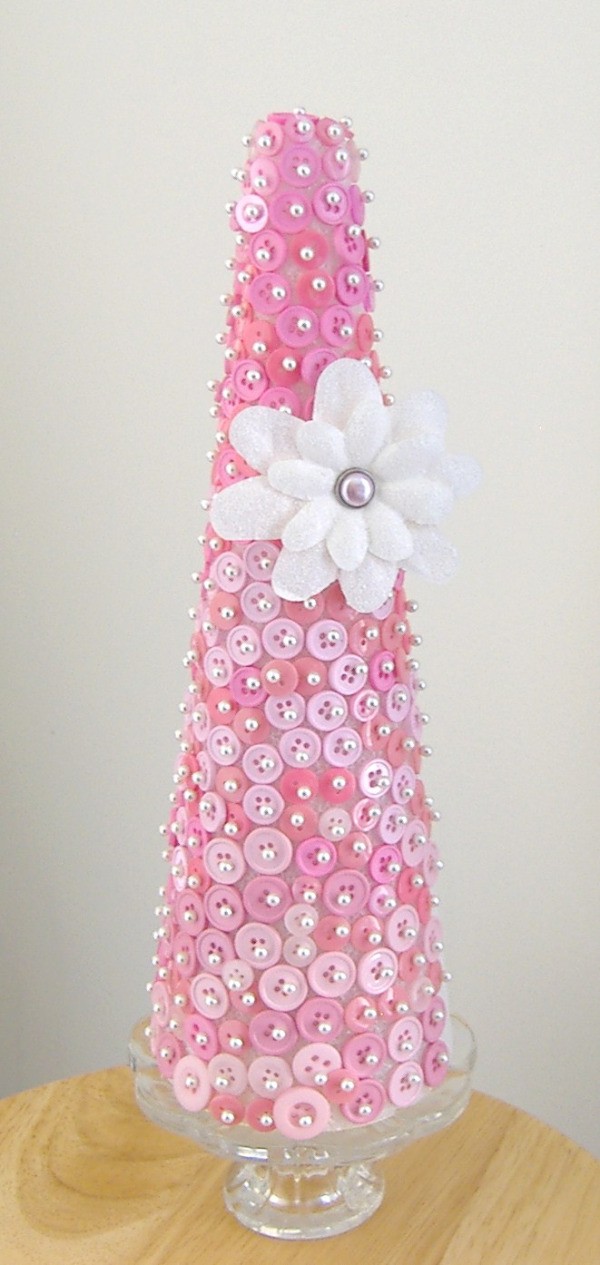
Pink buttons and pearlized pins were used to create this cute and fun tree. A nice finishing touch is the glittered paper flower with a pink pearl brad.

Advertisement

Approximate Time: 90 minutes

Supplies:

Instructions:

  1. Insert one pearlized pin through button holes to secure in place. Continue in this manner until the entire foam cone is covered.

  2. Attach paper flower with a dot of hot glue as shown in project photo.

Source: buttons, cone, pearlized pins from Michaels

By HellofromMhay from Fairfax, VA

Comment Pin it! Was this helpful? 2

Comments


Silver Post Medal for All Time! 398 Posts
August 5, 20111 found this helpful

This is absolutely wonderful, now I know how to display my button collection! Thanks!
Blessings,
Robyn

Reply Was this helpful? 1

Gold Post Medal for All Time! 969 Posts
August 10, 20110 found this helpful

You could do the same for every season, too! How adorable!

Reply Was this helpful? Yes
August 20, 20110 found this helpful

This is adorable especially for a little girls or young teens room.

Reply Was this helpful? Yes
January 7, 20130 found this helpful

This is adorable!

Reply Was this helpful? Yes
In This Page
Categories
Crafts Home DecorMay 4, 2016
Pages
More
🍂
Thanksgiving Ideas!
🎃
Halloween Ideas!
Facebook
Pinterest
YouTube
Instagram
Contests!
Newsletters
Ask a Question
Share a Post
Categories
Better LivingBudget & FinanceBusiness and LegalComputersConsumer AdviceCoronavirusCraftsEducationEntertainmentFood and RecipesHealth & BeautyHolidays and PartiesHome and GardenMake Your OwnOrganizingParentingPetsPhotosTravel and RecreationWeddings
Published by ThriftyFun.
Desktop Page | View Mobile
Disclaimer | Privacy Policy | Contact Us
Generated 2022-10-22 10:32:23 in 4 secs. ⛅️️
© 1997-2022 by Cumuli, Inc. All Rights Reserved.
https://www.thriftyfun.com/Making-a-Button-Tree.html