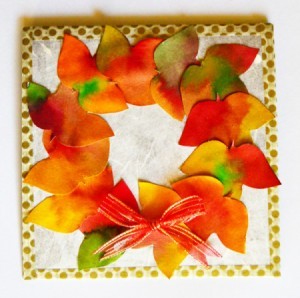
 Use food colorings to make paper leaves. Then turn the leaves into a striking fall themed birthday card.
Total Time: 15 minutes, drying time excluded
Yield: one birthday card
Supplies:
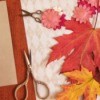
- 10 x 5 in copper colored cardstock
- 5 x 5 in cream colored handmade tissue paper
- A4 sized white cardstock
- 15mm wide cream-with-golden-polka-dots washi tape
- 0.3 in wide red ribbon
- food colorings: red, green, brown, and yellow
- quick-drying craft glue (such as Bostik Clear)
- 2 in high leaf stencil
- plastic lid with a diameter of 3.7"
- paintbrush
- standard scissors
- pencil
- five small plastic bowls
Steps:
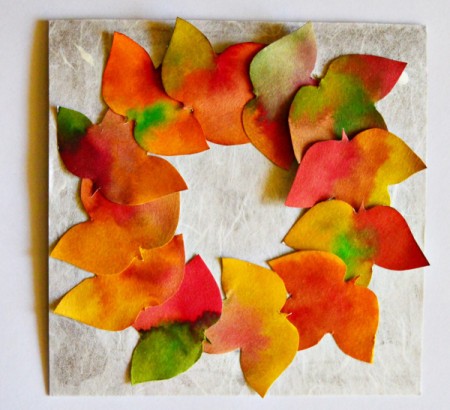
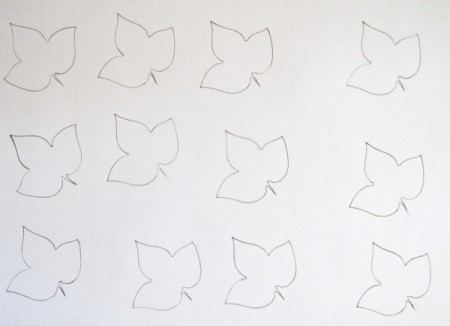
- Use the pencil and stencil, and trace 12 leaves on to the white cardstock.
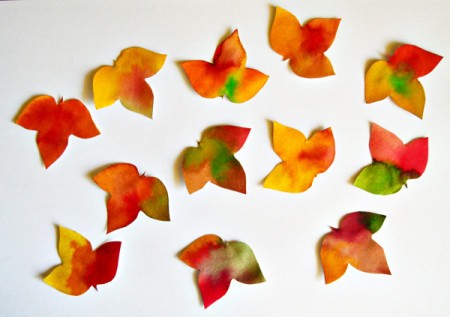
- Add a few drops of the food colorings to the plastic bowls, each color to its own bowl. Use the fifth plastic bowl for water ~ the water will not be used to dilute the food colorings, but only to clean the brush between using different colorings. Apply different, undiluted colors to the paper to paint the leaves, letting the colors interflow. Allow to dry and then cut out the leaves.
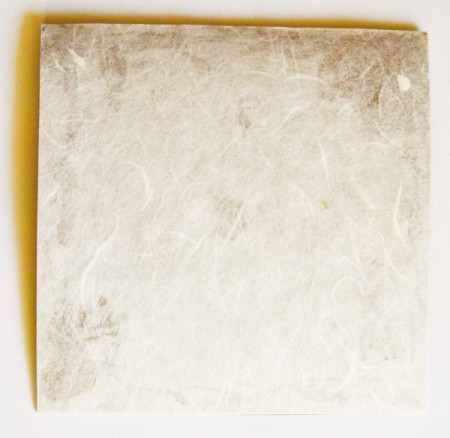
- Score the copper colored cardstock to create a card sized 5" x 5". With the fold at the top, glue the handmade tissue paper to the front of the card.

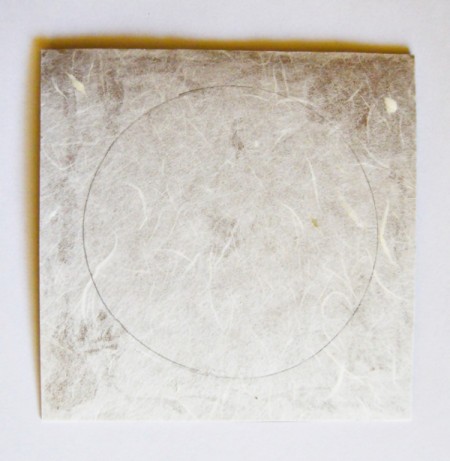
- Use the plastic lid and pencil to trace a circle on to the tissue paper. This will be the base for the wreath.
- Glue the leaves on to the circle to complete the wreath, but do not glue them down completely yet, so that it would still be possible to move them for even spacing.
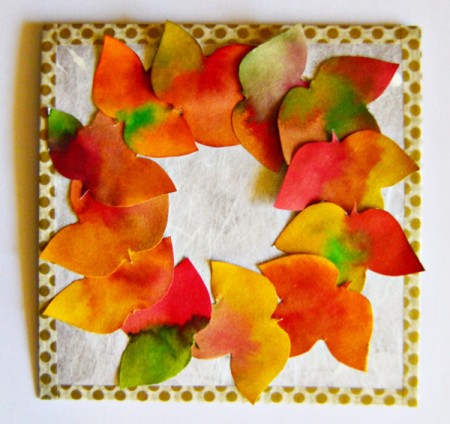
- Cut a strip of washi tape to add to the top of the card. Fold it in half and affix it over the fold of the card. Cut off any protruding edges. Repeat with the left, right and bottom sides of the card. Then, glue down the leaves completely to give the card a neat look.
- Make a bow with the ribbon and cut off any remaining ribbon. Glue the bow to the front of the card.