social

Making a Flower Pen


Silver Post Medal for All Time! 449 Posts

Making a Flower Pen - pink edged flower penMake girly pens with materials you can see at home or at work. This craft I'm going to make is made with some things I found around at work while I waited for the break time to be over.
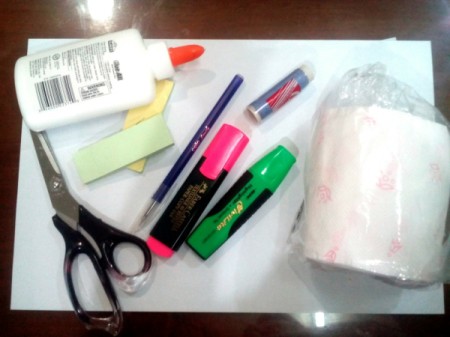
Advertisement

Supplies:

Making a Flower Pen - supplies
 

Steps:

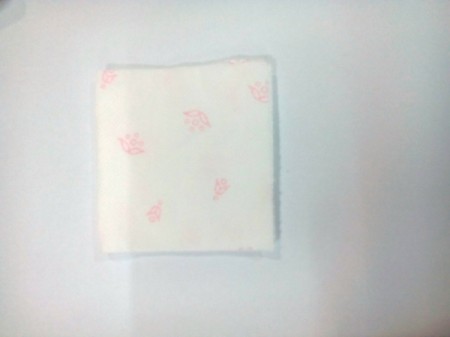
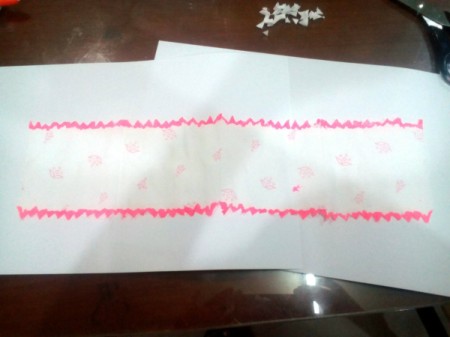
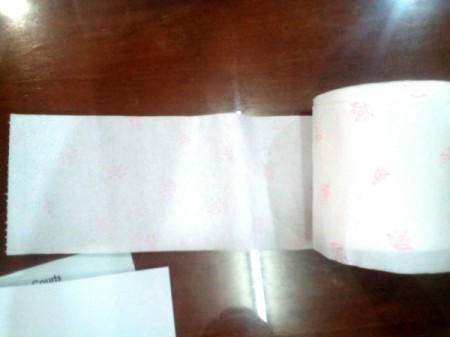
  1. Unroll tissue up to fourth piece and cut.
  2. Making a Flower Pen - unrolled tissue paper
     
  3. Fold it four times.
  4. Making a Flower Pen - fold 4 times
     
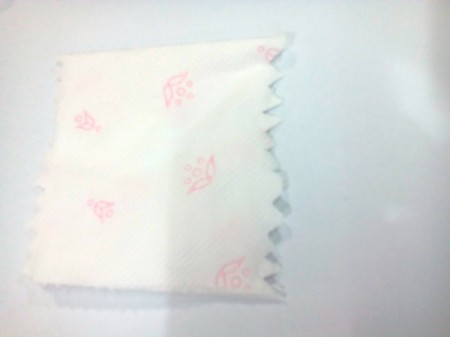
  5. Cut zigzags on both open edges.
  6. Making a Flower Pen - zig zag cuts on open edges
     
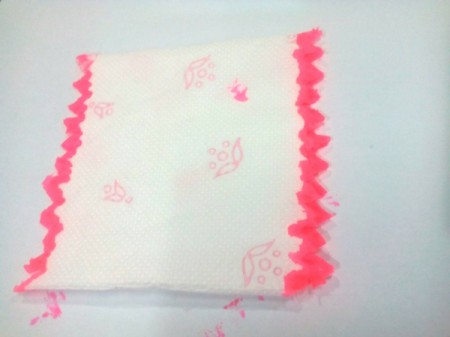
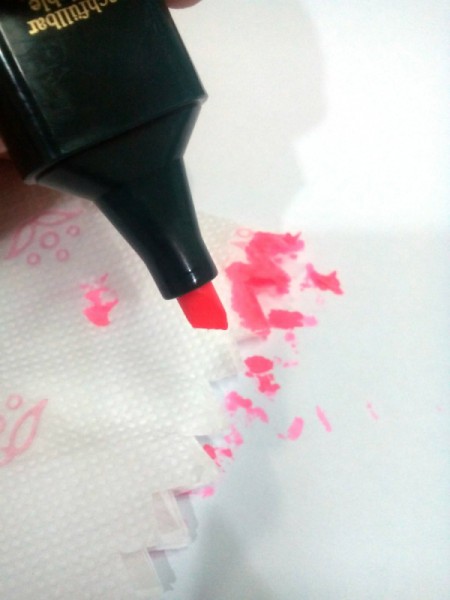
  7. Stain the zigzags with any colored marker.
  8. Making a Flower Pen - stained edges
     
    Making a Flower Pen - using marker to color edges
     
    Advertisement

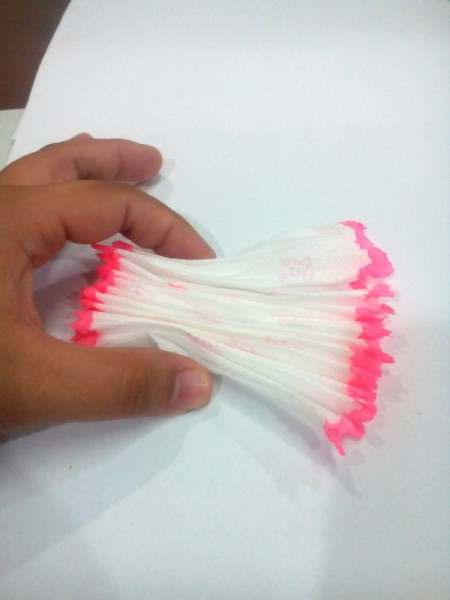
  9. Open the tissue out wide.
  10. Making a Flower Pen - unfold the tissue
     
  11. Gather tissue in an accordion form.
  12. Making a Flower Pen - gather in accordion form
     
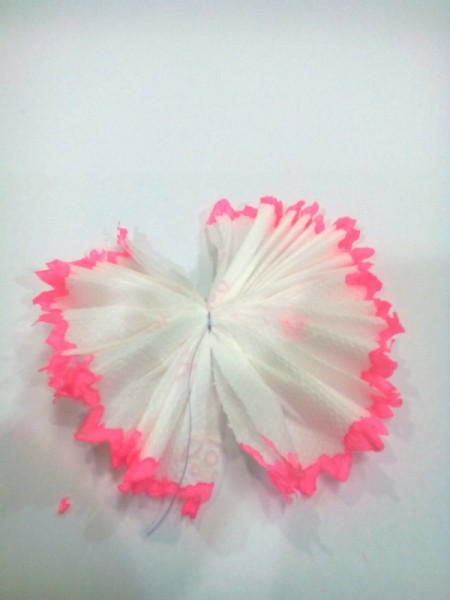
  13. Tie its center with a thread very tightly and open both sides wide.
  14. Making a Flower Pen - tie center and open sides
     
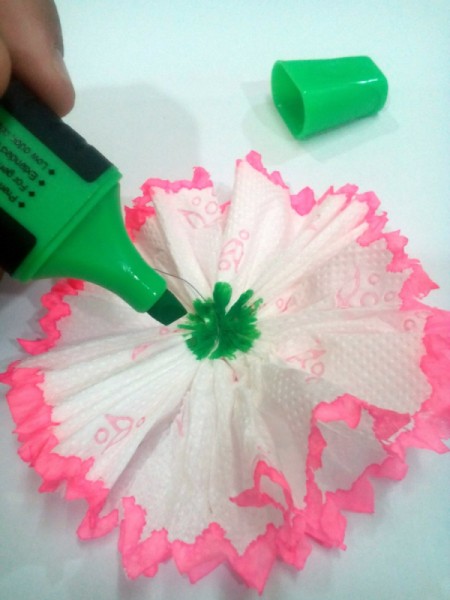
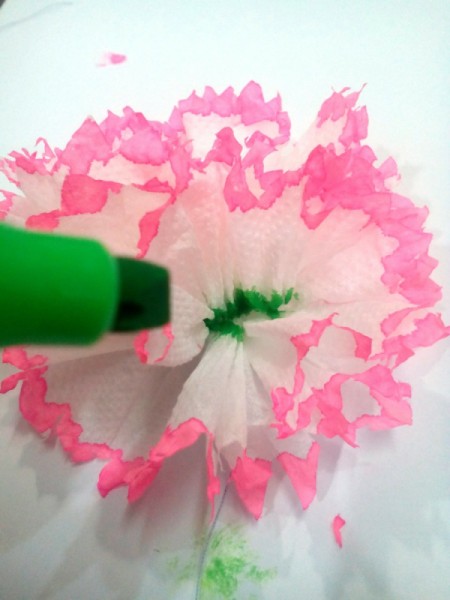
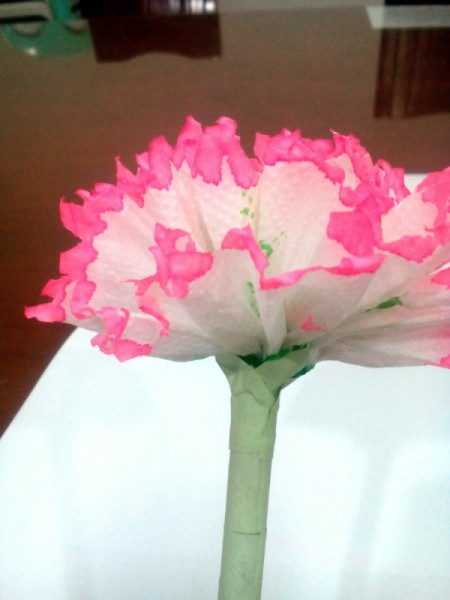
  15. Stain the center with another color of marker. (see photo)
  16. Making a Flower Pen - color the flower center with a marker
     
  17. Separate the layers and also color the middle part of the layers.
  18. Making a Flower Pen - separate the petals and color the layers
     
    Advertisement

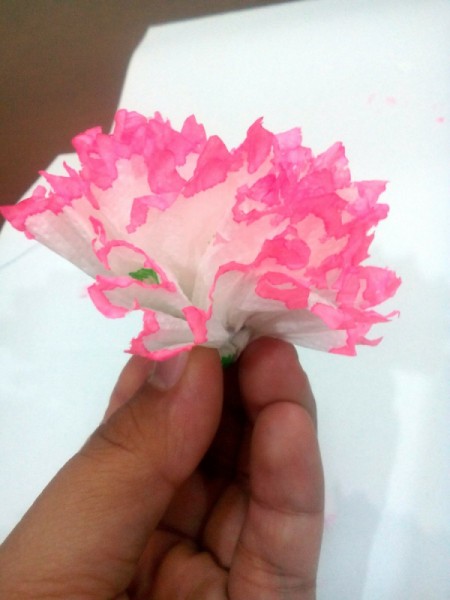
  19. Press the bottom to compress and form a flower. Set aside.
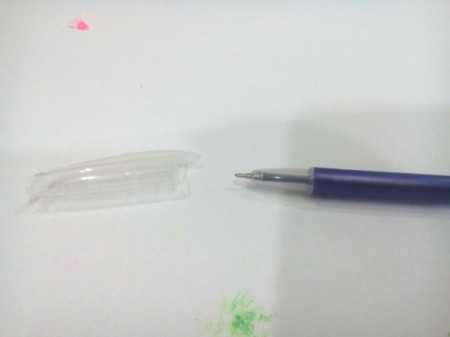
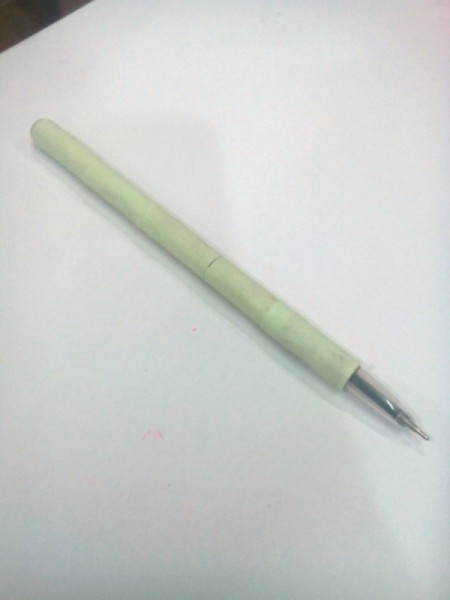
  20. Making a Flower Pen - compress the base of the flower
     
  21. Remove pen cover.
  22. Making a Flower Pen - remove pen cover
     
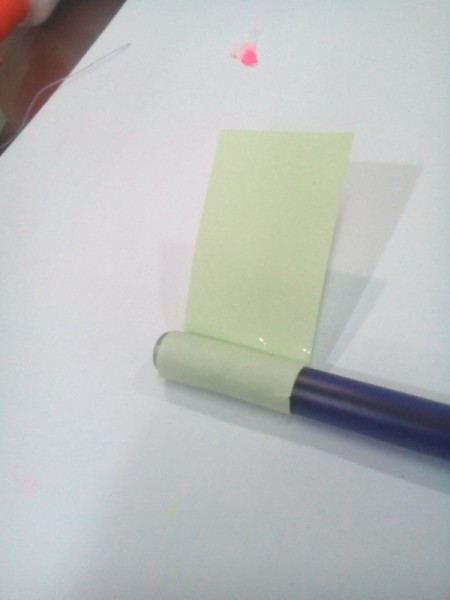
  23. Cover whole body of the pen with green sticky notes. Make adjustments for the pen cover to fit.
  24. Making a Flower Pen - cover the pen with green sticky notes
     
    Making a Flower Pen - leave area clear for replacing the top
     
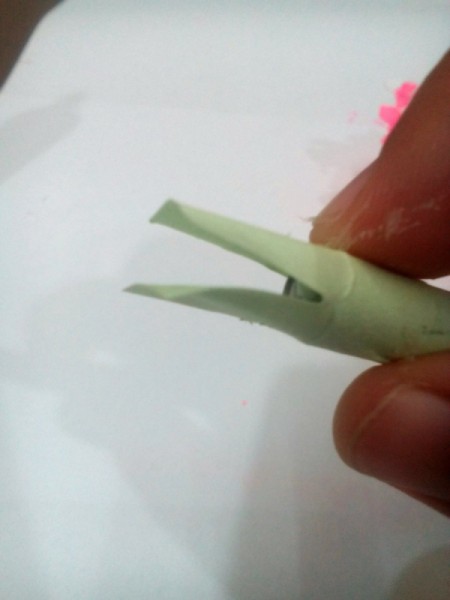
  25. Cover top of pen with another layer of sticky note exposing half of it.
  26. Making a Flower Pen - cover pen top with sticky note leaving half free
     
    Advertisement

  27. Cut the other side of the paper open.
  28. Making a Flower Pen - snip
     
  29. Add another layer and pull that down.
  30. Making a Flower Pen - add another layer and fold back for leaves
     
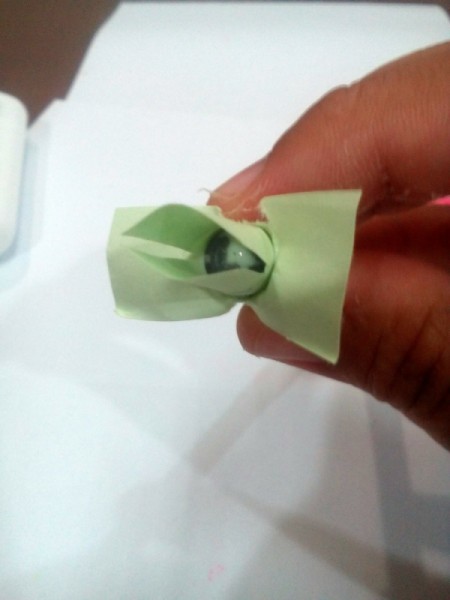
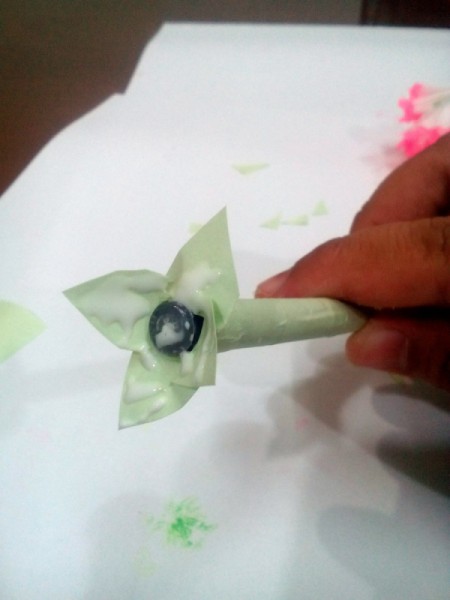
  31. Cut the layers on a leaf shape. Then put some glue on it.
  32. Making a Flower Pen - cut into a leaf shape and put glue in center
     
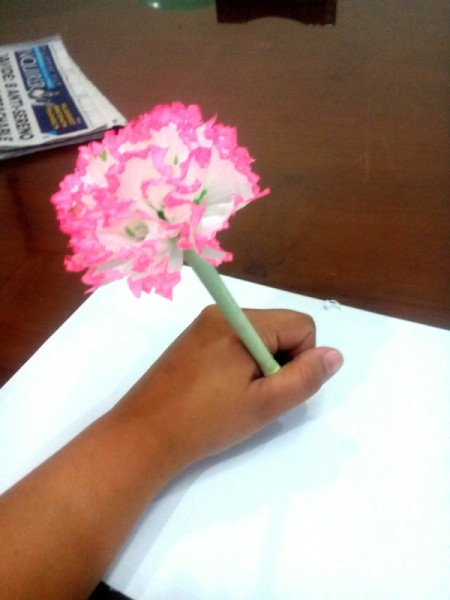
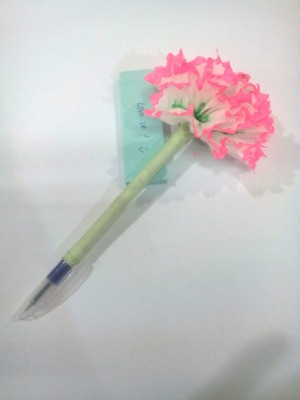
  33. Add the flower to the center of the leaves. Place your flower on top of it and let dry completely.
  34. Making a Flower Pen - stick flower in the center
     
    Advertisement

  35. You can now start writing with your flower pen.
  36. Making a Flower Pen - ready to use
     

Add your voice! Click below to comment. ThriftyFun is powered by your wisdom!

In This Page
Categories
Crafts MiscellaneousMay 21, 2018
Pages
More
🎃
Halloween Ideas!
🍂
Thanksgiving Ideas!
Facebook
Pinterest
YouTube
Instagram
Contests!
Newsletters
Ask a Question
Share a Post
Categories
Better LivingBudget & FinanceBusiness and LegalComputersConsumer AdviceCoronavirusCraftsEducationEntertainmentFood and RecipesHealth & BeautyHolidays and PartiesHome and GardenMake Your OwnOrganizingParentingPetsPhotosTravel and RecreationWeddings
Published by ThriftyFun.
Desktop Page | View Mobile
Disclaimer | Privacy Policy | Contact Us
Generated 2022-10-24 18:10:04 in 1 secs. ⛅️️
© 1997-2022 by Cumuli, Inc. All Rights Reserved.
https://www.thriftyfun.com/Making-a-Flower-Pen.html