social

Making a Hanging School Bus Picture Frame


Diamond Post Medal for All Time! 1,298 Posts
August 15, 2018

Hanging School Bus Picture Frame - finished bus photo frame
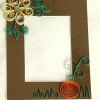
Back to school season is coming up! This is a cute craft you can make to decorate your fridge and fill up with your child's pictures throughout the year.

Advertisement

Total Time: 25 minutes + drying time

Yield: 1 frame

Supplies:

  • craft sticks
  • paint + paint brush
  • hot glue
  • glue stick
  • red and black construction paper
  • scissors
  • pipe cleaner
  • Sharpie pen
  • cardboard box for painting in, optional

Steps:

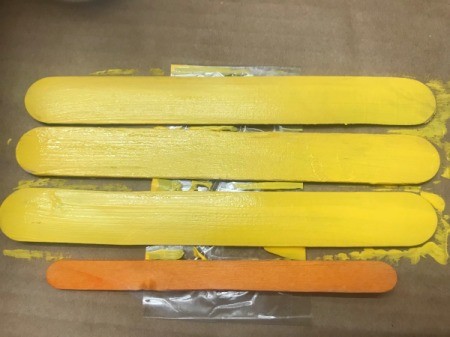
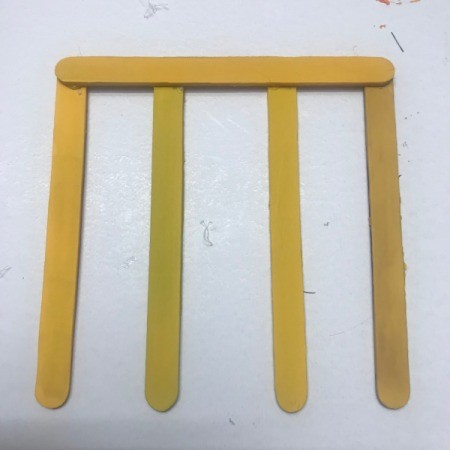
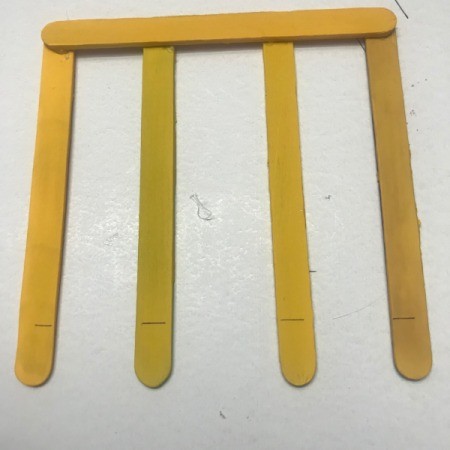
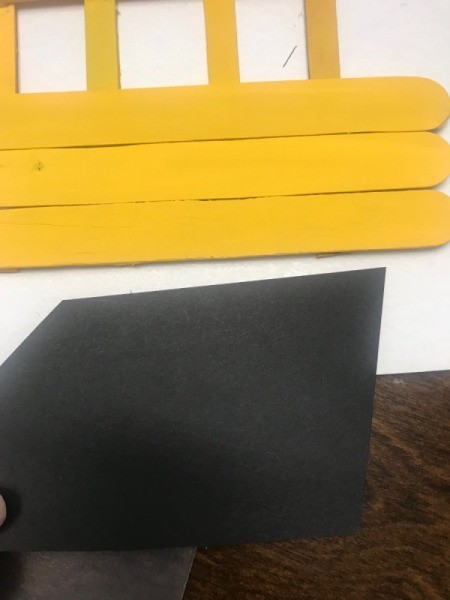
  1. Depending on the size of the bus you want to make, I used 4 skinny craft sticks and 3 wider craft sticks. Mess free painting is easy if you secure the sticks down with tape inside a box.
  2. Hanging School Bus Picture Frame - choose crafts sticks and tape inside a box for painting
     
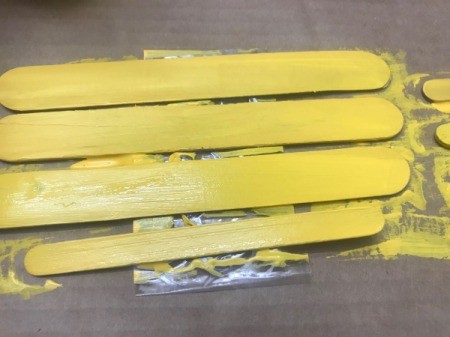
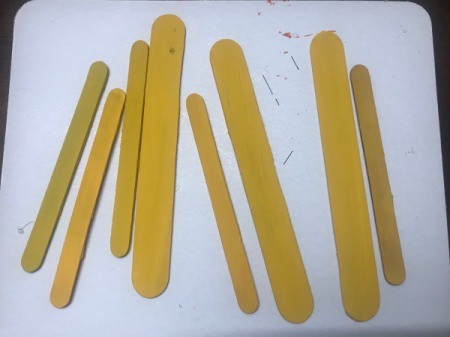
  3. Paint craft sticks with yellow paint and allow to dry.
  4. Hanging School Bus Picture Frame - paint them yellow
     
    Hanging School Bus Picture Frame - allow to dry
     
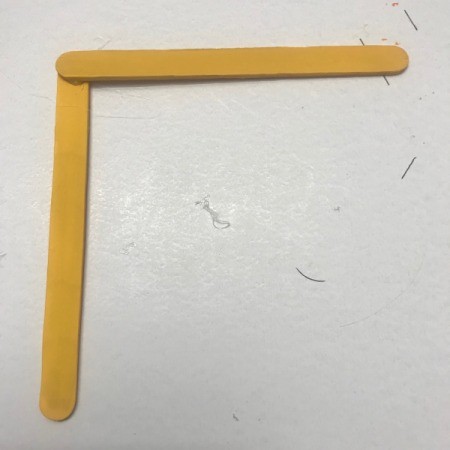
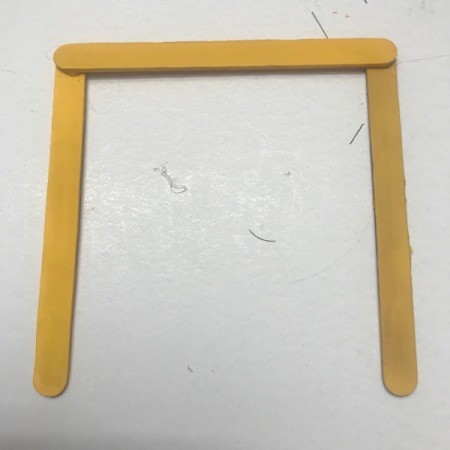
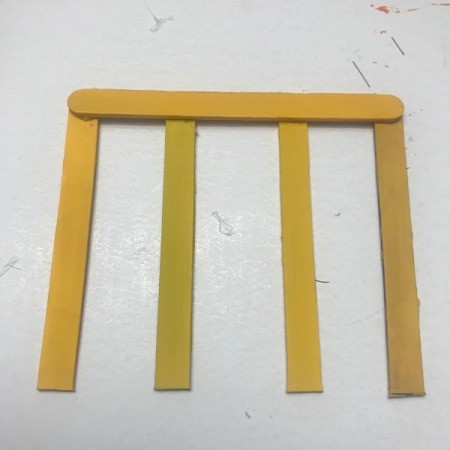
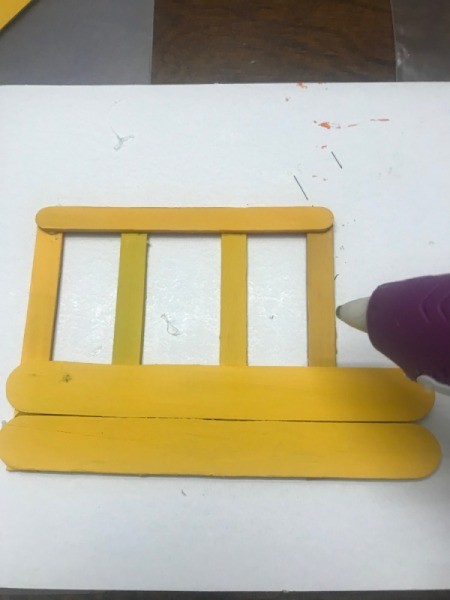
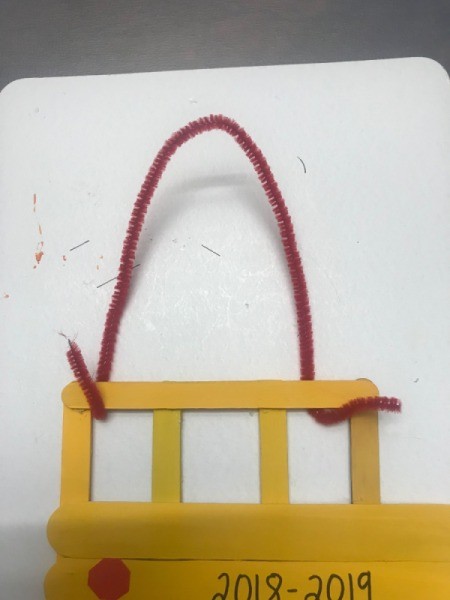
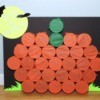
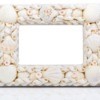
  5. Once the paint has dried you are ready to assemble the picture frame with hot glue. Glue as shown in the photos.
  6. Hanging School Bus Picture Frame - dry sticks ready to assemble
     
    Hanging School Bus Picture Frame - glue two together
     
    Hanging School Bus Picture Frame - add a third
     
    Hanging School Bus Picture Frame - space two in-between the sides evenly spaced
     
    Advertisement

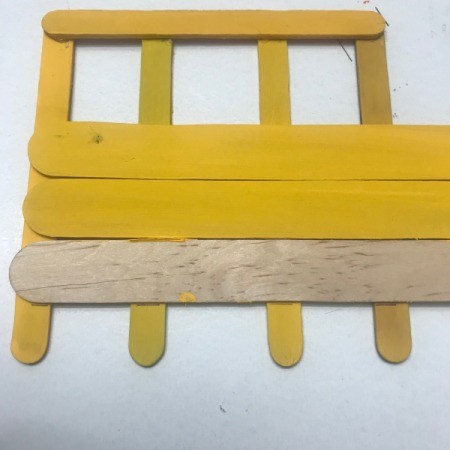
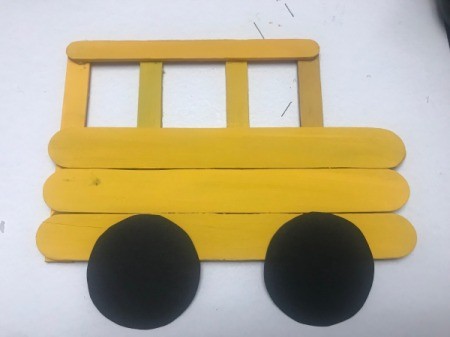
  7. Now determine how big you want the windows to be (this will fit your child's photo). Once you have determined a good size for the windows, draw a line and cut off the excess on the craft sticks with scissors.
  8. Hanging School Bus Picture Frame - using an unpainted craft stick to draw the cut line
     
    Hanging School Bus Picture Frame - lay sticks out to determine the window size
     
    Hanging School Bus Picture Frame - mark a line for cutting off excess
     
    Hanging School Bus Picture Frame - cut off excess
     
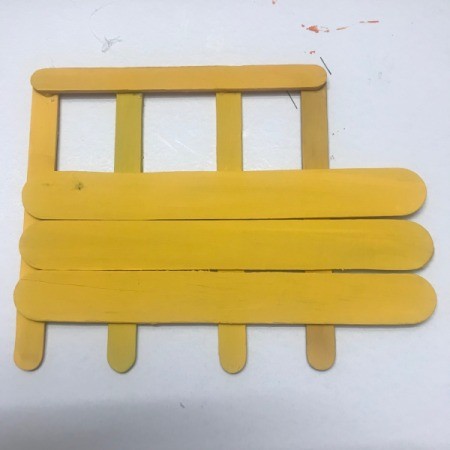
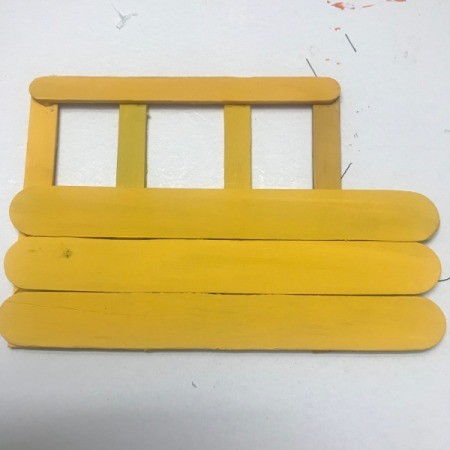
  9. Hot glue the 3 craft sticks to the picture frame.
  10. Hanging School Bus Picture Frame - glue sticks in place with hot glue
     
    Hanging School Bus Picture Frame - adding third stick
     
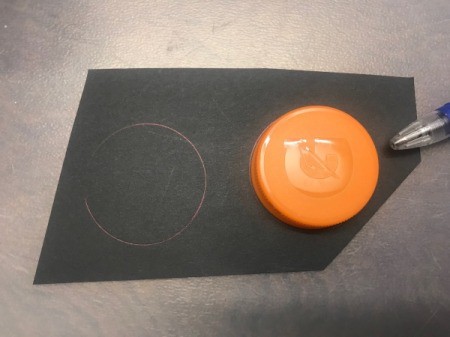
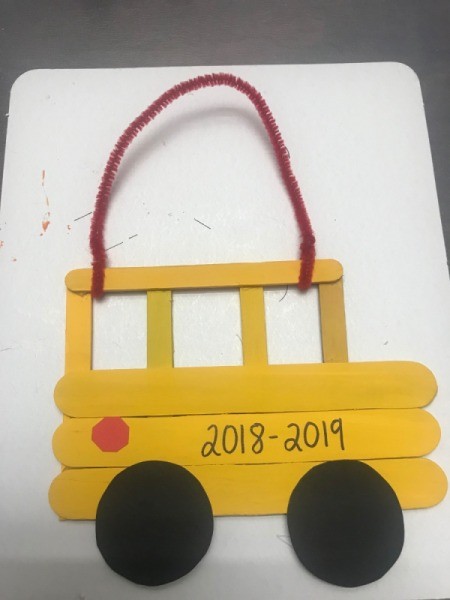
  11. On black construction paper, use a circular object (I used a Gatorade cap) to trace shapes that resemble tires. Cut the two pieces out.
  12. Hanging School Bus Picture Frame - black paper for tires
     
    Hanging School Bus Picture Frame - trace two circles and cut out
     
    Advertisement

  13. Using a glue stick, glue the tire/wheels onto the bus.
  14. Hanging School Bus Picture Frame - glue the circles to the bus with the glue stick
     
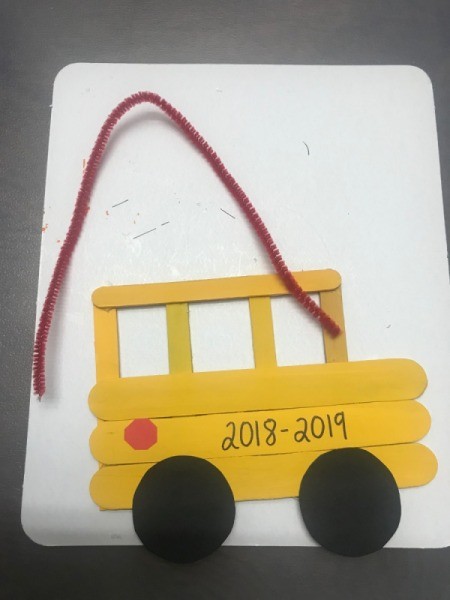
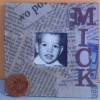
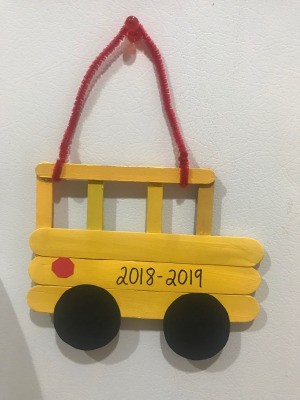
  15. To make the school bus picture frame hangable, use a pipe cleaner. For the finishing touches, I wrote 2018-2019 with a Sharpie on the side of the bus. I also added a small red paper stop sign to the rear end of the bus.
  16. Hanging School Bus Picture Frame - use a pipe cleaner for the hanger
     
    Hanging School Bus Picture Frame - twist the pipe cleaner through the windows
     
    Hanging School Bus Picture Frame - mark school year on the bus with a Sharpie. You can add a red circle for a light.
     
Comment Pin it! Was this helpful? 4
In These Pages
Categories
Crafts Framing DecorativeMarch 5, 2020
Pages
More
🍂
Thanksgiving Ideas!
🎃
Halloween Ideas!
Facebook
Pinterest
YouTube
Instagram
Contests!
Newsletters
Ask a Question
Share a Post
Categories
Better LivingBudget & FinanceBusiness and LegalComputersConsumer AdviceCoronavirusCraftsEducationEntertainmentFood and RecipesHealth & BeautyHolidays and PartiesHome and GardenMake Your OwnOrganizingParentingPetsPhotosTravel and RecreationWeddings
Published by ThriftyFun.
Desktop Page | View Mobile
Disclaimer | Privacy Policy | Contact Us
Generated 2022-10-25 14:31:54 in 3 secs. ⛅️️
© 1997-2022 by Cumuli, Inc. All Rights Reserved.
https://www.thriftyfun.com/Making-a-Hanging-School-Bus-Picture-Frame.html