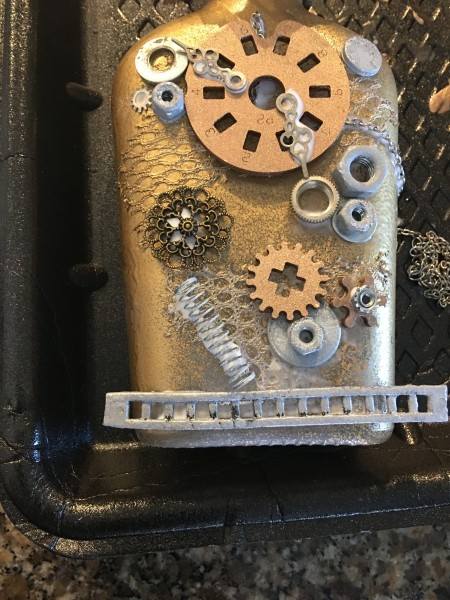
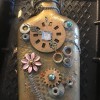
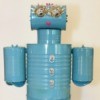
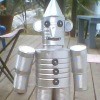
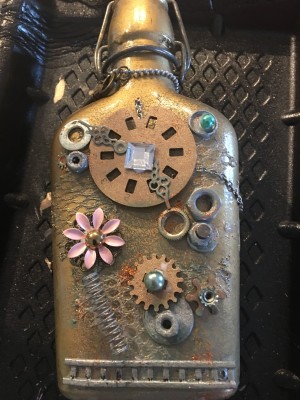
 This bottle is decorated with miscellaneous craft and hardware items to make it into steampunk art. Steampunk is an art form inspired by the industrial revolution. So this steampunk bottle has gears and hardware which depict "movement."
Total Time: 1 to 2 hours, allow drying time
Yield: 1
Supplies:
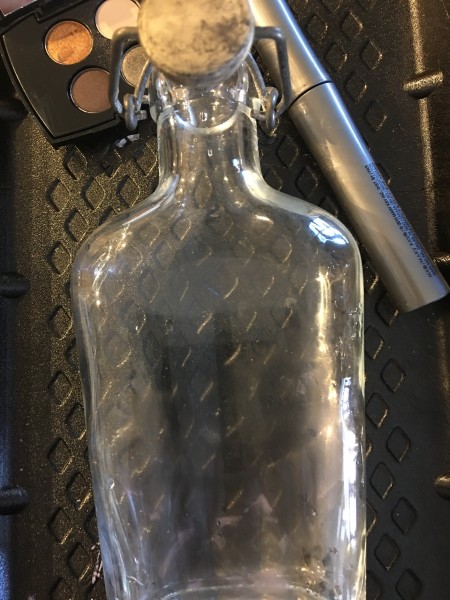
- 1 flat bottle
- fabric scraps
- white glue and paintbrush
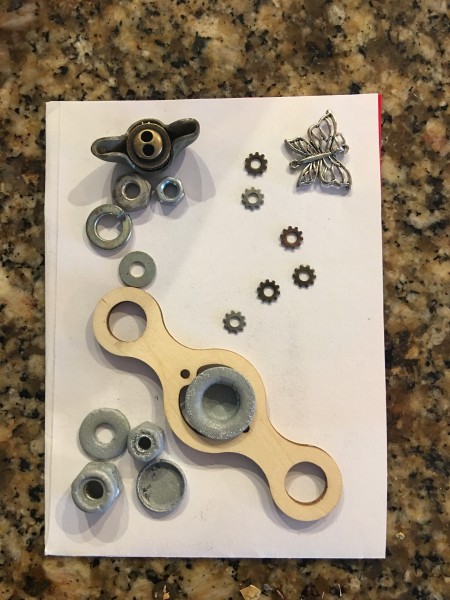
- miscellaneous crafts and hardware
- spray paint
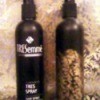
- homemade ink spray
- spray varnish
- craft glue
- embellishments
- glitter
Steps:
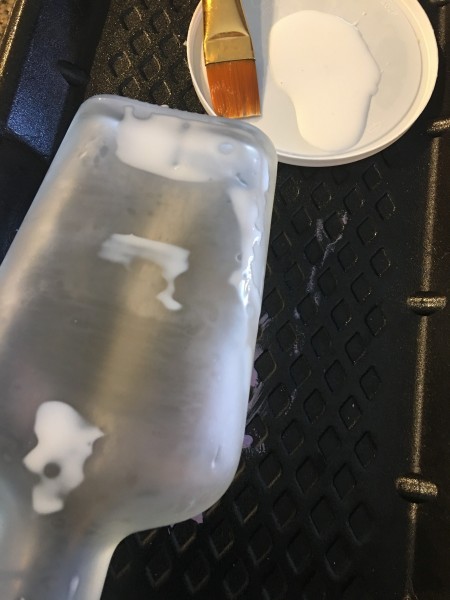
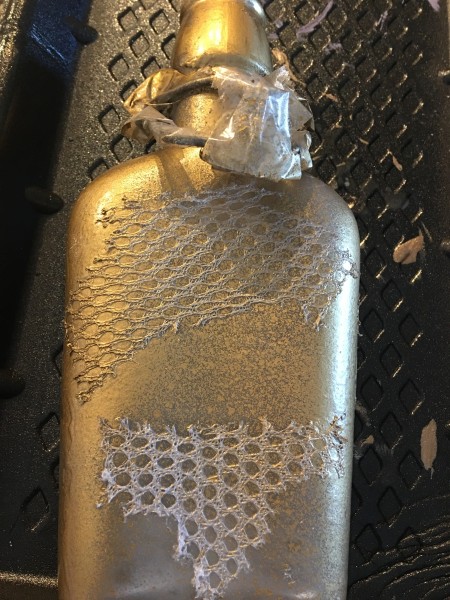
- Clean bottle with rubbing alcohol to remove any dirt, film, or stickiness. Using a wide paint brush, brush a layer of white glue all over both sides of the bottle. If there is a cork, you can make it looked aged with eye shadow and mascara, rubbing it onto the cork with your fingers. Allow to dry.
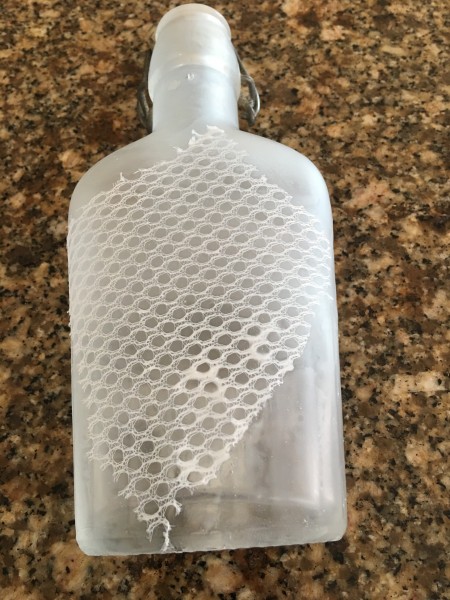
- Add scraps of fabric to front and back of bottle with glue. Allow to dry.

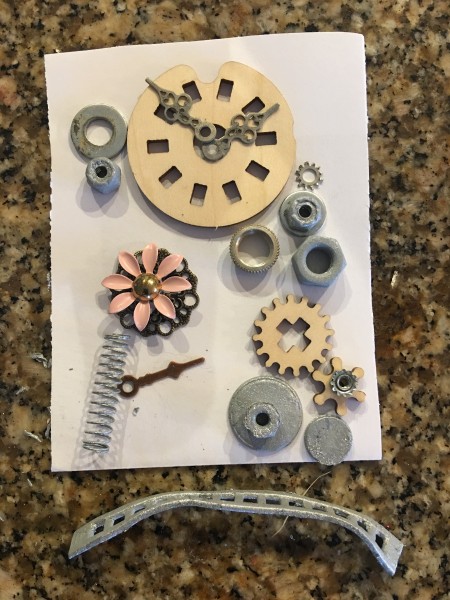
- On separate pieces of paper, design the front and back of the bottle using miscellaneous craft and hardware supplies, and embellishments. Take a picture of design for later use.
- Spray bottle with metallic spray paint, using a misting motion and not completely covering bottle with the spray paint, allowing some of the white "aged" look to show through. Let dry.
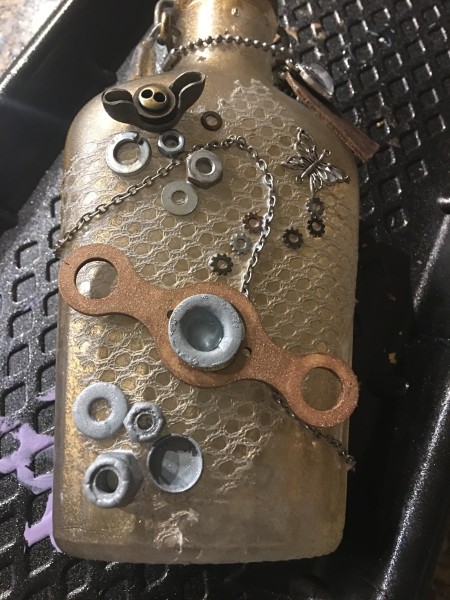
- Start gluing items to the front of the bottle, leaving out the embellishments you don't want painted. Let dry. Repeat process with back of bottle.
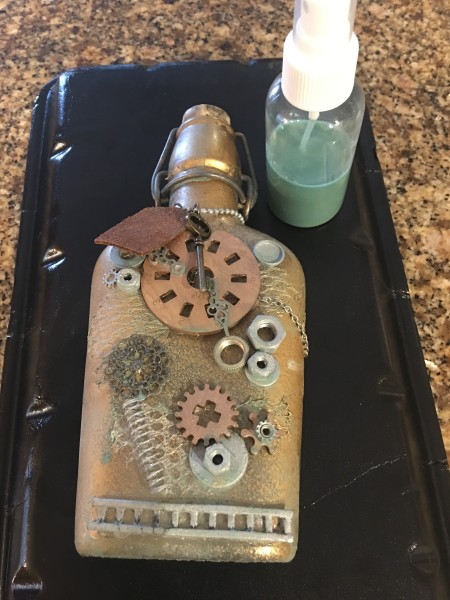
- Using an ink spray (mixture of half rubbing alcohol and half acrylic paint mixed in a spray bottle), spray parts of the front and back of the bottle. Dry.
- Spray varnish on both sides of the bottle and immediately add glitter if desired.
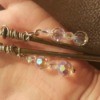
- Glue the rest of the embellishments onto the bottle. Let dry.
Add your voice! Click below to comment. ThriftyFun is powered by your wisdom!
15mhhm15
Diamond Post Medal for All Time! 1,298 Posts March 1, 20200 found this helpful
Love all the embellishments you put on your bottle! A nice decor piece.
Add your voice! Click below to comment. ThriftyFun is powered by your wisdom!