Use an old black and white photo to make a special birthday card that will stir some memories of days gone by.
Approximate Time: 30 minutes
Supplies:
- a suitable old black and white photo
- 8.2 inches x 6 inches lightly textured tan-colored cardboard
- 3.2 inches x 5.5 inches marbled tan-colored cardboard
- old gold acrylic paint
- one paper lace tray liner
see http://www.partyatlewis.com/ for a possible supplier
- 14-16 pearl heart pony beads
see http://www.smokymountaincraftsupplies.com/pony-beads-heartpearl.html for a possible supplier
- one ordinary sheet of tan-colored paper
- one matching envelope
- PhotoScape photo editing program (version 3.6), which can be downloaded free of charge from http://www.photoscape.org/.
- scanner and printer
- fine paintbrush
- quick drying glue
- pencil
- ruler
- pair of standard scissors
Instructions:
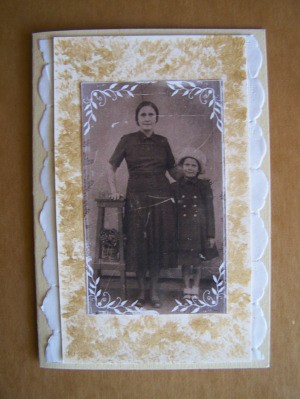
- Fold the 8.2 inches x 6 inches textured tan-colored cardboard crosswise in half to create a card 6 inches x 4.1 inches ~ use the ruler to make the fold neat and smooth.
- Cut two strips with a length of 5.5 inches each from the tray liner.
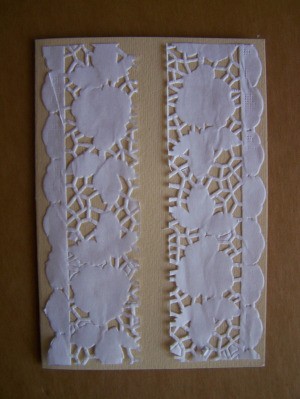
- With the fold at the left, glue each of these on the left and right side of the card.
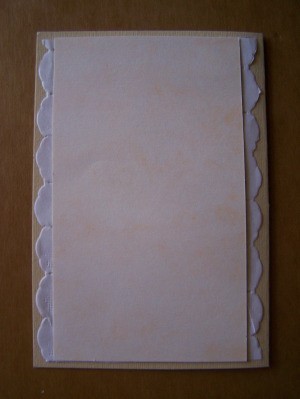
- Center and glue the 3.2 inches x 5.5 inches marbled tan-colored cardboard to the front of the card.
- Scan the photo onto your computer.
- With the PhotoScape program, click on the Bright/Color-button and then choose Sepia to change the color of the photo.
- Next, add an antique photo filter (nr 4). This will give the photo an even more aged look.
- From the different frames that could be added to the photo, choose the Antique 02 frame and set the width at 200%.
- Save the adjusted photo onto your computer. Then, print the photo via PhotoScape, using the 3 x 4 inches size option.
- Cut out the printed photo.
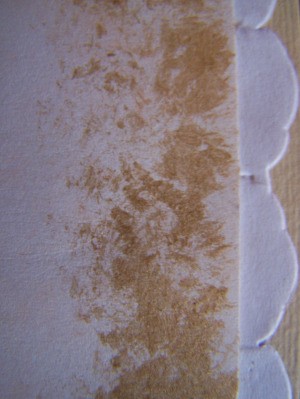
- Use the old gold acrylic paint and the fine paintbrush to add some detail to the marbled cardboard.
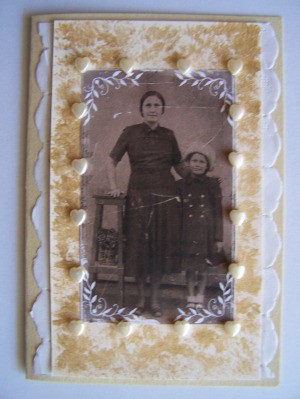
- Center and glue the printed photo to the front of the card.

- Glue the pearl heart pony beads around the photo to make a frame.
- From the sheet of ordinary tan paper, cut a piece sized 7.6 inches x 5.6 inches and fold it crosswise in half. Glue to the inside of the card to write a message.
Photos included:
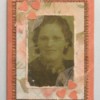
Photo 1: The original photo used for the project.
Photo 2: Cut two strips from the tray liner and glue each of these on the left and right side of the card.
Photo 3: Center and glue marbled tan-colored cardboard to the front of the card.
Photo 4: Use the old gold acrylic paint to add some detail to the marbled cardstock.
Photo 5: Center and glue the printed photo to the front of the card.
Photo 6: The completed card.
By Benetta from Pretoria, Gauteng