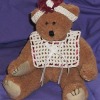
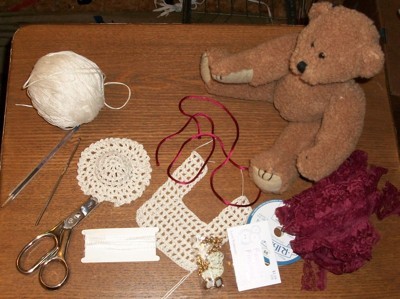
With some thread and ribbon, some roses and a bit of time, you can deck out your baby with this adorable fancy bib and headband.
Approximate Time: 1.5 hours
Bib
I crochet in double strands as it is easier for me. This pattern will be smaller if you go with a single strand, but if you do, you will simply fit it on a smaller bear. Therefore, you can't lose either way.
With the strand you choose in hand, ch 34. Turn, and make a DC in 6th chain from hook, ch 1, skip 1 ch, and make a DC in the next ch. You will make this ch 1, skip 1, DC in next across to the end.
It is essential to follow this base row to the letter, as the item must be 32 stitches. It was for my bear at least, so if you are making a bib with two shoulder seams, you have to have a number divisible by 4. Each shoulder part will be 25% and the neck hole will be 50%. In other words, you can't have an odd number as you can't have 1/2 a stitch.
Once the base row is established, ch 3, turn, and make a DC on the DC below, and continue with this pattern till you have seven rows.
On the 8th row, repeat the pattern till you have done 5 DC's (one being the ch 3 from the beginning). Keep going with this till you have another 7 rows. Break off and fasten.
Beginning with the outer edge of the other side of bib, join, ch 3, make DC in DC from below, and do the same with this shoulder section as you did the other. Break off and fasten.
You basically have a 14 row square, but with the center 50% neck hole missing.
From the back of the neck hole, weave over and under some ribbon of your choice, folding over with a miter on the corner of the shoulder seam to go across the front, then doing that again to go up the sides. Leave at least 5-6 inches for tying.
Note: Make sure you are using a ribbon that is the same texture on both sides. Some are shiny and some are not, so this matters.
On the outer side of the bib in back, weave the ribbon around the outer edge of the bib, doing the same as the inner edge around the neck.
Fold over and make sure you didn't bunch up or gather the ribbon and when it's all smooth, glue the outer edges down to the underside of the garment.
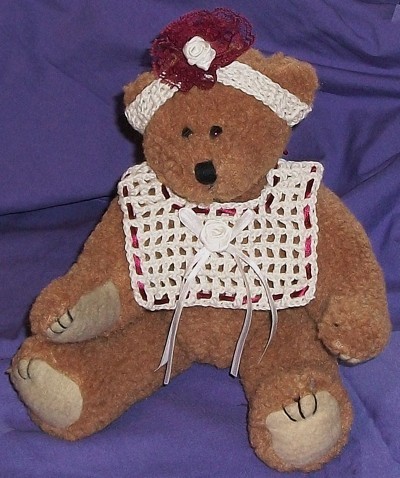
Embellish with ribbon, roses, buttons, or any theme you are going for.
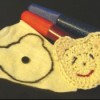
Headband:
Ch 5, turn, using the last two for a DC, make 3 more DC's across ch. Ch 3 and make 3 more DC's across. Keep doing that till the length of your headband is the size you need for your bear's head. Mine was 22 rows, but yours may not be.
I gathered a 4 inch piece of ruffled lace to make a rose, then put a button in the middle, and hot glued it to the headband once it is on the bear. I liked the center of this one, but you can also go off center if you choose.
You will see a hat in the photo, so I am going to include the instructions for that, too, but it was too small for my bear so I didn't take the photo with it on.
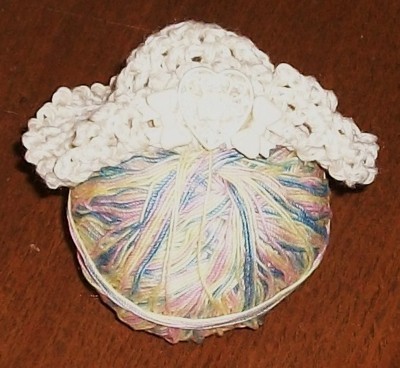
Bonus Hat
Ch 4, join for ring. Make 8 DC's in ring, join w/sl st. Rows 1-2: Ch 3, make 1 DC 1 DC from below, ch 1, make another in same ch, ch 1 and repeat for the next 7 DC's from below, making the base circle.
To Cup Hat: Rows 3-4: Make 1 DC in each DC, ch 1 and keep this pattern for two rows.
To Flare Hat:
Row 5: Ch 3, make DC in same st. Make 1 DC, ch 1, 1 DC in each DC from below.
Row 6: Repeat row 5 but make a ch 1 between all DC's.
Border: Ch 4, sl st to second st from below. Make a loop like this around, skipping one stitch and joining each loop in every other st.
Break off and fasten. I wanted a garden hat look, so I folded up the front, and embellished with ribbon and buttons. You can go with any decorations you want.
This project was a labor of love. My bear is approx. 5-6 inches wide and about 12 inches long.
I hope you enjoy this.
By Sandi/Poor But Proud from Coos Bay OR
Add your voice! Click below to comment. ThriftyFun is powered by your wisdom!
How adorable. The directions are fairly easy also. I collect Boyd's Bears and have far more now that I can dress up. Thanks for sharing.

Wow, Sandi, how cute!
Add your voice! Click below to comment. ThriftyFun is powered by your wisdom!