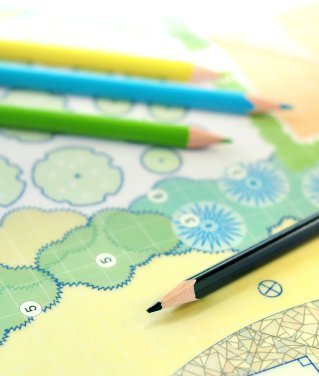
Formulating a landscape design plan can be an overwhelming prospect. The goal is to develop an attractive, cohesive plan that fits your needs, without overwhelming (or under-whelming) your home. Here are some tips for getting started, broken down into six easy steps.
The first rule of landscape design is to inventory what you have before trying to figure out to what to do with it. This requires careful observation and a methodical march around your property (notebook in hand) to get an overall lay of the land. While doing so, pay attention to the following:
If you've just moved into a new or neglected property, take it slow. Give yourself time to get acquainted with the existing landscape by living with it through all four seasons before taking action.
As you inventory your site, keep track of potential problems. This could be anything from an excessively damp area, to a dying tree or an obstructed view. Now think about how features in the existing landscape tie together. In other words, which features "feel" good together? Which features don't seem to "fit'? What features are missing and what potential problems exists that may prevent you from adding them? Spend some time thinking about and gaining a thorough understanding of existing problems and how they might be solved.
Part of your landscape design should satisfy your practical needs-a place to park the car, a path to get from here to there, protection from howling winds. The rest of your design needs to satisfy your aesthetics-pretty flowers, dramatic views, a welcoming space for entertaining. At this stage in the development of your plan, you need to sit down and decide what you want. Start by breaking your landscape down into three distinctive parts: public spaces (front yard, driveway), private spaces (patio, swimming pool), and utility spaces (garbage, electrical box, firewood).
As you start to loosely develop your plan, take a step back to make sure you haven't overlooked any large-scale features that might affect the design of the smaller areas. Try to separate the big problems from the little ones, and practical requirements from the aesthetic ones. For now, don't get hung up on small elements and minor details like what type of flower should go where, just focus on the basic overall plan.
Once you've sorted out most of the big elements of your overall design, you can begin developing plans for smaller areas. The approach to this is the same, just on smaller scale-what do you have, what do you want, what are the problems and solutions. Most importantly, your decisions can now be informed by the overall plans for the rest of your property.An Easy Technique for Developing Your Design: Computer software and landscaping kits for do-it-yourselfers can usually be found in the garden section of bookstores, but a simpler (and often less expensive) way to develop your landscape design is to experiment with photos and transparent overlays. This technique works especially well for designing the large pieces of the landscape, such as border shapes and structures, rather than for laying out the details.To get started, take photos of the areas you plan to design and have 8 x 10 prints made (Black and white prints are easiest to work with). Shoot each area from several different vantage points. Buy a package of transparency paper (acetate sheets) and a few different dry-erase markers or colored grease pencils from a local office supply store.Tape a piece of acetate to the photo and start to sketch. Start with large-scale elements first, like walking paths and arbors, and then use another overlay to fill in the areas around them with trees and plants. Don't worry about making mistakes. You can always erase and start over. Once you get the hang of it, have fun and see what works for you!
When it's time for the actual construction process to begin, one way to avoid overwhelming yourself is to take things in stages. If you're taking on large projects that require a lot of excavating, you'll save money if the contractor you hire can bring in all the heavy equipment only once. Otherwise, start with projects near the house first (or other areas you're likely to use often) and work your way out to the property edges.

About The Author: Ellen Brown is an environmental writer and photographer and the owner of Sustainable Media, an environmental media company that specializes in helping businesses and organizations promote eco-friendly products and services.
Add your voice! Click below to comment. ThriftyFun is powered by your wisdom!