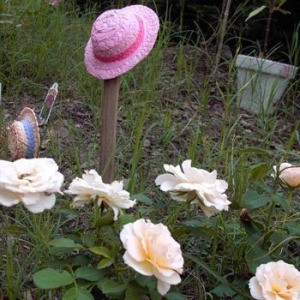
Last summer just after Easter I purchased a dozen little straw hats just the size for dolls from a sale rack. They were just drab straw colored so I decided to paint them. Then to go a step further I hot glued them onto skewers and a few old pieces of throw away wood scraps I had around to make colorful plant stakes. I stuck them into the ground where my new rose bushes were just taking off. They added such pretty colors and lots of conversation interest for my friends and neighbors! Look everyone! Blooming Bonnets!
By Kimi Sunshine from Nashville, TN
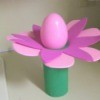
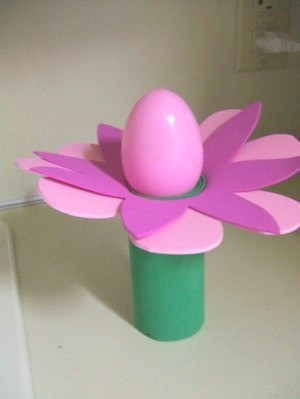
With just some colorful craft foam, plastic Easter eggs, and a few other inexpensive supplies you can create these cute flowers. This is a page about how to make plastic egg flowers.
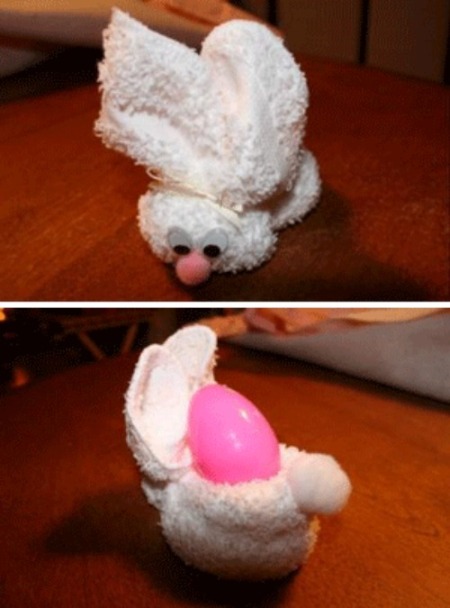
By folding a towel or washcloth in certain ways you can create a cute bunny to help decorate this Easter. This is a page about how to make a towel Easter bunny.
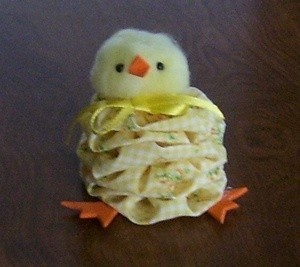
These sweet yoyo chicks and bunnies are the perfect non sugary addition to your child's basket. They are also fun and easy to make.
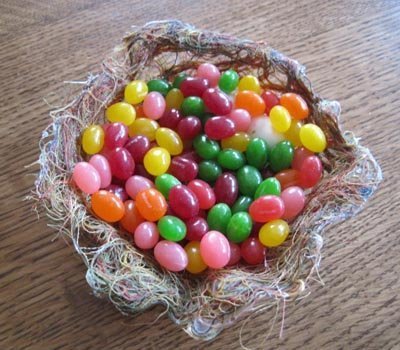
This is a page about making a string basket. Using thread from raveled fabric or some purchased especially for the project you can make a truly unique basket.
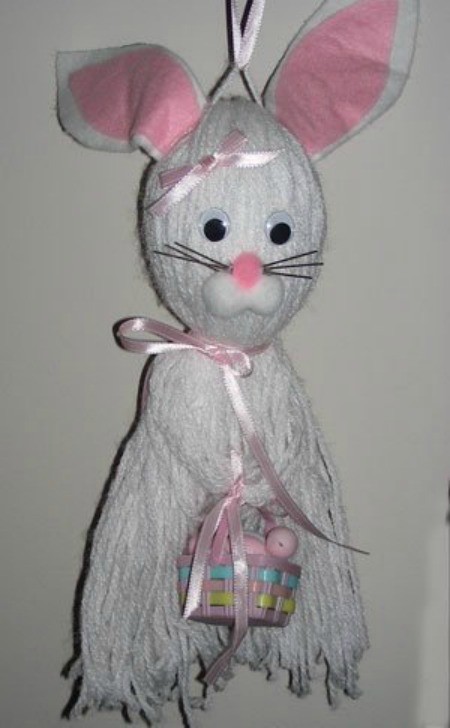
Try this pretty easy, fun craft to make with a child for an Easter toy. This page is about how to make a yarn bunny.
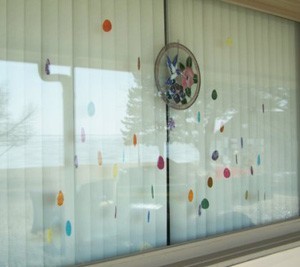
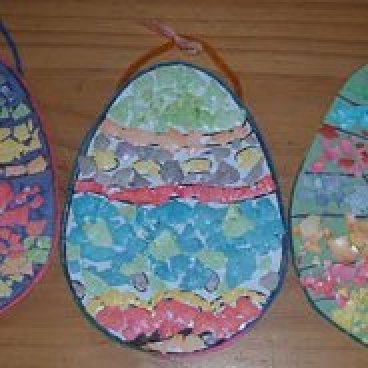
Cut brightly colored fabrics into egg shapes and string them in a row to make this festive window decoration. This is a page about making an Easter egg curtain.
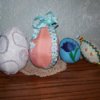
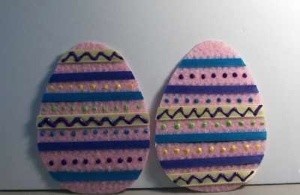
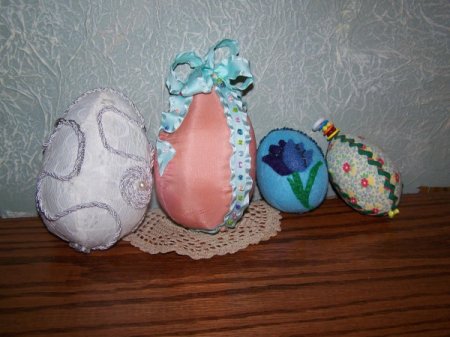
Make this fun egg craft with your kids for Easter decorations. This page has directions for making felt and ribbon eggs.
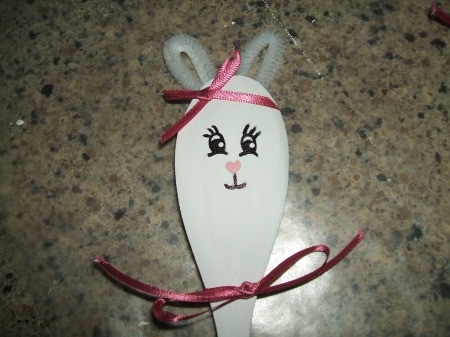
Turn a plain wooden spoon into this cute decoration to add to flowers or a potted plant as a gift at Easter or any time. This page contains a wooden spoon bunny plant poke craft.
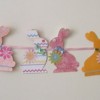
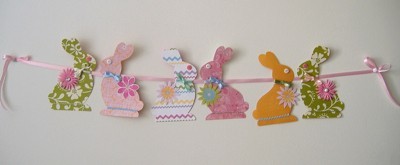
This page contains an Easter bunny garland craft. This adorable Easter bunny garland is easy to make. It's a great way to use up extra scrapbooking papers too.
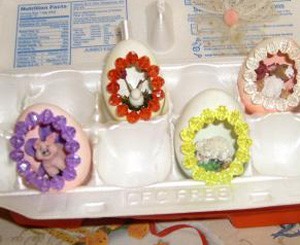
Use blown eggs and small flowers, beads, figures, etc. to make these one of a kind egg dioramas. This is a page about how to make egg dioramas.
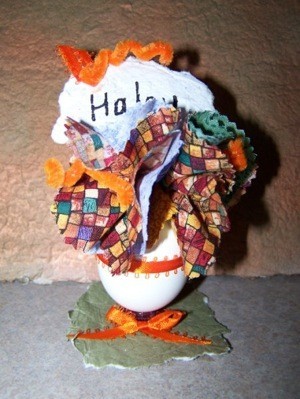
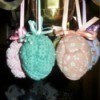
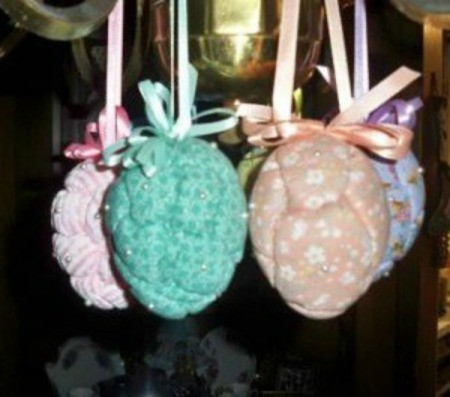
By pushing fabric into a Styrofoam egg you can make these quilted look Easter egg decorations. This is a page about how to make "quilted" Easter eggs.
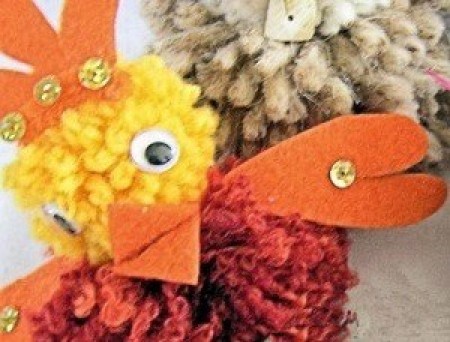
With the knowledge of a few craft basics, yarn, card rings and scissors you can create a cute pompom chick. This page is about making a yarn pompom chick craft.
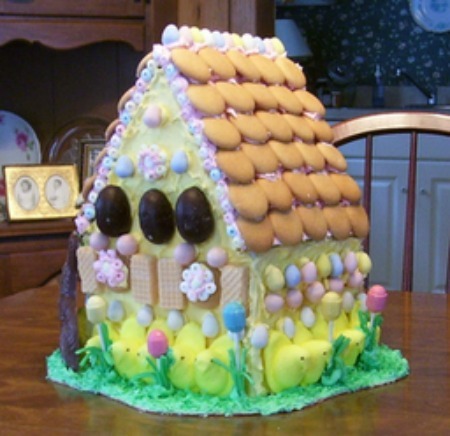
Continue the fun of the Christmas gingerbread house creation at Easter. Make a bunny themed house for more tasty fun. This is a page about Easter gingerbread house.
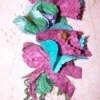
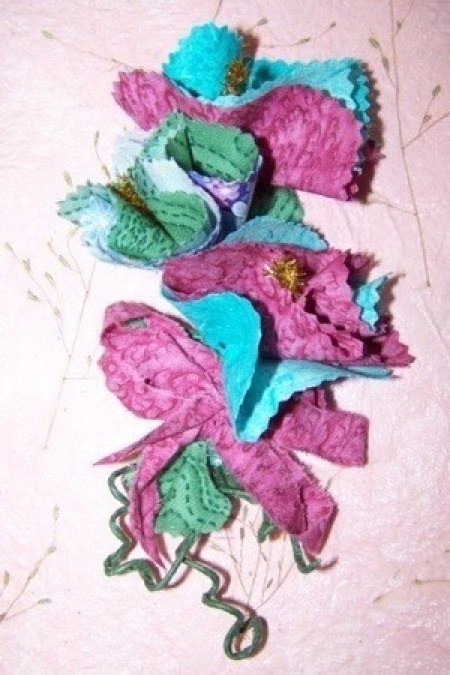
This colorful Easter corsage would make a great gift. This is a page about making a fabric easter corsage.
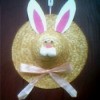
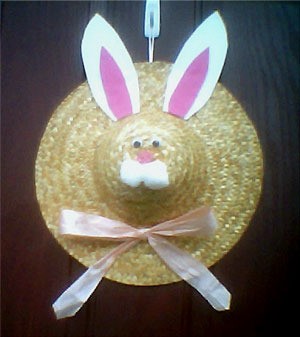
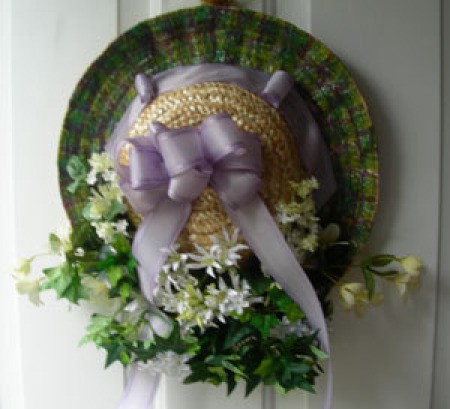
Turn an inexpensive straw hat into a cute bunny decoration for your wall or door. Hang it this spring or for Easter. This is a page about making a straw hat bunny.
The appearance of these stuffed fabric eggs can be altered by your choice of material and decorations. This is a page about making fabric Easter eggs.
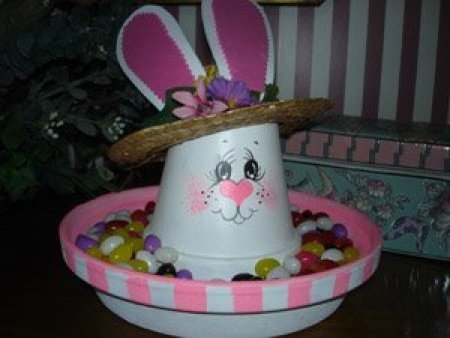
This cute little clay pot bunny will look great as part of your Easter decor and the candy only sweetens his appeal. This is a page about making a clay pot Easter bunny candy dish.
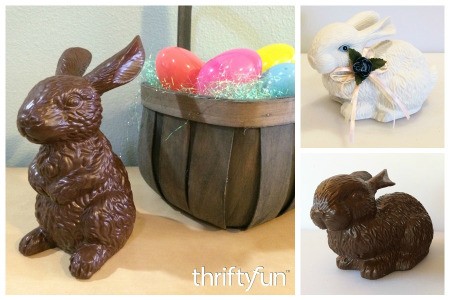
Create a "chocolate" Easter bunny for decoration by recycling ceramic figurines. This is a page about making faux chocolate bunnies.
This page contains the following solutions.
Start by cutting out your cardboard in the shape of an egg. Cover with a piece of construction paper. You could use hot glue or elmer's. If you use elmer's you have to let it dry before you glue on your eggshells. Then hot glue on the yarn around the outside of the egg. . .
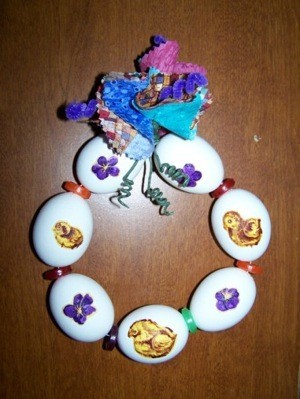
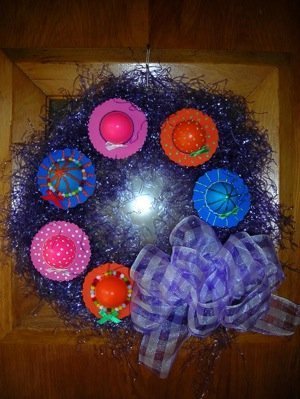
Bits and pieces of inexpensive craft items can be used to create an eye-catching Easter wreath for your front door.
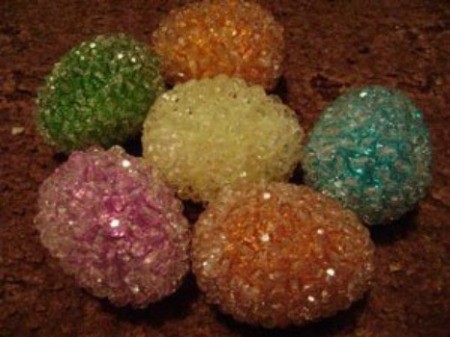
Take plastic eggs and glue on crystal beads. Let dry, put in basket and enjoy.
This craft makes a lovely Easter and spring decoration for your front door. Start by pulling the layers of the napkins apart, usually two-ply. Cut up napkins into 4x4 inch squares.
A take home favor or place card holder. With a needle or other sharp tool break a small hole in both ends of an egg. Wiggle a toothpick around inside to break the yolk so it all will blow out clean.