Check out these ideas shared by the ThriftyFun community!
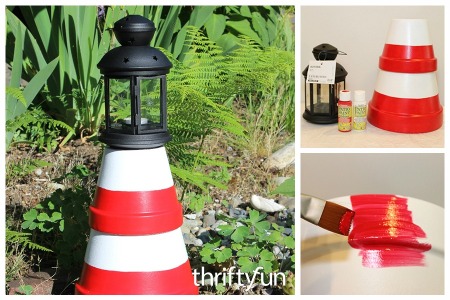
An inexpensive craft project made with clay pots is a lighthouse for a garden decoration. This is a page about making a terra cotta lighthouse.
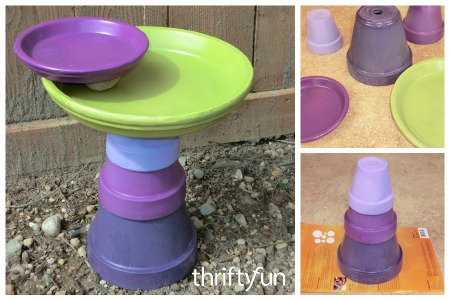
Using a few inexpensive terra cotta flower pots you can make a beautiful bird bath for your garden. This is a page about making a flower pot bird bath.
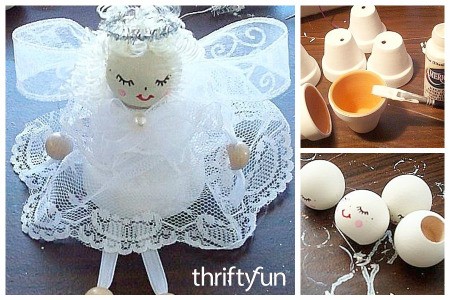
This page is about making clay pot angels. Terra cotta clay flower pots are a great starting place for many crafts.
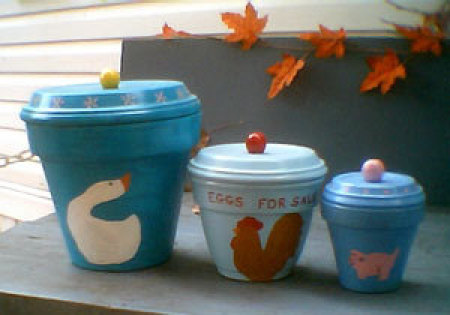
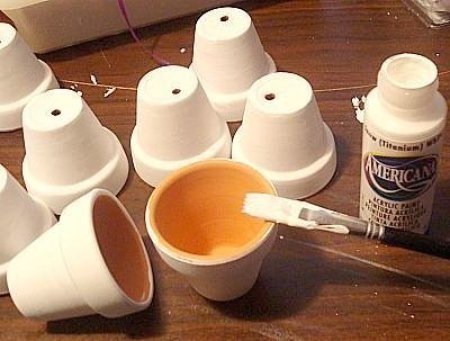
Terra cotta pots are inexpensive and can be painted and transformed into pretty decorative containers. This is a page about painting terra cotta clay pots.
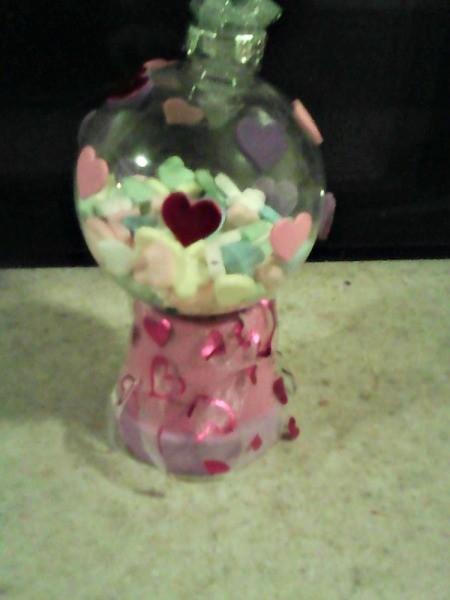
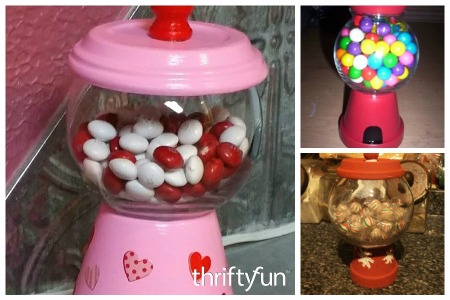
This is a page about making a terra cotta gumball machine. Use a painted and decorated clay pot and saucer, and a glass bowl to make a cute candy or gumball machine.
This curious bunny is upside down in this flower pot decoration. This is a page about making a curious bunny pot.

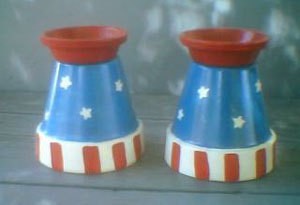
Clay pots and saucers can be painted with patriotic colors and used as decorative candle holders for the 4th. This is a page about making 4th of July candle holders.
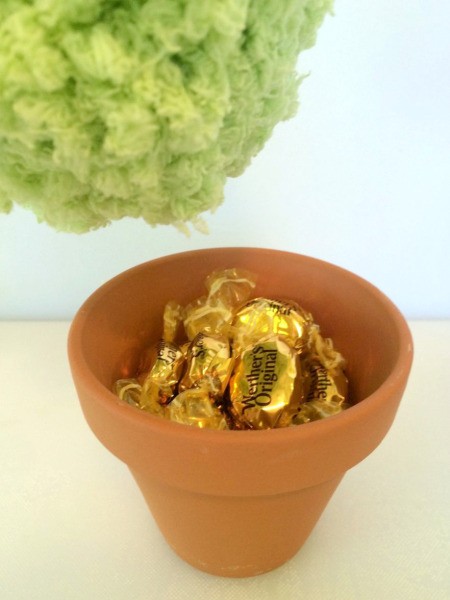
This is a page about making a pom pom plant candy dish.This cute decoration hides the candy underneath the colorful pom pom.
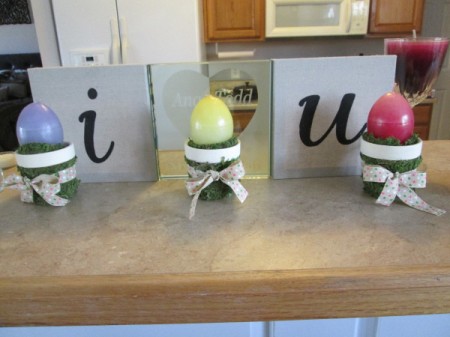
This is a page about making mini moss covered pots. It is fun and easy to make these cute mossy decorations.
An inexpensive and easy way to decorate plain flower pots is by wrapping them in twine. They can be used for plants or as cute decorative containers.

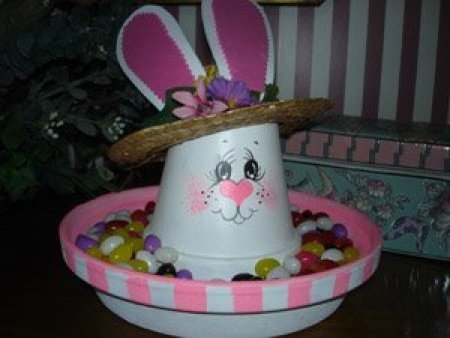
This cute little clay pot bunny will look great as part of your Easter decor and the candy only sweetens his appeal. This is a page about making a clay pot Easter bunny candy dish.
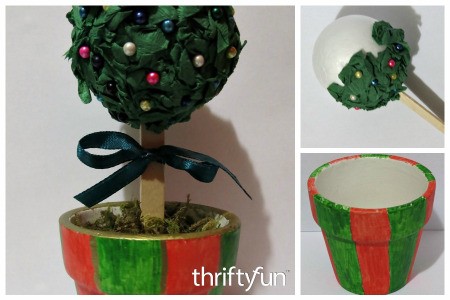
This is a page about making a miniature Christmas topiary tree. Making a small tabletop topiary for the holidays is a great project for creating a unique decoration.
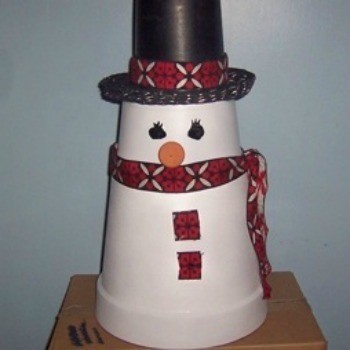
This page is about making a clay pot snowman. A simple holiday gift or decoration can be made with a flower pot.
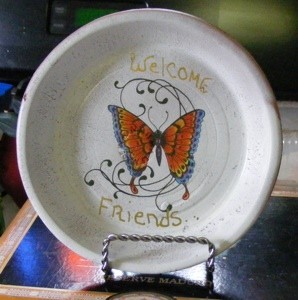
I spray painted the bottom of the clay pot saucer white and added a body tattoo butterfly. I wrote "Welcome Friends" with a gold paint pen and sprayed a top coat of silicone.
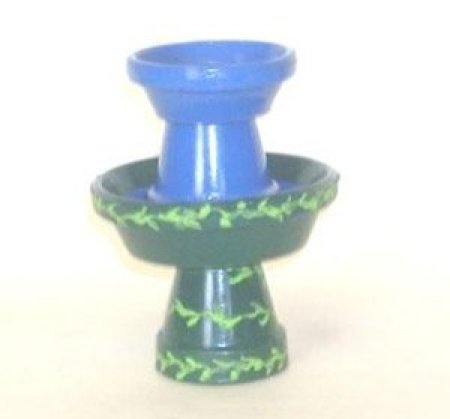
This cute clay pot craft is painted and stacked to look like a water fountain. You can place the water fountain outside a doll house or just use it as a place to put change.
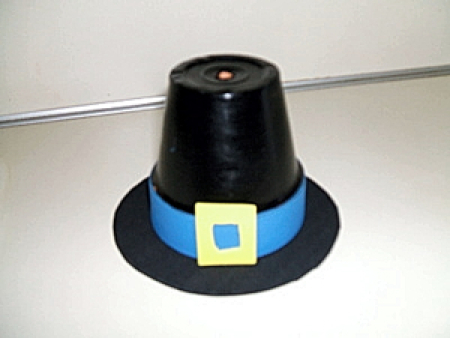
These cute little pilgrim hats make great place cards for your Thanksgiving table that guests can take with them.
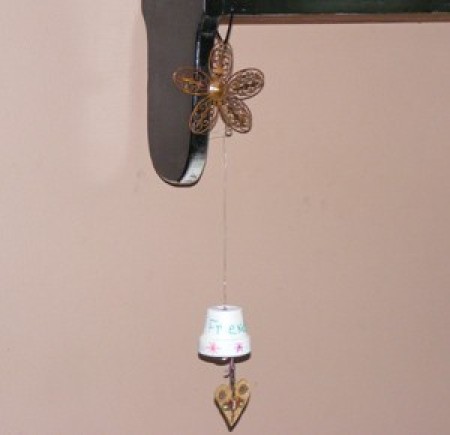
This is a mini bell I made from a terra cotta pot, paint, and odds n ends.
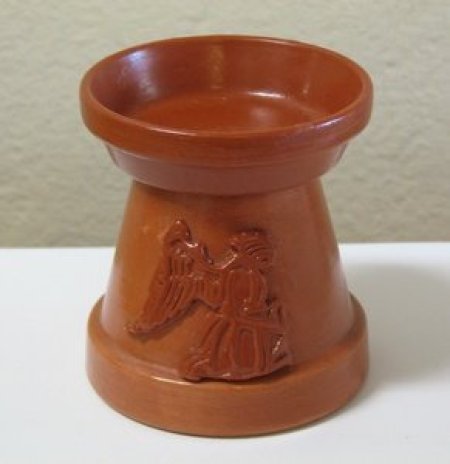
This candleholder is made from a terra cotta flower pot and saucer. I have a rubber stamp of the angel, which I pressed into some scrap polymer clay and baked to make a mold.
This is just to show you another project you can do with the terra cotta pots. You do the same as the bird bath, just turn the top tray upside down and it is a table.

I made these clay pots for Christmas. You can change them up for Valentine's Day. Just change the colours and use Valentine candy. I used candy hearts. The girls loved them.