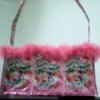
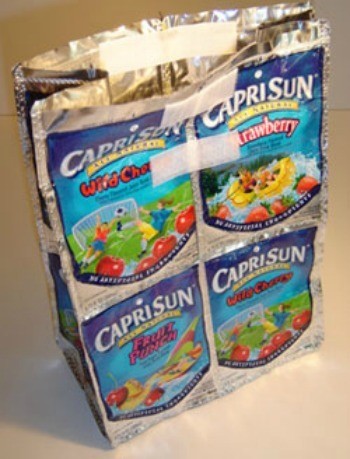
Using washed juice pouches, sew them all together and make a tote bag. The large ones are great for grocery shopping. Small ones are great for carrying as a purse.
Approximate Time: three to four hours for me
Cut top of pouches, wash in soapy water and rinse. Turn upside down on towel to drain and dry.
Sew pouches together: for large totes: four across and three down. Make two sides, and then two smaller strips for the sides.
Sew together all sides and add bias tape around top.
Sew two straps for handles.

By Sue from Sarnia, Ontario
This page contains the following solutions.
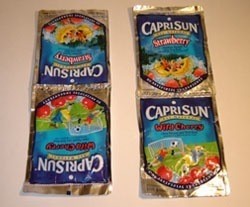
Recycling juice pouches into fashion accessories is a fun eco-stylish trend. All recycling projects require the same first step - cleaning. The great colors of the pouches make for endless design options.
Making crafts out of Capri Sun or KoolAid Jammer pouches can be a lot of fun. You can make cool and durable gifts. Below are instructions for making a checkbook cover that I made.
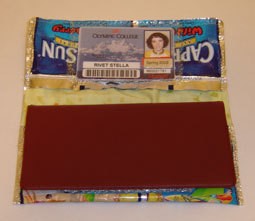
When making juice pouch wallets, you could also secure them by sewing on velcro as a closure. This would prevent your cards from randomly falling out of the wallet.
Here are the questions asked by community members. Read on to see the answers provided by the ThriftyFun community.
I am looking for more ideas and plans on making items with Capri Sun and KoolAid Pouches. Purses, bags, and etc.
Thanks so much,
Robin from Bison, SD
www.craftbits.com/
www.mormonchic.com/
www.thriftyfun.com/
I am not sure which ones you already have, but here are some ideas, cut the pouches so they are flat, with hole punch punch holes in them, then crochette together to form hats. Brim you would have to cut into shape for of course. You can also make visers, and purses.
I need a pattern for a Capri Sun backpack.
By Lynn P.
Here are a bunch of different patterns and ideas www.craftster.org/
I am looking for instructions for how to make Capri Sun pencil pouches.
By suzanne
Here is a link to (if I remember right) 30 patterns using foil juice packs like Capri Sun, but there is a price. With PayPal you can get them right away.
I would love any directions for juice pouch crafts (purses, wallets, belts, etc.) I am a mom who is finishing a college degree, and I see them all over campus.They look so fun to make, and I have a teenage daughter who wants them, too. Thank you!
Marie from Idaho Falls, Idaho
Editor's Note: Here are two Juice Pouch craft projects that are on ThriftyFun.
Here are some links to other tips and requests about Juice Pouch crafts.This is a page about making a recycled juice pouch lunch bag. Save your empty juice pouches and make this fun, recycled craft with your children.
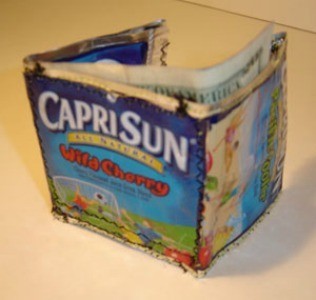
At varying times juice pouches have been a popular supply to use in making recycled crafts. Learn how to make a juice pouch tri-fold wallet with this tutorial.
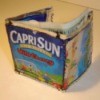
This page is about making a juice pouch purse. A fun way to recycle is to make a cute purse with containers that usually end up in the garbage.

ThriftyFun is one of the longest running frugal living communities on the Internet. These are archives of older discussions.
I have found several cool projects for juice pouches where you cut from the bottom. Unfortunately, I've been cutting the tops off and rinsing the pouches for storage.
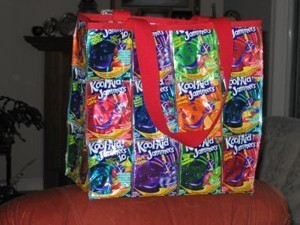
I love to sew and really like working with Capri Sun or Kool-Aid pouches. I am mostly house bound so I have lots of time on my hands. I have made purses, wallets, coin purses and check book covers.
Does anyone know how to make the juice pouch bags and lunch boxes? We are trying to go green and save money. Thanks.
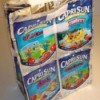
I recycle juice pouches to make useful crafts. These tote bags are great when shopping or traveling.

I would like to make a juice pouch (bag) wallet for my husband and a belt and checkbook cover for me. Can anyone tell me how or pictures of how?