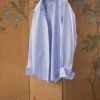
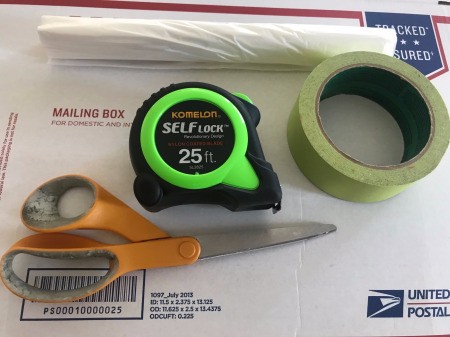
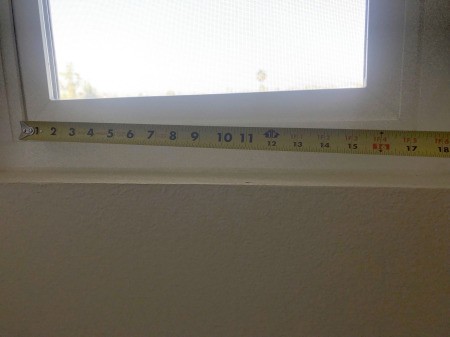
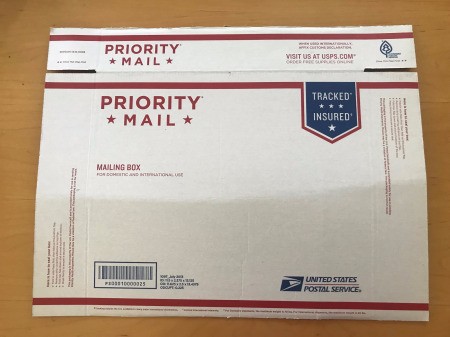
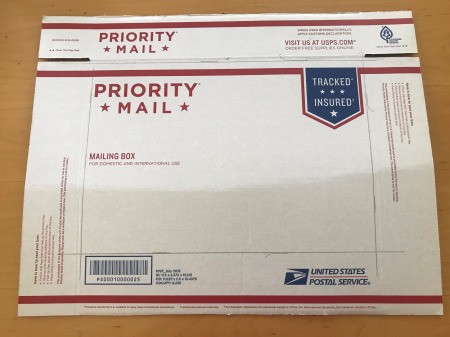
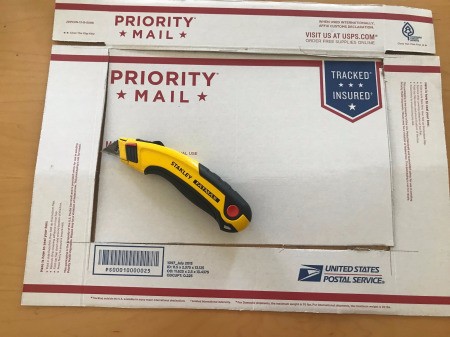
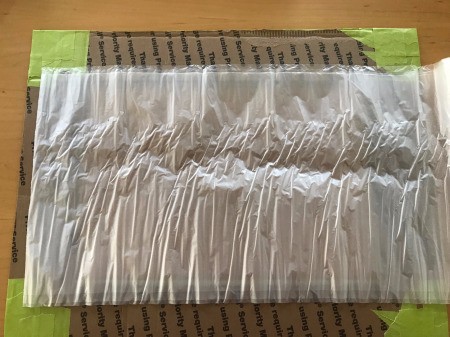
 With simple everyday items: cardboard/box, painter's tape, trash bag, scissors/box cutter, and measuring tape - you could make your own privacy screen for your window.
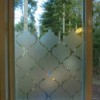
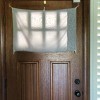
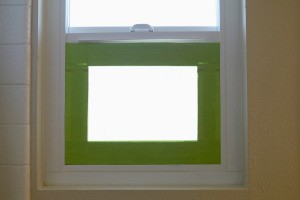
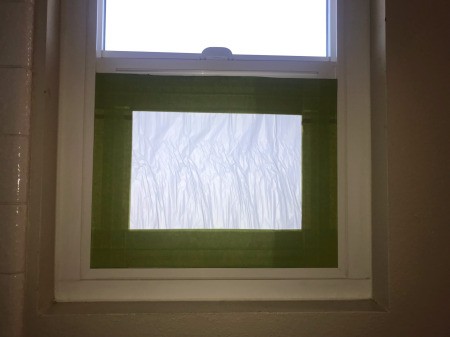
We have an upstairs bathroom where you can see down to other homes. Even though our home is up higher, it is very uncomfortable to use that bathroom. Here is a tutorial where I made this privacy screen literally for free with items I already had at home. We still get sunlight while having privacy in your own home!
Total Time: 45 minutes
Supplies:
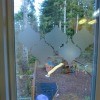
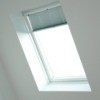
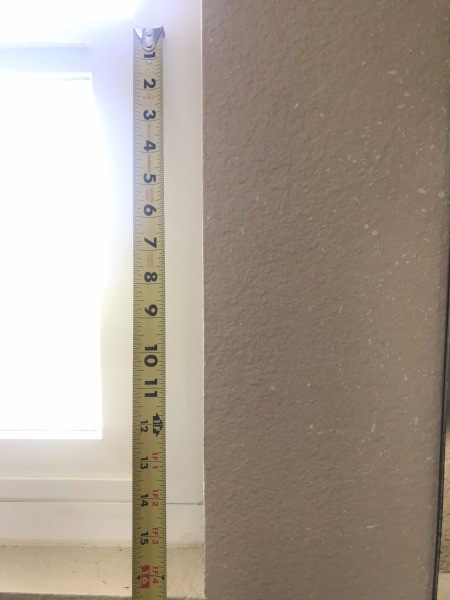
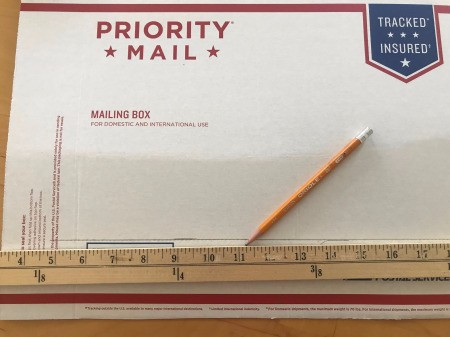
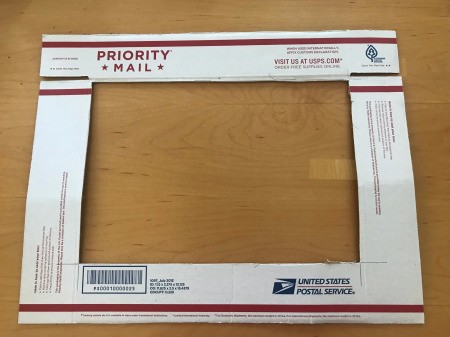
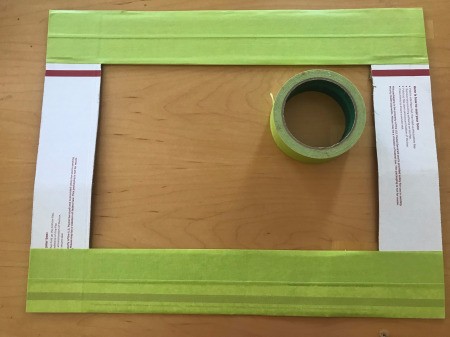
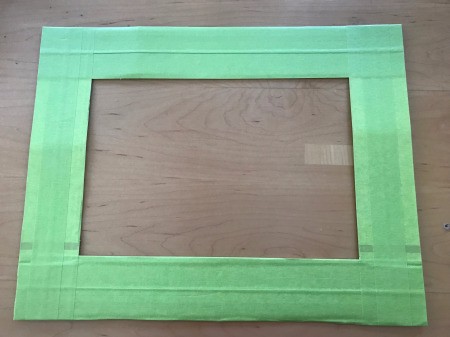
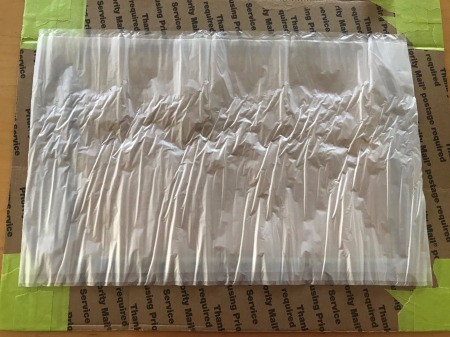
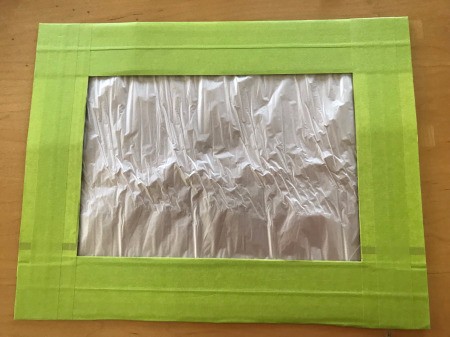
Steps:

Add your voice! Click below to comment. ThriftyFun is powered by your wisdom!
Thank you for this project, I'm always looking for something to do with these bags. There's only so many rugs you can use. Right?
Great idea!
Another idea is to use bubble wrap. Wash the window glass. Trim the bubble wrap to fit the glass. Lightly spray the bubble wrap and the window with water. Gently press the bubbles to glass, paying attention to the corners.
Add your voice! Click below to comment. ThriftyFun is powered by your wisdom!