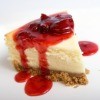
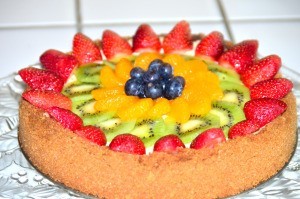
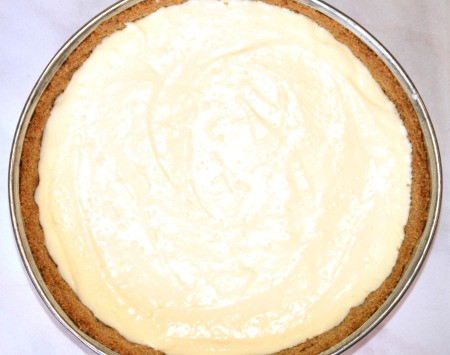
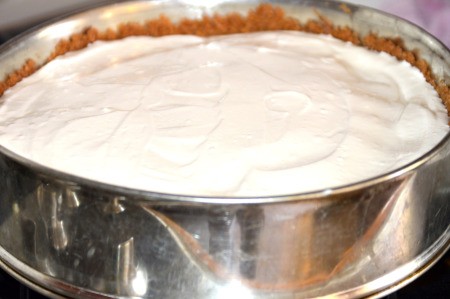
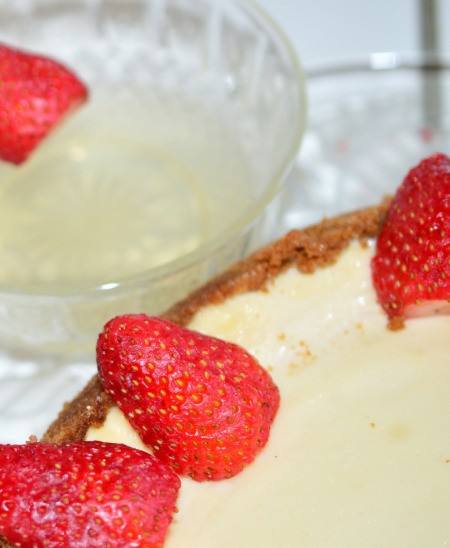
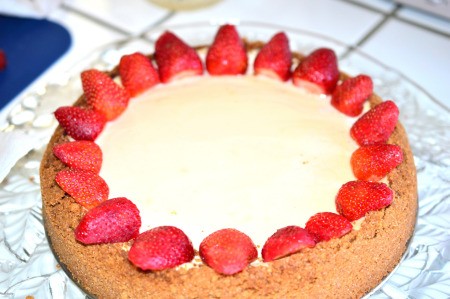
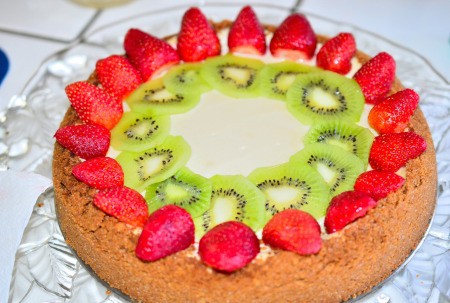
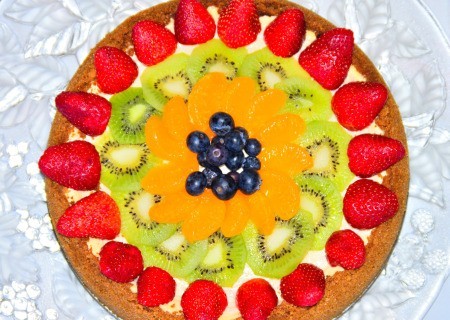
 This cheesecake is a little bit different from many others I've had over the years. It has layers that you see when you cut into it. There's a few cheesecakes with the sour cream added on top, but I've not tasted or seen any like this one; it is special. Everyone over the years has just enjoyed it to the max.
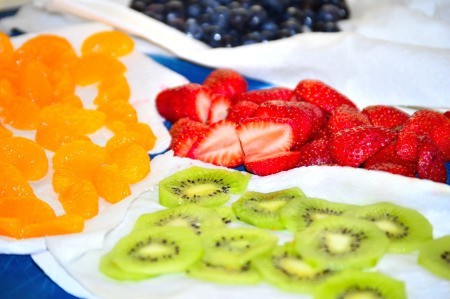
Years ago, I tweaked my mom's cheesecake recipe a bit (only by adding the fruit) on top, as that makes it so colorful and yummy. Sometimes I call it my "California Cheesecake", though I live in Vegas. I'm from CA.
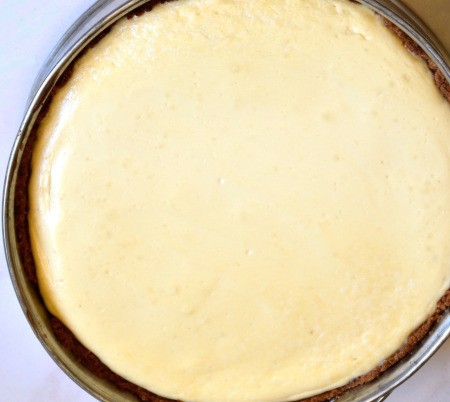
It's so creamy dreamy, and every bite is absolutely delicious. It takes a bit of time to make, but this is one of those things that's worth every minute to make, for every yummy bite later.
Prep Time: 45 min approx
Cook Time: 45 min
Total Time: 1.5-2 hrs
Yield: 8
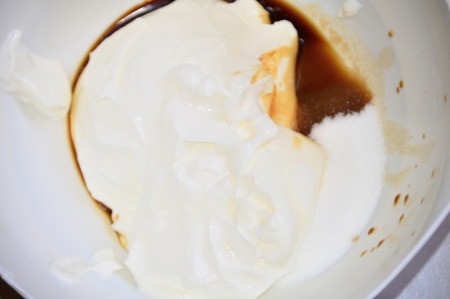
Source: Thanks to my mom and her cooking growing up!
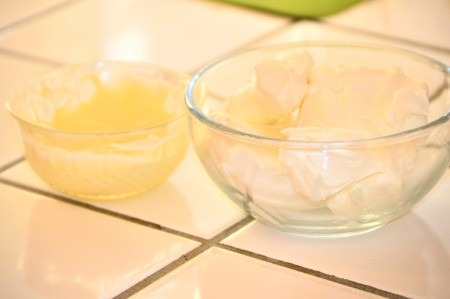
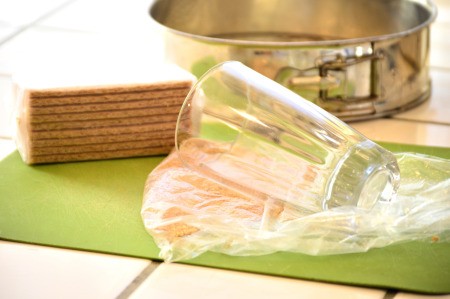
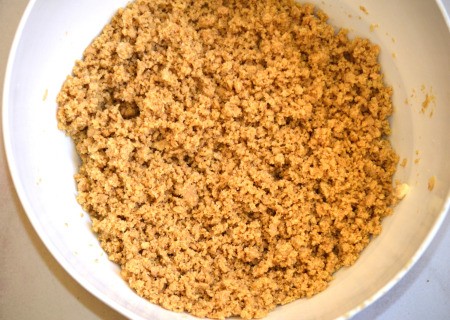
Ingredients:
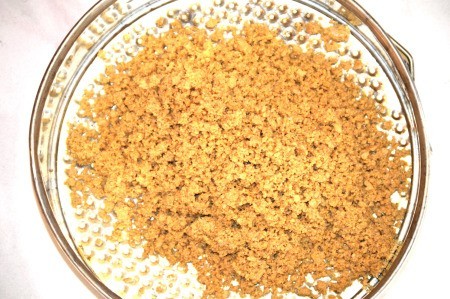
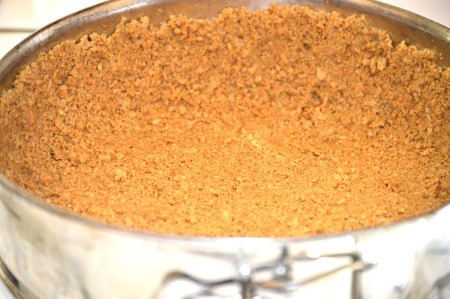
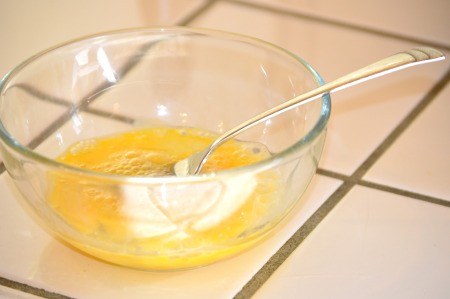
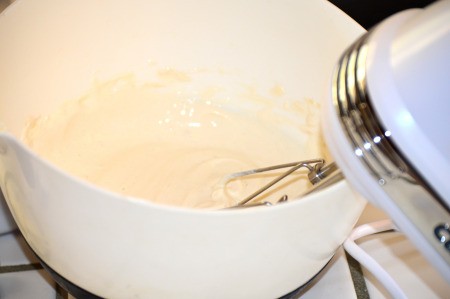
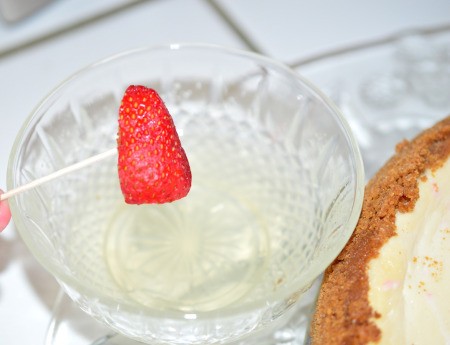
Steps:

Add your voice! Click below to comment. ThriftyFun is powered by your wisdom!
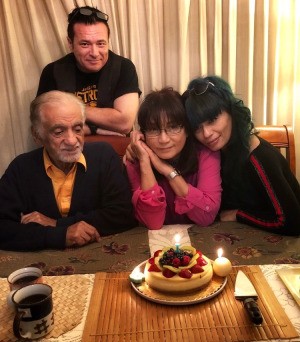
Suz, this is gorgeous and looks so INCREDIBLY delicious! Thank you so much for sharing this, as you know I'm going to give it a try. What's fantastic is that this is exactly EXACTLY my mother's favourite type of cake. She's very picky about the ones we get from bakeries, and prefers them homemade, yet I don't think we have made one from scratch in maybe a decade? So yours is on our to-do list. Here is a photo of Mum at her most recent birthday with a cake very similar to yours here! Thank you again for sharing!
Attosa, first, I've got to say I am absolutely thrilled you're going to make this cheesecake, and thrilled that it's your moms favorite cake too - (it's my moms favorite also) isn't that something!
I'm tickled also to see a cheesecake decorated almost with the exact same fruit on it in your beautiful family picture.
Gosh, your mom could pass for your sister, hehehe she's very pretty and so young looking, and now I see where you get your beautiful looks from too!
I really do think you and your family will love this cheesecake recipe, and I'm beyond happy to share it, and that you're going to make it, I can't wait, hahaha
And Attosa, thank you for sharing your warm and beautiful picture of your family and you :) . . . .and the cheesecake hehe
Where Im from we use sugar cookie dough for the bottom crust and call it fruit pizza!
Add your voice! Click below to comment. ThriftyFun is powered by your wisdom!