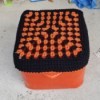
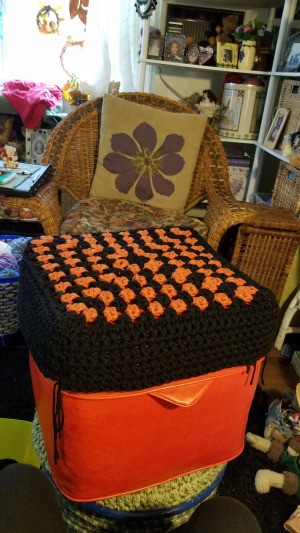
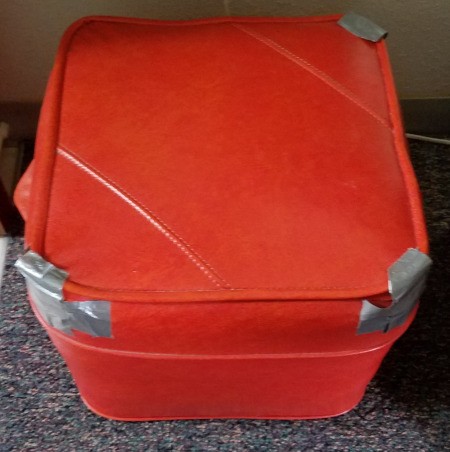
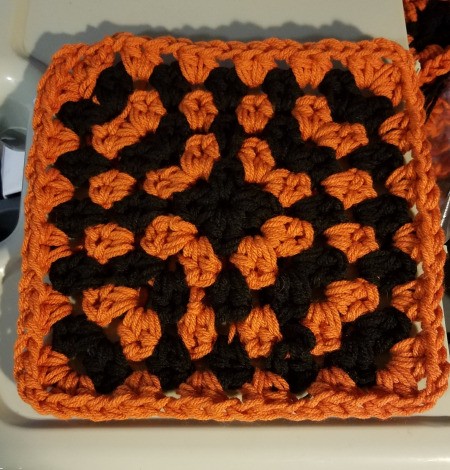
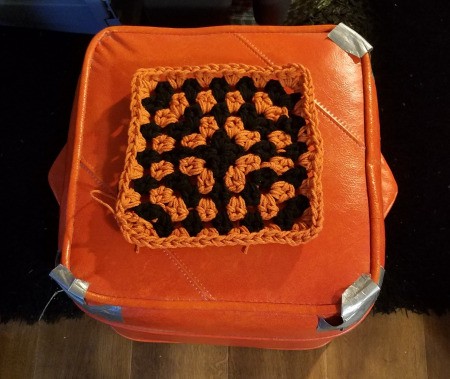
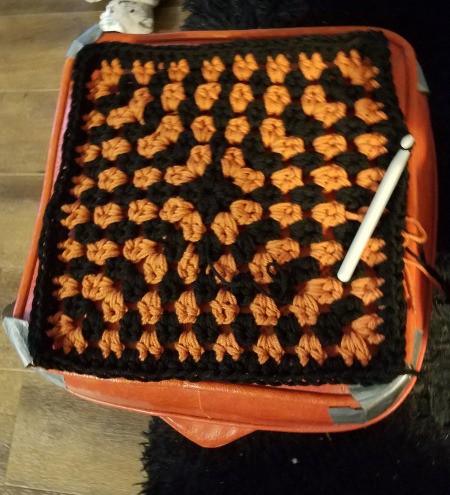
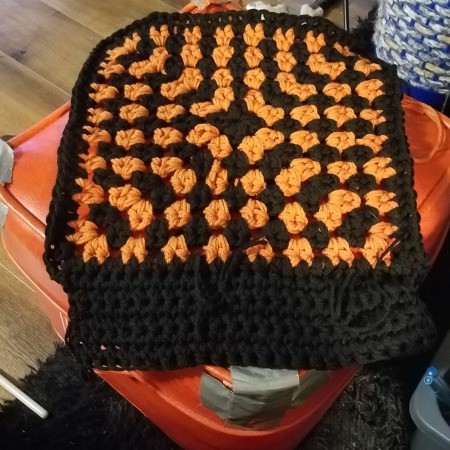
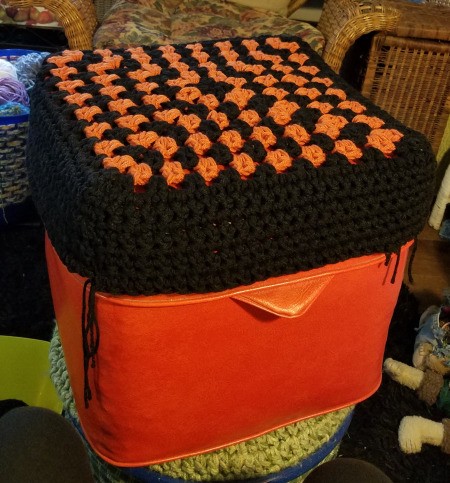
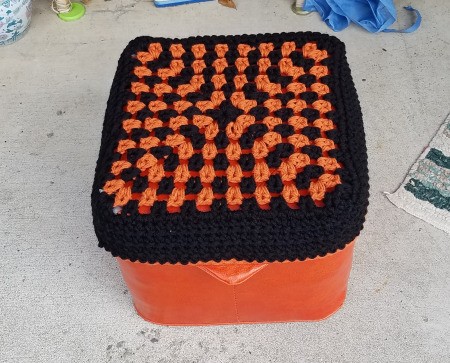
 My neighbor had this poor old orange hassock. It had seen better days, so I kept saying, "If you ever need me to recover this, I would be happy to". One day, she said, "You know I am a Beavers fan, can you make it orange and black?" Done!!
Total Time: 2 hours
Yield: 1
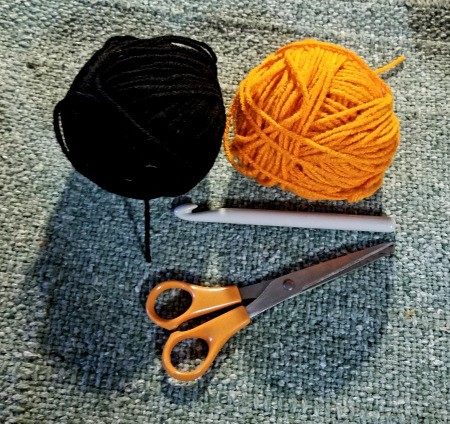
Supplies:
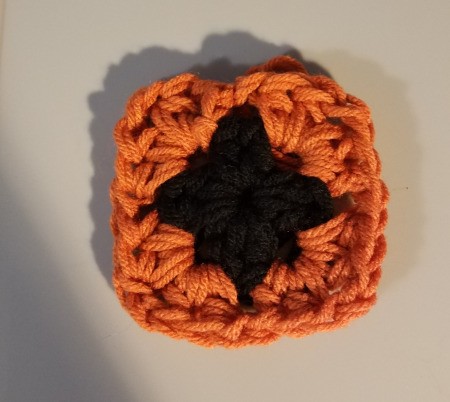
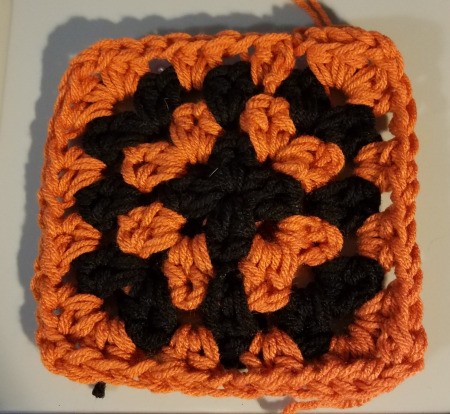
Steps:
Add your voice! Click below to comment. ThriftyFun is powered by your wisdom!