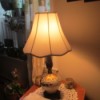
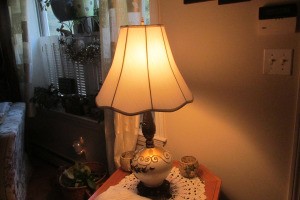
 This will show you how easy it is to rewire a lamp yourself instead of paying some place to do it!
Supplies:
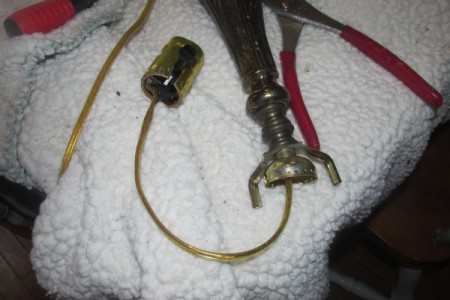
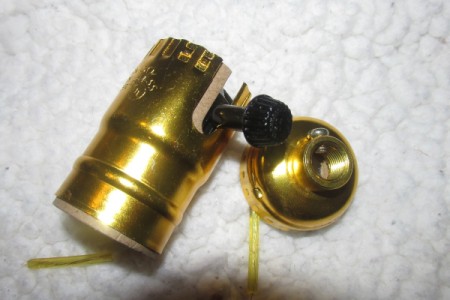
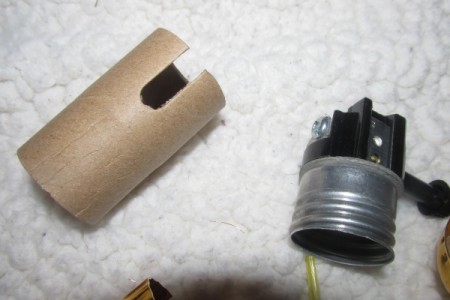
Steps:


Add your voice! Click below to comment. ThriftyFun is powered by your wisdom!
Jackie,
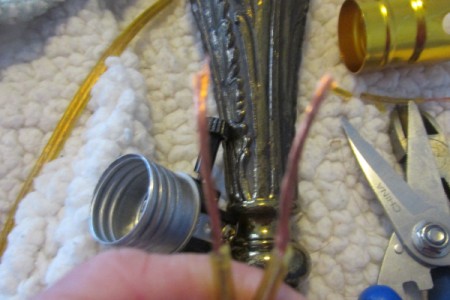
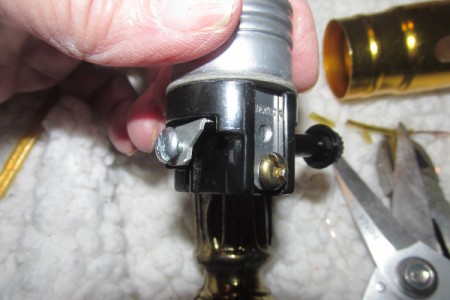
Most older lamps do not have a small plug in the base to secure the wire against being accidentally pulled out and risking the chance of a short. For that reason, I hope you wont mind if I suggest a different safety measure to take its place.
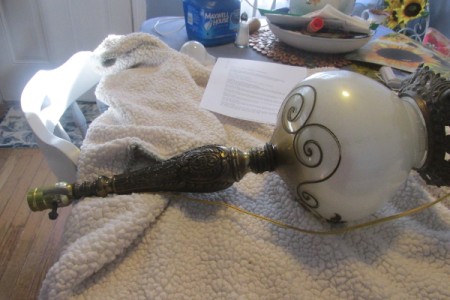
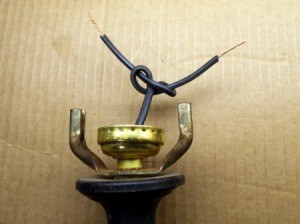
In order for the wiring to be UL approved, it requires a UL knot. The knot would be in the wire, within the socket, and just before the ends which will be screwed into the socket. I went to my junk shed and found a lamp to use as an illustration.
It may take a little work to get the socket seated with this knot in place. It will be a tight fit, but it can be done. I know, I have wired thousands of lamps.
Here is a video showing how to tie a UL knot:
www.youtube.com/
I worked in a Lamp shade shop for years and rewired lamps daily, very old lamps mostly, and I never needed to use this technique. I was trained on the job by electrical technicians.
The 'technique' is merely a safety measure and as far as I know would not be require under the circumstances you worked. Some people just feel better knowing their appliances carry the blue Underwriters Laboratories sticker. To be able to carry the sticker, the lamp would have to have a UL knot or equivalent.
I wired hundreds of lamps for the desks of military officers during the Viet Nam war. It was are preference of the US government and therefore a requirement for the company I worked with that the lamps had a UL knot.
If you like, I could ask Jess about removing my comments.
I always recommend leaving different opinions up, unless it is a safety concern. Since you are advocating for "more" safety, I'd leave it up. :)
I watched a YouTube video and I also put in the knot.
Do you follow the same directions for a three way switch.
Add your voice! Click below to comment. ThriftyFun is powered by your wisdom!