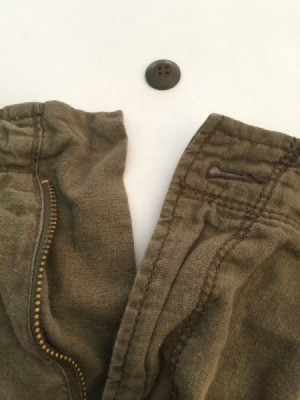
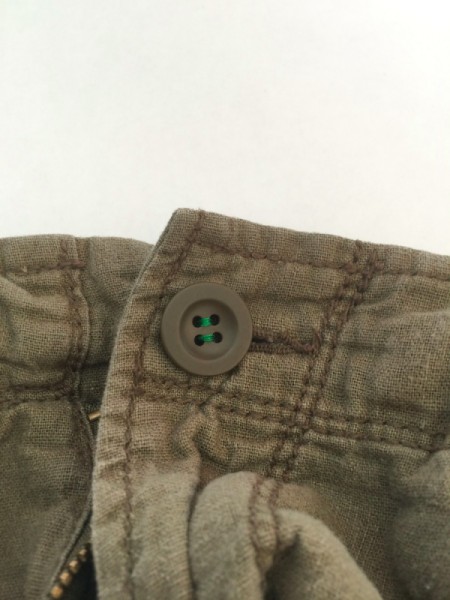
 I found a button in the washer and sure enough it fell off a pair of my favorite pants. I'm not very skilled at sewing, but I know this is an easy repair so I thought I'd try it.
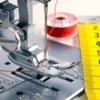
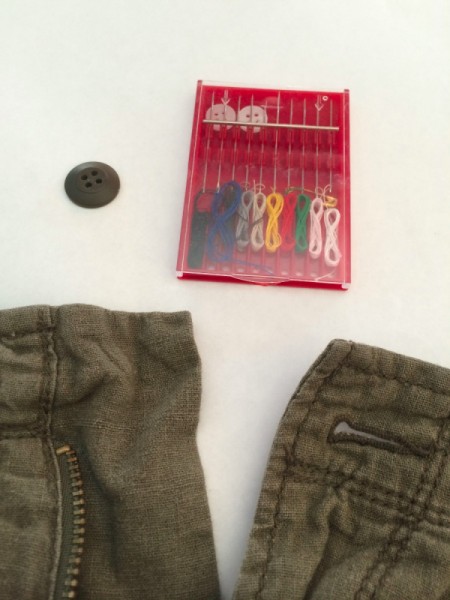
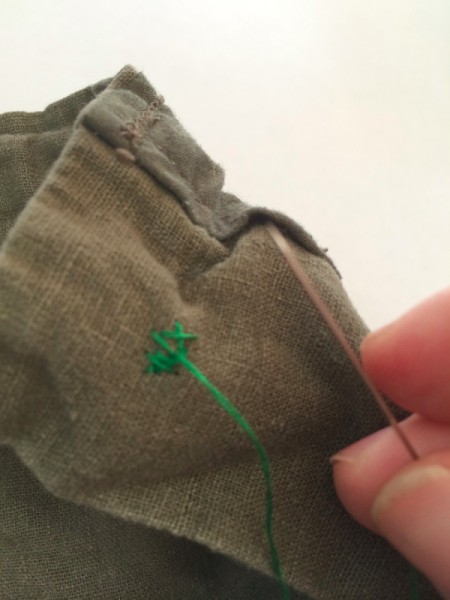
I used a pre-threaded needle kit from a drug store which only cost a couple dollars. This is convenient if you don't have a sewing kit handy and will be good for several repairs.
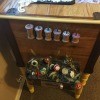
If you have lost the button you can find a suitable replacement at a craft store. The kit I bought also comes with a couple shirt-style buttons. Many pants and shirts have an extra button sewed into them. Look along the bottom hem of a shirt or along the waistline of your pants.
Total Time: 15 Minutes
Yield: One Repair
Supplies:
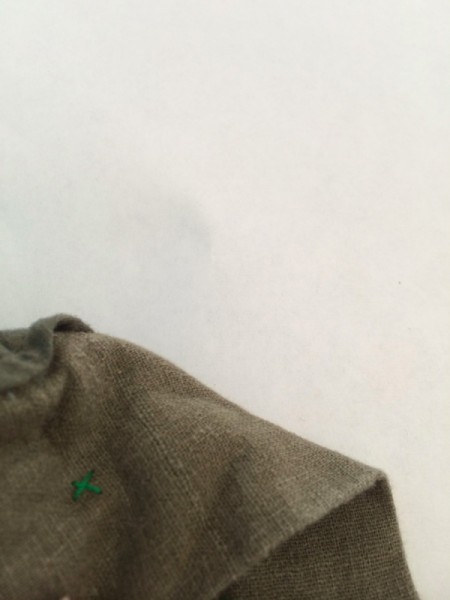
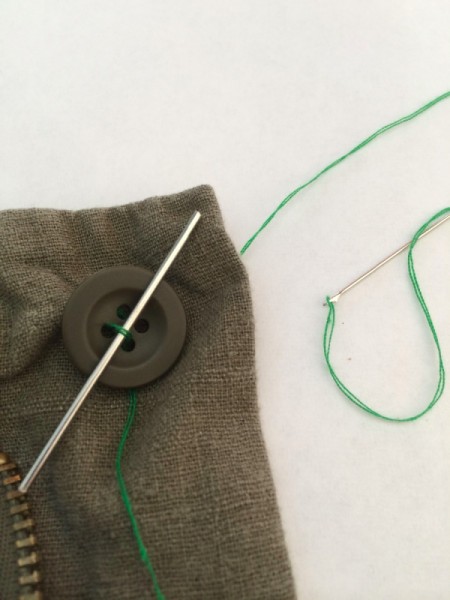
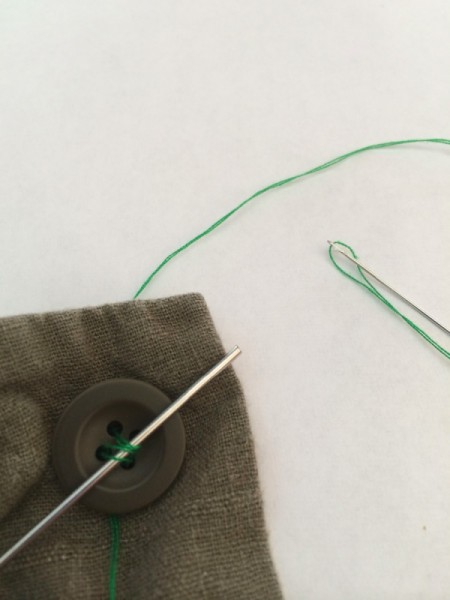
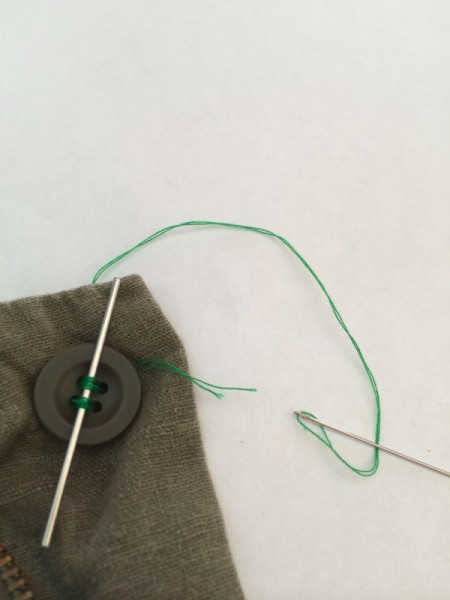
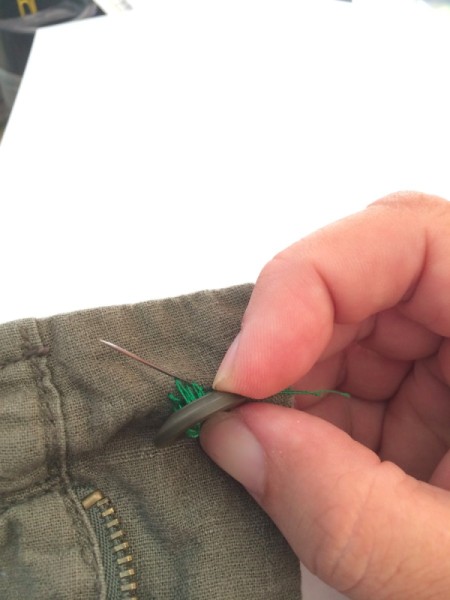
Steps:

Add your voice! Click below to comment. ThriftyFun is powered by your wisdom!
Add your voice! Click below to comment. ThriftyFun is powered by your wisdom!