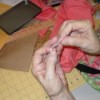
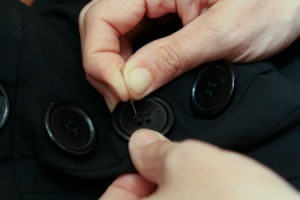
 To make sewing a button on easier and much faster, cut a long piece of thread. Select a needle with a bit larger than usual eye and double the thread in half. Thread the doubled end through the eye and now you have 4 strands of thread to work with.
When you make the knot, you will be tying the 4 strands together. Twice the amount of thread to sew with and fewer stitches through the button.
By Trish from Chatom, AL
This page contains the following solutions.
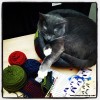
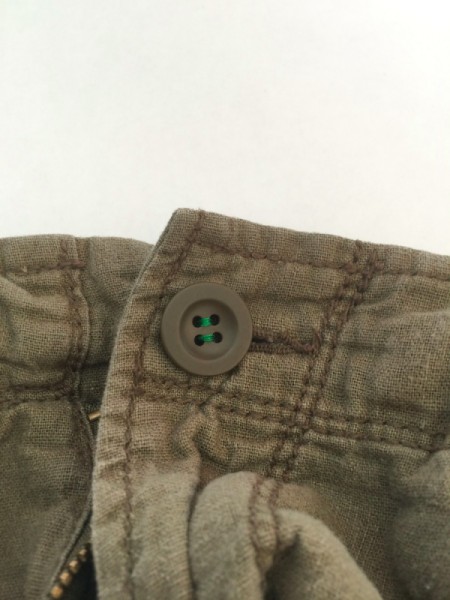
I found a button in the washer and sure enough it fell off a pair of my favorite pants. I'm not very skilled at sewing, but I know this is an easy repair so I thought I'd try it.
When sewing on buttons, especially on heavy jackets, use dental floss or 4 strands of thread that has been waxed with beeswax. This will make the button threads much stronger. By Karole
Cover your button threads on any piece of clothing with clear nail polish.This will make the buttons last longer. It helps the threads endure the heat.
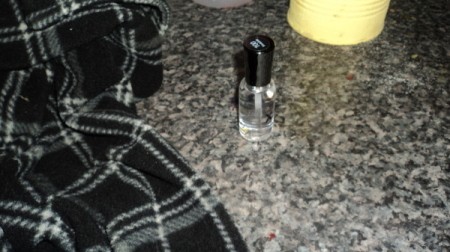
As a very lazy person who hates to sew on buttons I started doing this several years ago. When I put a button on a garment, new or not, I dot the threads with a little bit of clear nail polish.
Banty gave a nice tip about sewing on buttons. I have another that makes the work look nicer. If you are using a button that is "not" a shank type, make your knot at the end of your thread as usual.
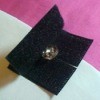
This is a sewing tip. I have a special foot for my sewing machine for sewing on buttons. I love it because it's such a time saver. Anyway my tip is this: before I sew the button on, I lay a flat toothpick on top of the button and hold it there until I lower my presser foot.
Before you wear a new garment, put a little clear nail polish on the front and back threads of each button. Buttons will stay on longer when their threads are sealed.
Here are the questions asked by community members. Read on to see the answers provided by the ThriftyFun community.
How do I sew buttons onto a leather coat so they don't get loose and fall off?
By Carol from Virginia Beach, VA
I am sure there is a "pattern" to sewing ona button. probably something like a criss-cross from hole to hole.
But if you buy some clear fishing line you can thread it to a suitable needle and use a couple of stitches of it to really secure the existing buttons.
I would use some heavy duty thread, like quilting thread. You can add a touch of a good glue (tacky glue) or something on the last couple of rounds of sewing for extra stability (carefully on the glue).
Use dental floss to sew the buttons on, or to reinforce the existing stitching. If the white floss stands out too much, use a marker to color the floss to blend with the coat.
On my leather coat there is a second button on the inside of the coat that has been sewn at the same time as the front button. I think that helps keep the button used to actually fasten the coat from tearing the leather. Also, it looks as if the front button was sewn with a spacer under it so that it is easier to button it has an extra length of thread between the coat and the button so I can wiggle the button into the hole. I can't believe how nice this coat is. I paid $10 for it at a discount leather store in OR.
Either use dental floss (you can color it with a permanent marker) or buy a spool of "buttonhole twist"--a heavy duty thread. Place a wooden matchstick or round toothpick under the button to allow a shank of thread. After sewing the button on, pull the matchstick out and wind the thread around the shank, then bring thread through to the back of the coat, and knot and cut.
I was going to suggest thin fishing line too. ;-)
Use the button on the back side of the main buttons, but also sew the main button on loosely then take the thread and wrap around the loose threads behind the main button before tying the knot. This will give some looseness to the button so it will not want to break.
I highly recommend button hole twist heavy thread for buttons. You can also try painting the threads on the inside of the coat after you've sewn the button(s) on with clear nail polish( it hardens the thread so less likely to fall off so often. There is also something called bachelor button fasteners they are for non-sewers and are made of plastic with a plastic button end.
The best things for this are either a fishing line, or dental floss. Try the dental floss first, it's terrific for buttons! :-)
Cheers,
Wendy
There are some buttons that cut the thread no matter how many times it is sewn or with what, I have found. Years ago I learned that if I used the eye part of a hook and eye fastener I put the eye through the button and then sew the eye onto the garment.