 I found a cute set of mini straw hats and then found one that they would fit on and went to town!
Total Time: 2.5 hours
Yield: 1
Supplies:
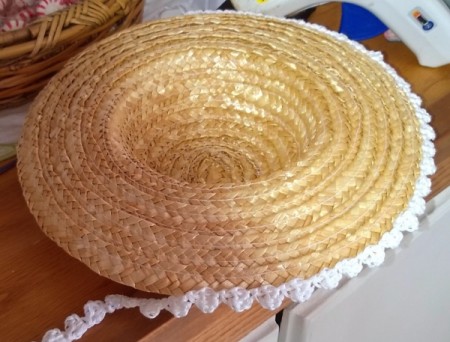
- 1 10" straw hat
- 12 2.25" mini straw hats
- 1 glue gun
- scissors
- crochet thread, any color
- 1 crochet hook size F
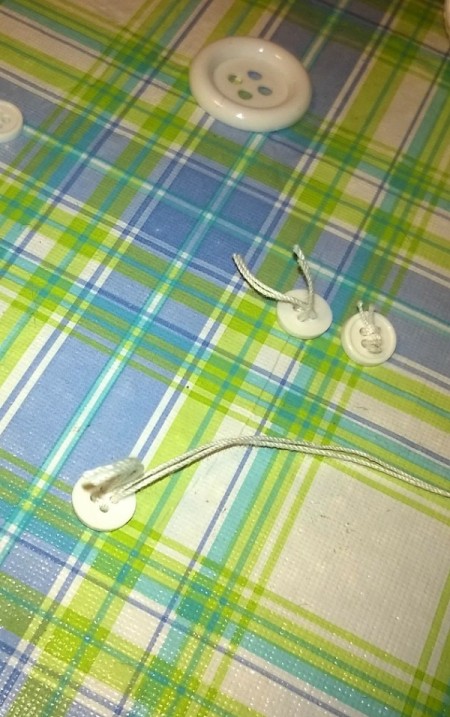
- 1 large button with crochet thread sewn in
- 12 mini buttons
Steps:
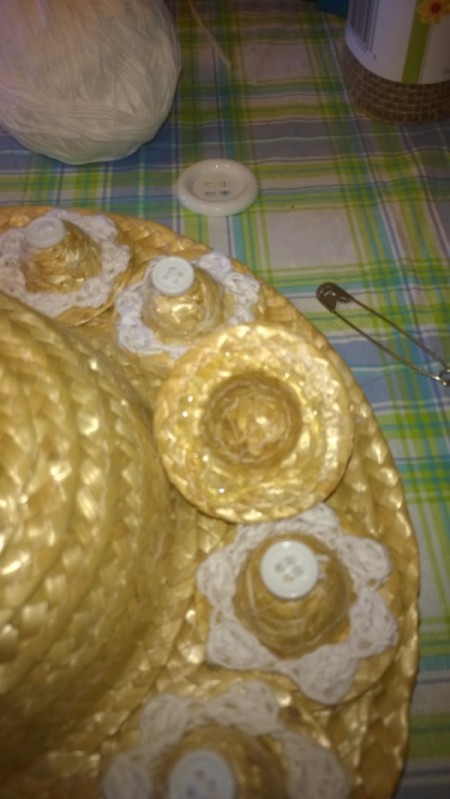
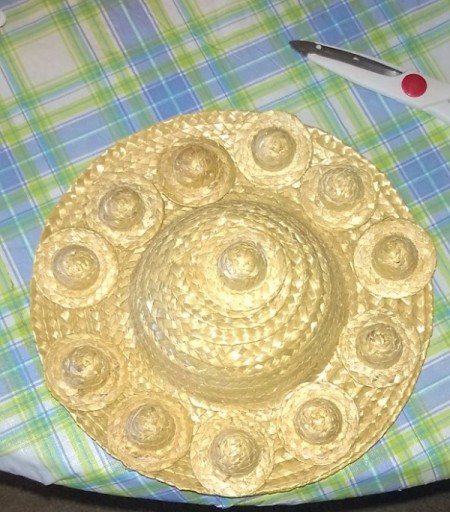
- Measure your mini hats so that you know how many will fit. Mine was 12 perfectly, but you might find 11 does as good with a small gap between them.
- In doing edgings, it is always good to "crochet as you go" rather than chain something and have it too long or too short. This stitch is perfect as it creates a shell affect as it goes. With a size F hook and a double strand of your color choice of thread, chain 3. Make a half double in the first chain and a double after that. This makes the shell a little "pointier" than two doubles, but you can do that too.
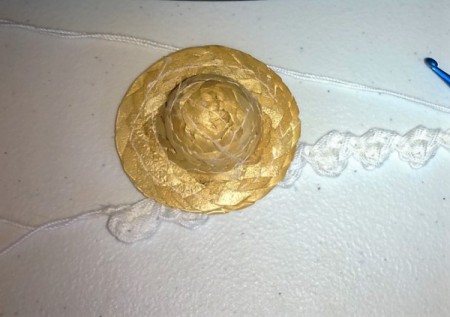
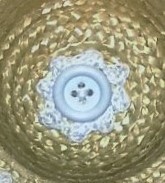
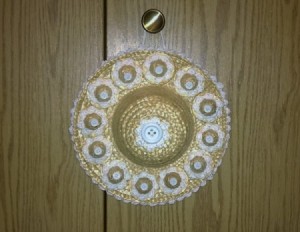
- In keeping with the thread affect, I filled each of 12 white buttons with thread (as though sewn) and then glued them onto the top of each mini hat.

- I made a crochet center for the top of the hat and did the same with a larger button and glued them on.
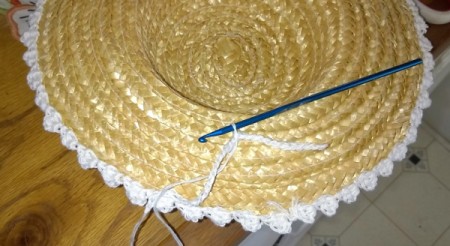
- Using the glue gun, secure one crochet shell onto the small hat. Then, do 2 or 3 at a time and secure all of them down.
- Once they are all done, position them around the large hat brim before you glue. Nothing is worse than having no room for the last one! When you know your mini hats work, glue them on and don't spare the glue. The brim will want to bend up on the big hat so you have to give it lots of glue and time. Press down on them for at least 30 seconds, pressing on each of the 7 shells to make sure it dries evenly.
- I made an edging of the same stitch and glued it close to the brim underneath.
- The last step was to make a hanger by crocheting 30 stitches and then slip stitching back on it. I then glued it to the brim so it is even.
- Hang it and you are done!
VARIATIONS: You can do this in many ways. Make each edging of the mini hats a different color. Add a button to match. Keep the white one only on the top and don't make any of the others white, this will keep each mini hat and the button on top separate. On the top you could use a flower, or other embellishment. Leave the edging plain or add some other color or stitch for it. Mix it up and make yours unique like this one.
Add your voice! Click below to comment. ThriftyFun is powered by your wisdom!