social

Tufting a Comforter

Tufting a Comforter - tufted comforter on bed
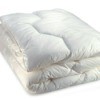
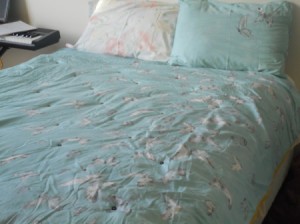
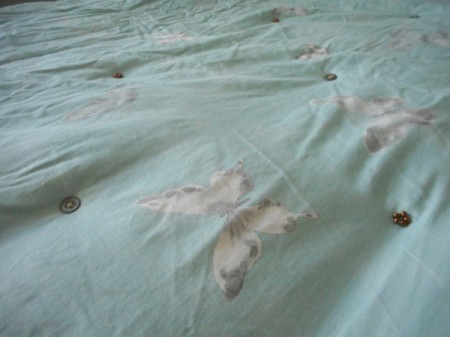
Last year I bought a lovely comforter online at a discount. However, when I opened the package, I saw that there was nothing holding the batting in place and that an edge of it had already crumpled up in such a way that I couldn't fix it without tearing the fabric apart. :( I realized washing it would be a problem, so I put it back in it's bag, thinking there must be some way to salvage it later.

Advertisement

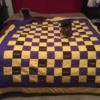
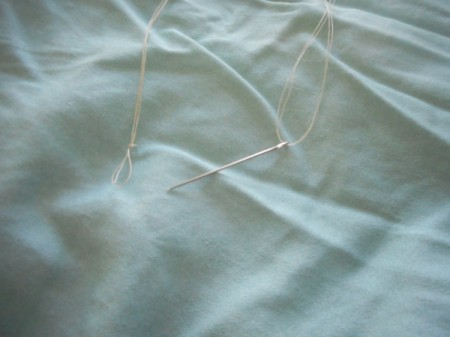
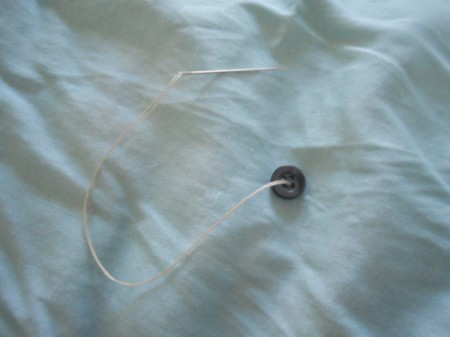
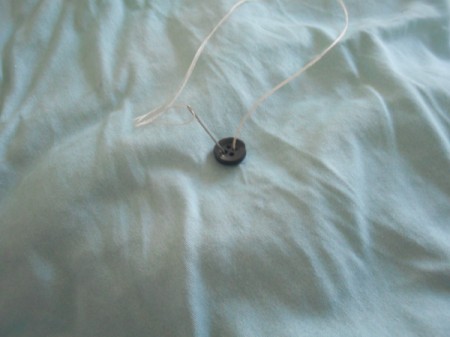
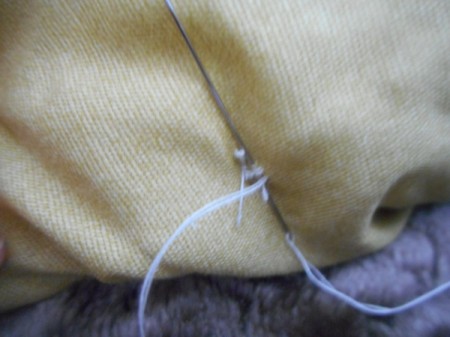
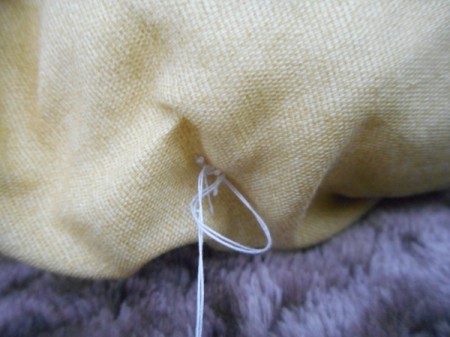
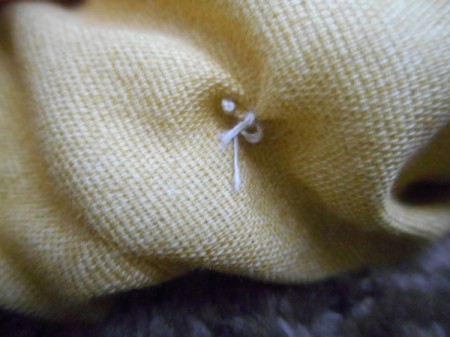
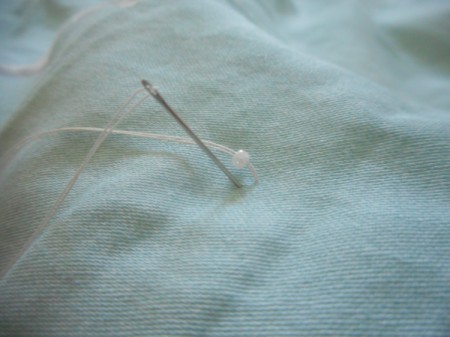
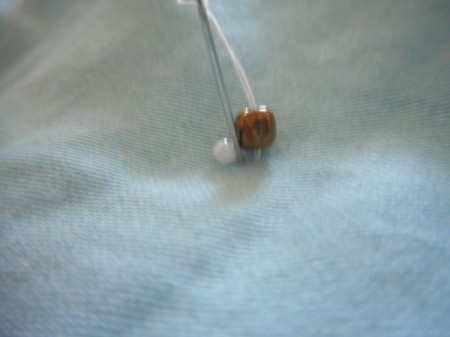
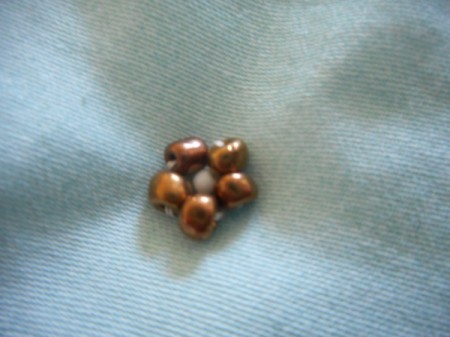
Quilts and comforters need either quilting (stitched patterns that secure the batting) or something called tufting in order to hold up to use and laundering. Since I can't yet sew in a straight line with the machine, let alone patterns, I opted for tufting with buttons and simple beaded flowers.

Total Time: A few hours to a full afternoon

Supplies:

Steps:

  1. Figure out the spacing for your buttons. I laid out the comforter over my bed to gauge the proportions and decided to space each button 1 ft apart. The results weren't even, so I lengthened the space between the two sets of center buttons and the edge buttons to 1 ft and 3 in apart on each side, with the very center buttons spaced 1 ft apart. The result was two proportional halves, if I were to fold the comforter lengthwise through the middle.
  2. Advertisement

  3. Next, mark your measurements by sticking a sewing pin through each button as you go, using the ruler. It will save you some grief if you do this for all the buttons before you start sewing on any, as I found out the hard way! I worked with the comforter on the bed the whole time, which required a lot of bending, but gave me a feel for how the design would work with the bed. If you're comfortable with that, great! If not, I'd recommend spreading it out over a large table first to get your measurements.
  4. Tufting a Comforter - mark button spacing
     
  5. Double thread your needle. Just take a 2 ft length of thread, string it through the eye of the needle, and fold the thread on itself, tying and overlapping a few knots at the end to secure it.
  6. Tufting a Comforter - thread needle with double thread
     
    Advertisement

  7. Draw the thread through the comforter so that the knot is on the opposite side and loop it through one of the holes on the button. Repeat this several times, switching evenly between holes and making sure to keep the needle entry point fairly close to its exit point. Doing so strengthens the hold of the button and makes your sewing look neat.
  8. Tufting a Comforter - sew on button by pulling thread through from under side
     
    Tufting a Comforter - pull thread through button hole(s) several times
     
  9. Make sure to secure each button by knotting the thread over itself on the side facing the bed. I prefer to loop the thread through a few close stitches and tie it off two or three times. Cut off the excess thread.
  10. Tufting a Comforter - tie off thread on underside
     
    Tufting a Comforter - several loops to tie
     
    Tufting a Comforter - trim off excess
     
    Advertisement

  11. Adding beads is a little different from the buttons. I chose to space mine as if four buttons made a square, and the flower would be in the center of each square. Again, double thread your needle. Basically, treat each bead like a stitch and you can embroider your own designs onto the blanket! To make the flowers, I started with an 11/0 seed bead in the center and then individually stitched larger beads close together in a ring around it. But, just as with the buttons, I tried to make my entry and exit points close together for the beads. Secure every cluster/section of beads in your design with a knot on the other side.
  12. Tufting a Comforter - begin sewing on beads as you did with buttons
     
    Tufting a Comforter - creating a bead flower
     
    Tufting a Comforter - finished bead flower
     
    Advertisement

  13. That's a wrap!
  14. Tufting a Comforter - done
     

Add your voice! Click below to comment. ThriftyFun is powered by your wisdom!

August 9, 20180 found this helpful

you are very smart. love, love this.

Reply Was this helpful? Yes

Bronze Feedback Medal for All Time! 179 Feedbacks
August 12, 20181 found this helpful

Or you could just tie it with yarn which would be the traditional way to do it. My grandmother told me about it.

Reply Was this helpful? 1

Add your voice! Click below to comment. ThriftyFun is powered by your wisdom!

In This Page
Categories
Crafts SewingAugust 6, 2018
Pages
More
🍀
St. Patrick's Ideas!
🎂
Birthday Ideas!
Facebook
Pinterest
YouTube
Instagram
Contests!
Newsletters
Ask a Question
Share a Post
Categories
Better LivingBudget & FinanceBusiness and LegalComputersConsumer AdviceCoronavirusCraftsEducationEntertainmentFood and RecipesHealth & BeautyHolidays and PartiesHome and GardenMake Your OwnOrganizingParentingPetsPhotosTravel and RecreationWeddings
Published by ThriftyFun.
Desktop Page | View Mobile
Disclaimer | Privacy Policy | Contact Us
Generated 2023-02-16 11:10:27 in 1 secs. ⛅️️
© 1997-2023 by Cumuli, Inc. All Rights Reserved.
https://www.thriftyfun.com/Tufting-a-Comforter.html