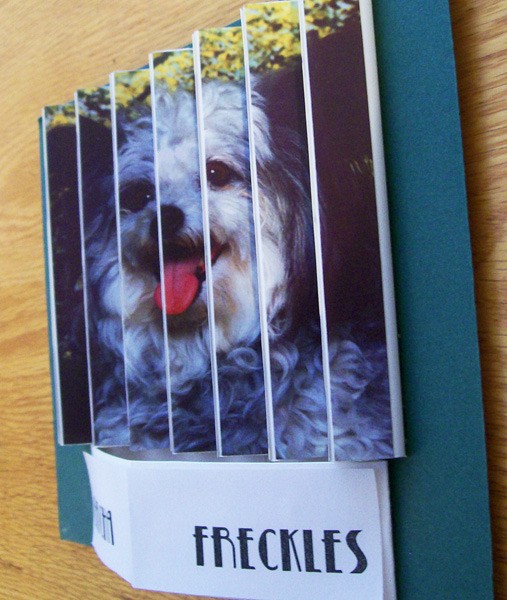
This is a neat way to display two favorite photos in the same picture.
Approximate Time: 1 hour
Supplies:
- 2 - 4 by 6 inch photos
- edge molding
- mat board
- picture hanger
- scissors
- white glue
- ruler
Instructions:
The photos you choose are best if there are not small details, something taken at a closer distance. These will show up better on the wall.
- Trim the photo to 3 1/2 inches wide by about 4 - 5 inches high. Use the best part of the photo when trimming.
- Cut both photos into 1/2 inch strips vertically, keep them separate from each other and in order laid out in front of you.
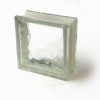
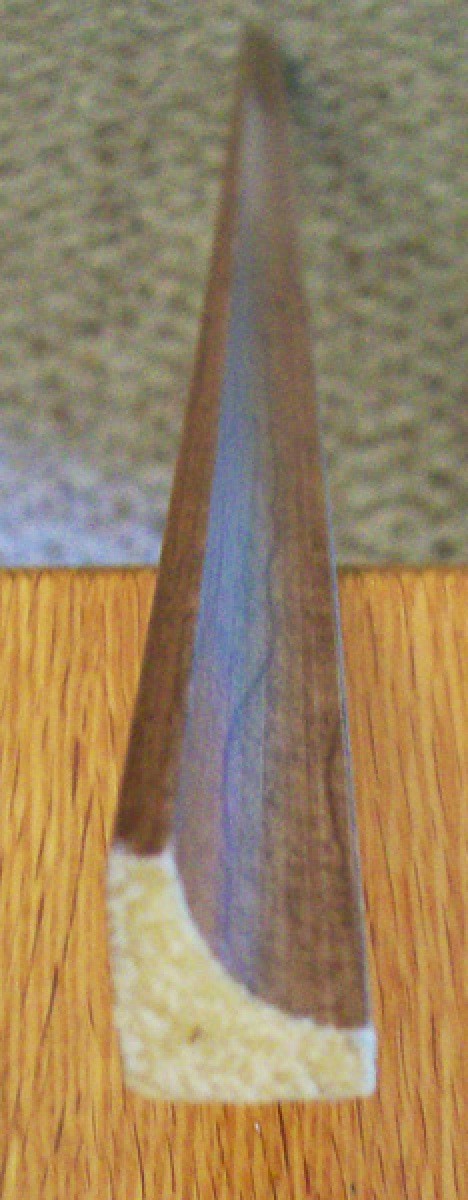
- Purchase moulding from a home store, this is man made and usually light weight. You will need a length of 38 - 35 inches depending on the height of your photo. Choose a wood look or plain white, I used plain white, but am showing a faux wood one, too. Make sure the backside looks nice and is free from any defects.
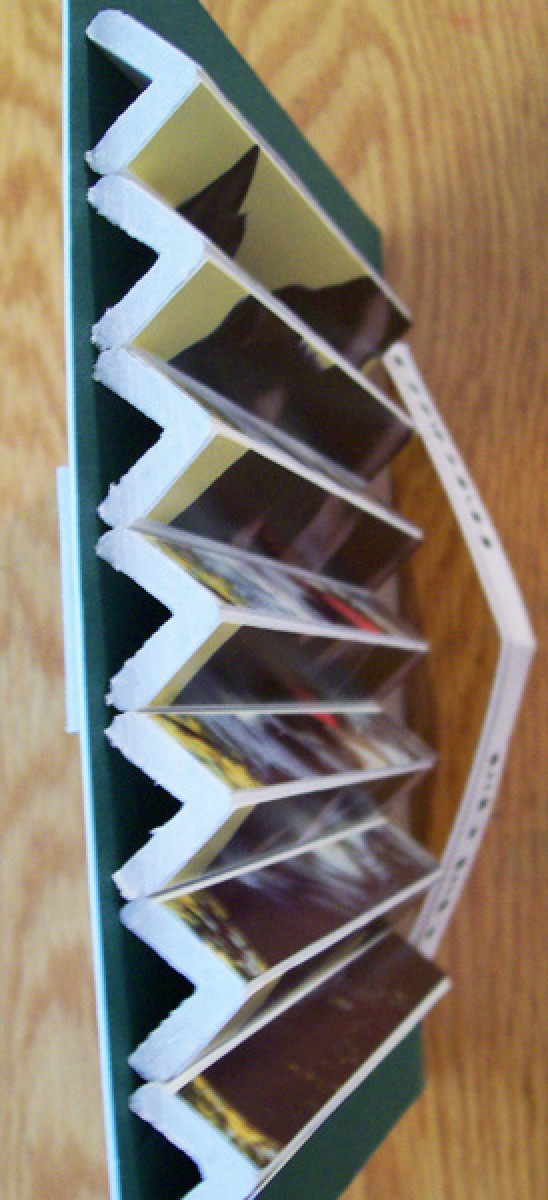
- Cut the moulding into 7 pieces each the same length as your photo height.
- Using the back of the moulding (where the 90 degree angle is), start from the left and begin gluing the first strip of one photo to the left side of the back of the moulding.
- Continue working with the same photo gluing it always to the left side of each angle.
Keep the strips in order.
- Now do the same with the other photo gluing the strips to the right side of the back of the moulding.
This is really quite easy and the photos should be a great help.

- Now you will need to cut the mat board a bit larger than all the moulding pieces.
- Glue each moulding piece (keep in order) to the mat board. Let dry over night.
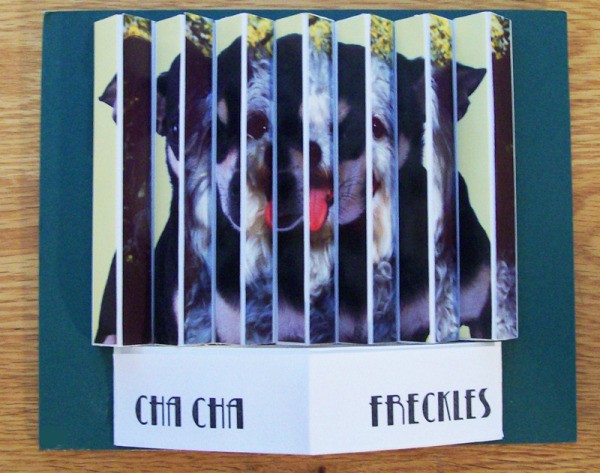
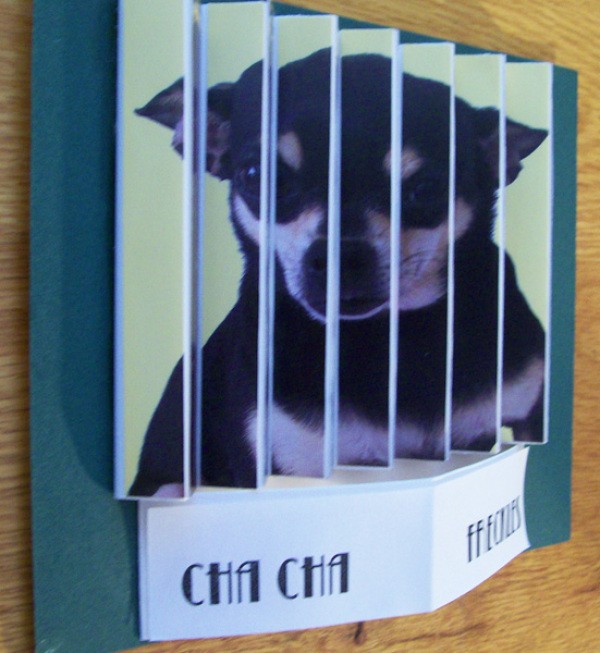
- Optional: you can also make a large triangle shape to put a title below each picture, mine are of two of my pet dogs.
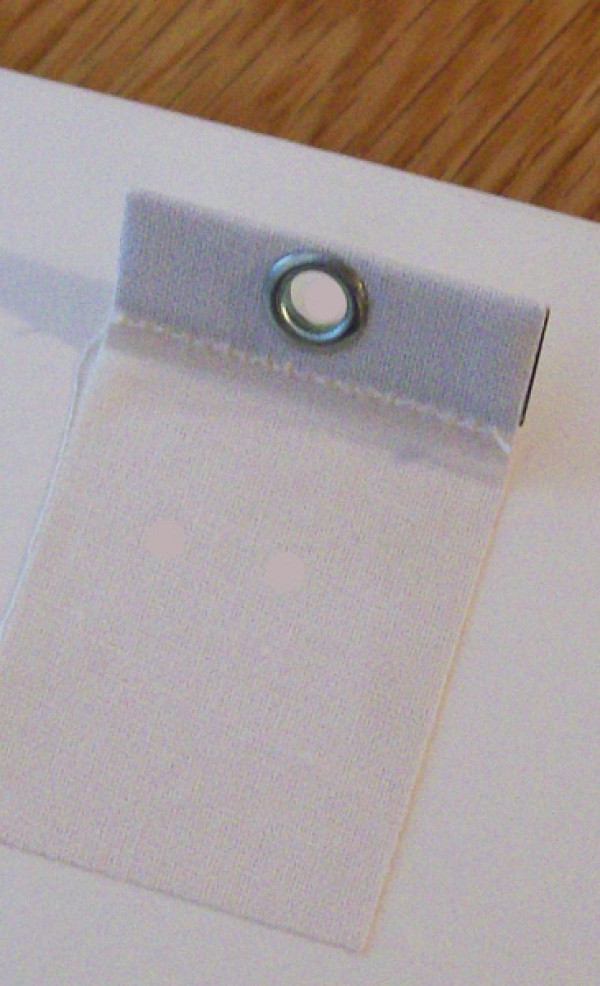
- You can now find the center back and attach a stick on picture tape type holder for hanging.
These are best displayed in a hallway where you see one photo when you go in one direction and another when going in the opposite direction.
Super idea for Christmas or any occasion for those that are hard to buy for!
By NoRulesArt from sunny FL