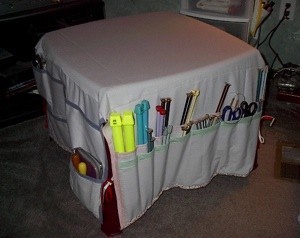
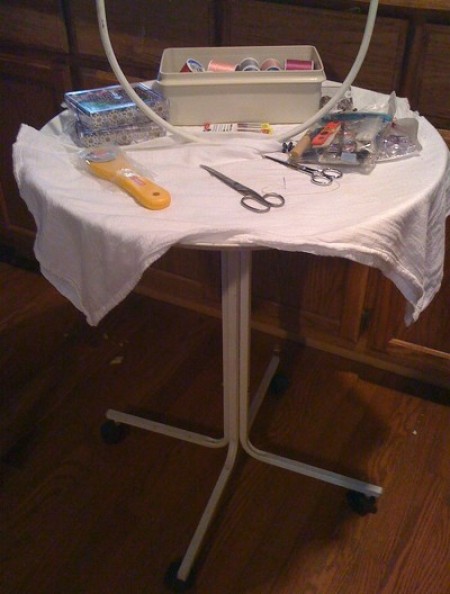
 I do my knitting, crocheting, beading, etc. while watching TV. I usually had to get up many times to find tools or supplies. I brought in a weather beaten plastic table from the yard after I spray painted it burgundy. Then a friend came to lunch and brought me some fabric she didn't want. I knew immediately what to do with it.
I made this organizer in a couple of hours using her fabric, my spray painted table and odds and ends of bias tape I had accumulated. Just measure the top and add an inch. Then measure the sides, cut your fabric (I tore mine), add pockets to the sides, sew the sides to the top and store your crafting tools. I love mine.
Source: My very own idea
By Gailya Illsley from Lillington, NC
This page contains the following solutions.
If you need more space and have no place to hang shelves you can hang open-backed shelves in front of your windows. In the kitchen, this is a great place to store colored glass ware (like depression or cobalt glass) because the sun looks great shining through the glass.
Use empty pill bottles to dispense elastic and similar items. Coil the item to fit into the bottle. Then cut a simple slit/opening in the lid to pull the item out as you need it, as much as you need.
This is just a simple suggestion for anyone who creates crafts or does art projects. Materials add up quickly and can get scattered about!

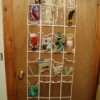
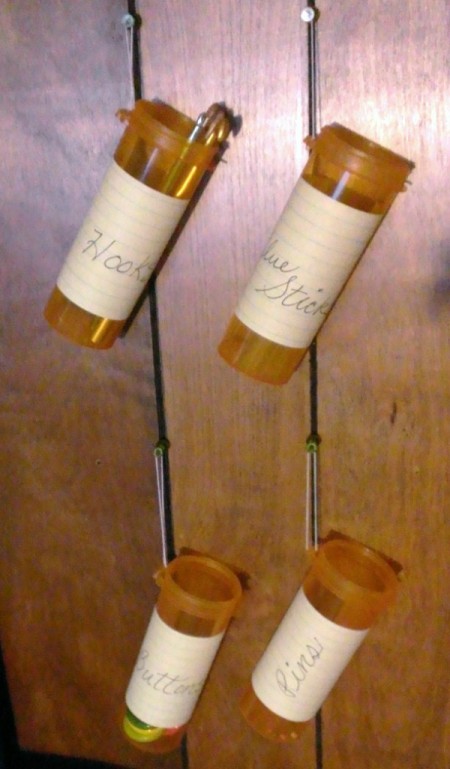
My roommate has a lot of medicine bottles and she gives them to me for my crafts. Having very little room on my table, I have learned to hang things in shoe bag hangers and the like.
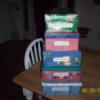
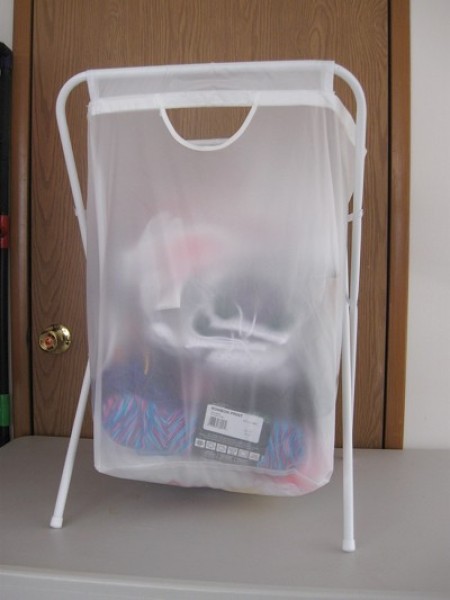
I am an avid crocheter and I like to have my patterns, hooks, and different color yarns that I'm working with handy. I found the perfect caddy. I bought these clothes hampers at Ikea for around $4.00.
When I make something, I always save a pattern; whether it be hard copy or computer copy. I may want to reuse it later and it will be easily accessible filed away in a filing cabinet or on my hard drive.

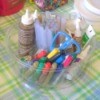
I buy mis-matched toothbrush holders in "my colors" at my thrift store and use them to store my paint brushes in while I'm creating.
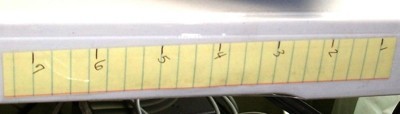
I try to keep the clutter around my desk to a minimum, so I don't own a ruler. But, I do a lot of craft supply selling from there, so this helped me. I measured out a 6 inch piece of paper.
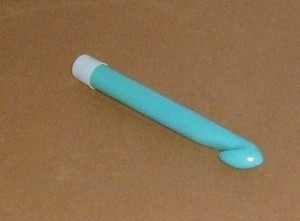
I am moving soon, and taking a lot of craft supplies with me. I wanted all my hooks in this handy clear eyeglass case and this one wouldn't fit.
Lids of jars work well to hold beads, straight pins, sequins, etc. I especially like the lids from peanut butter jars.
I don't have a sewing/craft room, however I do sew and craft a lot so I have one of those plastic drawer organizers and use plastic zip lock bags to organize my stuff. It works great, I can see what's in the bags easily.
The plastic zipper bags that bedding comes in are wonderful in the craft room!
Busy moms, this is a dream come true. I am a teacher and also a mother of a 5 year old who loves crafting. As I am a crafter as well, I am always looking for fun, fast, easy ways for us to do a craft or my students to do a craft without spending so much time setting up and cleaning up and having more time for fun.
If you're in the process of making a lot of crafts, keep a lidded storage box nearby to drop things in when you're finishing them or if you have to stop for some reason, then your things can just be covered and set aside with no fear of losing anything.
When sewing or crafting, use your bird stand for a roll-around table, to hold your supplies. You can easily wheel it around from place to place where you are working, without having to transfer all your supplies from one place to the other.
Put loose pins and needles in washed pill bottles or mint containers.
Here are the questions asked by community members. Read on to see the answers provided by the ThriftyFun community.
When you put the bows away for the next craft, is there a way to keep them from flattening out?
Stack them into the leg of a pair of nylons. You may even hang the pair in the back of a closet!
You'd probably need to store them individually to prevent flatness. Time-consuming, but I'd attach them in rows to a short Velcro strip, maybe using a Velcro dot on the back if they don't stick well. Line them down the strip, getting as many as possible onto each strip. You might find it easier with tweezers.
I have used a large under the bed plastic storage container for storing all my bows and spools of ribbon. There is no need for any special way to arrange the bows. Just toss in and they remain nice and fluffy until you use them. Another plus is that it's a great space saver. I also use another one for all the gift bags and wrapping paper.
I am looking for inexpensive or very cheap ways to store my yarns and paper craft items. I really want to get things organized by colour and theme, but I am stumped as to how to get it done without blowing my budget. Any ideas?
By carol
I use the super large Ziplock bags. They come in 3 sizes and can be found at most hardward stores or Walmarts. They are inexpensive, clear so you can see what's what, and sealable.
Those cloth shopping bags are good for storing yarn and they don't cost much to buy. Like the other poster said, I use mine to keep different projects organized. For smaller items you can find plastic tool boxes or fishing tackle boxes that are pretty inexpensive, too.
I'm working on organizing my studio now, myself, so I completely understand the need to keep costs down. "Studio" is code for the room overstuffed with all of the "junk" that I have collected for all of the projects for the creative days that come, but I fear I will never have the time.
I use manila folders for similar scrapbook papers and paste a swatch on the tab for easy recognition. My small items like beads and buttons or ribbon and string scraps I store in small glass fishbowl type jars that I can easily stack as a lid for each one below.
The small plastic containers mentioned by another poster come in all kinds of types and colors if you want use color coding are now available for a dollar at the everything for just a buck type stores. Those stores have been a life saver for me when it comes to small storage and other items when it's not going to be subjected to everyday wear and tear. I've even used the space bags for larger pieces of material and yarn that I don't plan to use for a while.
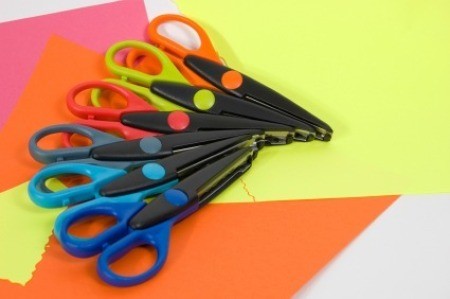
Hanging shoe bags with the small, flatter type pockets work well for scissors and tools. Any instructions, examples, designs, or ideas that I have collected or scribbled myself, I put in a binder with plastic protectors until something becomes higher priority, at which time I scan it. When it is saved to my computer, I index it under any information that I can think of so that I can find it later when I kinda know what I'm looking for, but not completely.
I hope my seemingly endless dribble helps. I have more ideas than I have energy or time, so organization is very important. Almost any crafting magazine, no matter what type of craft it is about, will offer ideas on their website if you signup for free on-line newsletters and forums without a subscription.
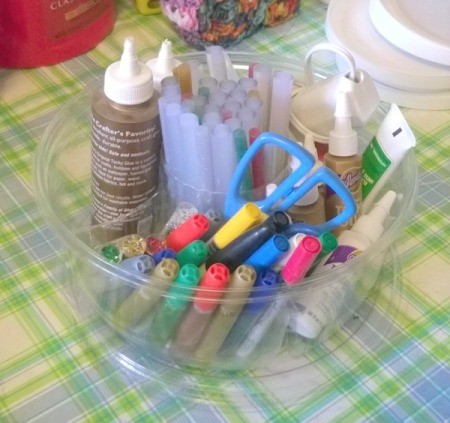
Avid crafters are always in need of containers for their supplies. This can be expensive unless you get creative and begin identifying recycled containers that can be kept for storing them. This is a page about organizing craft supplies with recycled containers.
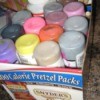
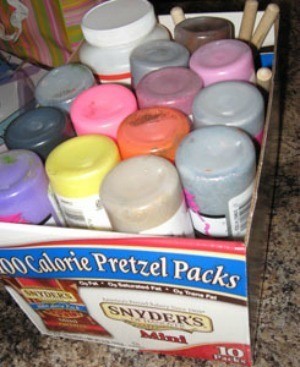
This page is about storing craft paints. Keeping your craft paint well organized will make finding the color you need much easier.
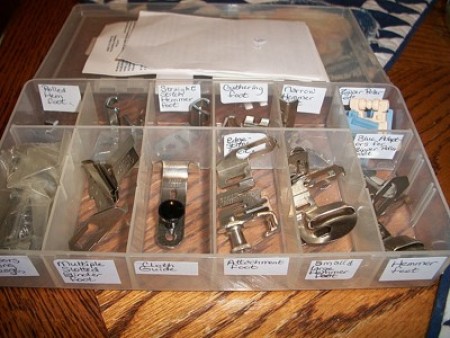
Most sewing machines come with an assortment of feet, designed for the various sewing projects you might work on. Keeping them organized and identified as to task makes it easier to find the one you need for your next project. This is a page about organizing sewing machine feet.
This is a page about organizing craft projects. Many crafters may be working on multiple projects at the same time or they can only work on their projects when time allows.
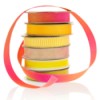
This is a page to organizing ribbon. Even a few spools of ribbon can easily become a tangled mess if they aren't kept organized. Keep your ribbons organized and easy to access for your next craft or project.