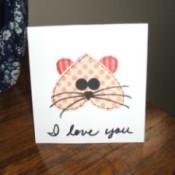
 With some fabric scraps, cardstock, and a few other supplies, kids can create these cute kitty Valentine cards in no time at all.
Approximate Time: About 30 minutes
Cut a 3 inch heart from fabric scrap for cat's face. Cut a smaller heart (about 1 inch) from coordinating fabric for cat's ears. Cut the smaller heart in half vertically.
Apply glue around back edge of large heart and place it upside-down on card. Apply glue to each half of small heart and glue underneath cat's face for ears (refer to photo).
Cut two small circles from craft foam for eyes and glue into place. Using black marker, draw cat's nose and whiskers. Write "I love you" or other personal message below cat's head.
By Rachel's Mom from Wilkesboro, NC
This page contains the following solutions.
Make your own unique Valentine's card to show that special person in your life just how much you care for them. All you need are a few scraps of paper, some wax crayons, and a touch of imagination.
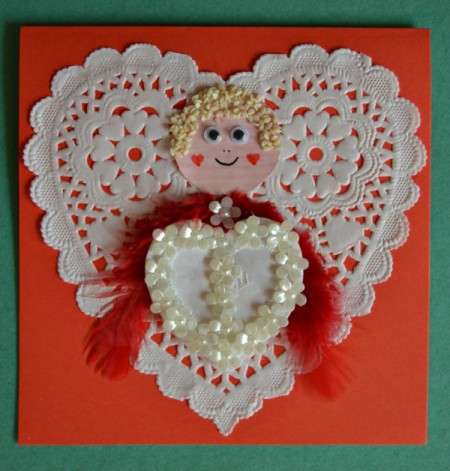
This Valentine's Day, make your sweetheart a card with Cupid as the focus point of the card. As the symbol widely associated with love and affection, this Cupid will make sure that your message of love won't be lost!
Hang a glow stick on his car mirror if you can. Have a tape ready in the player so when he starts his car, the song "You Light Up My Life" starts playing.
Use some marbled pink cardboard, double-sided glitter scrapbook cardboard, and a few odds and ends to make a Valentine's card for your loved one.
My staff gets very little recognition. The least little bit of recognition makes them happy. We have a fabulous nursing team and every so often I like to tell them how much they are appreciated for the work they do.
Valentine's Day is just around the corner and I have some darling, easy cards to make from just construction paper, craft glue, markers, and googly eyes (optional).
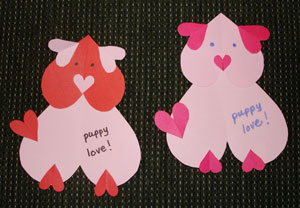
Kids will enjoy making these puppy love Valentines for their classmates.

Make a pretty love note and display it using memo or note holder this Valentine.

I have done this candy card for my husband a few times in 11 years. It is cheap and easy. All you need is a piece of poster board, a marker, and candy bars.
Here is a cute, simple, and easy card that you can simply make with things in the house. Simple materials and steps make it easy to create this in a limited time.

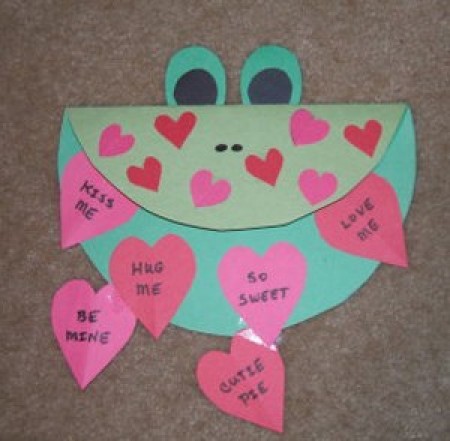
Kids will love creating their own "froggy" Valentine cards. They will "leap" for joy making these cute cards, which require few supplies and a little time.
Need a last minute valentine craft? My year old granddaughter and I made 25 of these for her class in about 90 minutes. We call them Heart Posies.

These cute Valentine cards are easy to make and fun to give! Even small children can put them together.
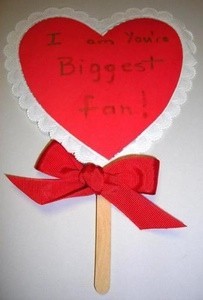
This is a cute card kids can make themselves to let the special people in their lives know that they are their "biggest fans".
When buying cards for Valentine's Day or other special occasions, the really pretty ones with the glitter usually cost more than the ones without glitter. I decided to start purchasing the plain cards and add the glitter myself, using glitter paint.
For a special Valentine's Day cards make snowflake hearts, just as you would make paper snowflakes but in the shape of hearts. Cut out a large heart, fold it a few times, then take a pair of scissors and cut different shaped wedges around the edges.
Simple but creative. It's much appreciated when our gifts are made with much effort. Something that is made with love fill the hearts of our loved ones.
What kid doesn't like tic-tac-toe or candy? These Valentine's are so easy to make and are perfect for a school Valentine's day party!

If you enjoy making cards instead of buying them, here are 3 fun Valentine cards for kids. Children can help make them for their classmates!

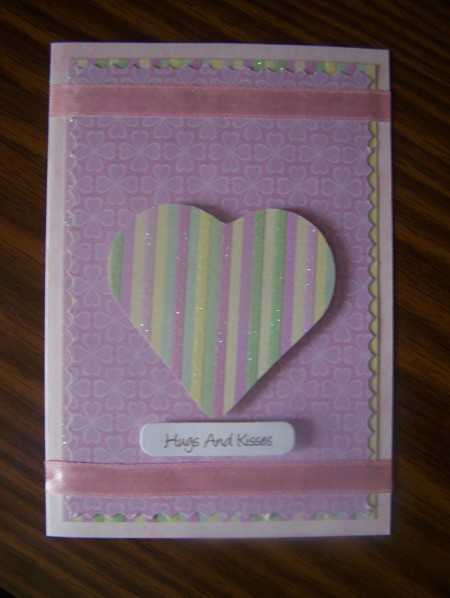
Give your sweetie a gift from the heart that won't break the bank this year. This card is easy to make and it's design is only limited by your own creativity.
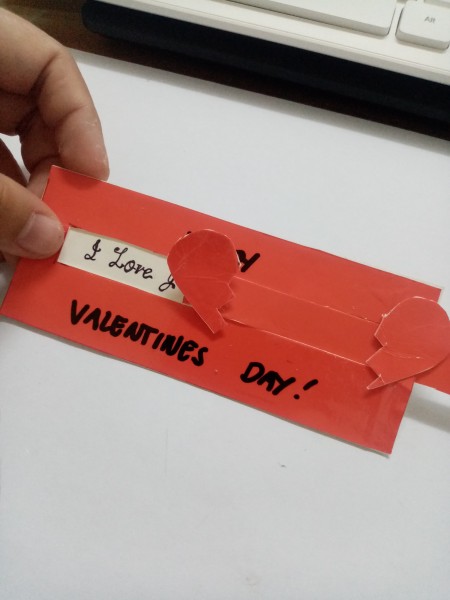
To create this card, cut a horizontal sheet of paper from left to right (ending up with two long strips of paper). Fold one in half.
Foamies have become very popular during the past couple of years. You can find them in all shapes and sizes and for almost every holiday. They are great for children's craft projects, but anyone can use them to make easy, creative greeting cards.

After the holidays we often have copies of photos of our kids that lack the quality fit for using in a scrapbook. So, instead of "chucking" these photos, make use of them for Valentines Day.
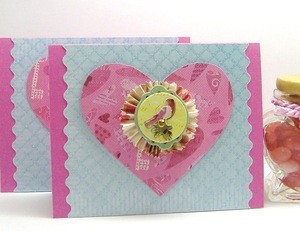
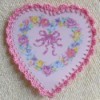
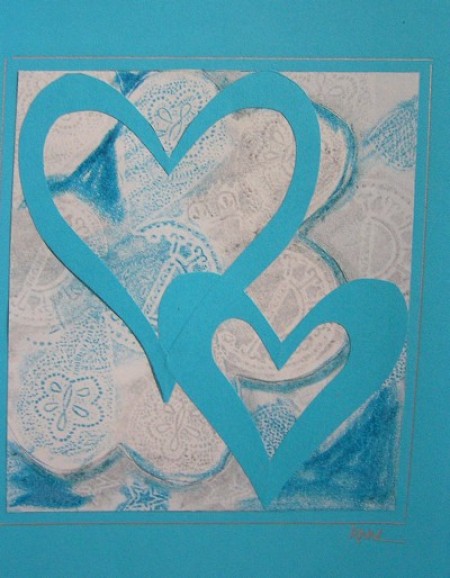
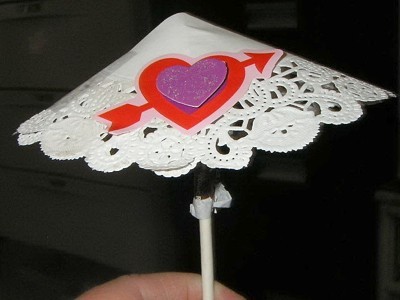
Pink heart-shaped with accordion-folded medallion creates a sweet centerpiece for this Valentine card.