social

Making a Kandi Cuff Bracelet


Silver Post Medal for All Time! 267 Posts
July 28, 2014

Beaded Rainbow Cuff
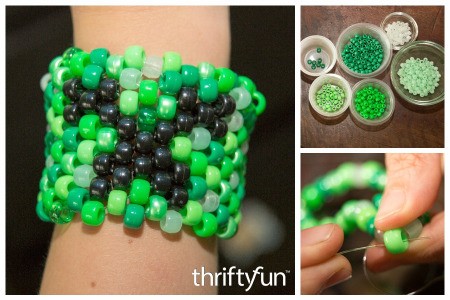
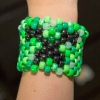
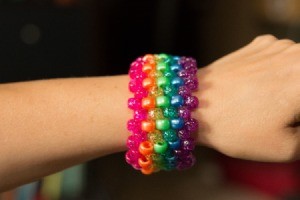
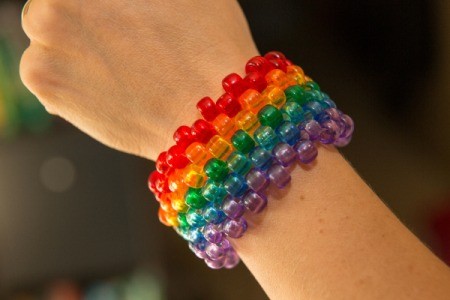
This cuff looks complicated but is a relatively simple project. I've had many people ask for instructions. It's a great summer craft for teens and young adults, but it might be too much for younger kids. Although this project was made with large plastic pony beads, the same peyote stitch technique could be used with any type of similarly sized beads.

Advertisement

Total Time: about an hour

Yield: 1 cuff

Source: Although I did search for tips online, the basic beading knowledge comes from my mother, Susan Sanders-Kinzel.

Supplies:

  • 9mm Pony Beads*
  • 30 each red and violet beads
  • 15 each orange, yellow, green blue and indigo beads*
  • 4 Stretch Magic jewelry cord .7mm
Beaded Rainbow Cuff
 

*Any 7 different colors can be used. To make a larger or smaller cuff, change the count by an even increment. 28 beads will work well for smaller women or children's wrists.

Steps:

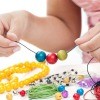
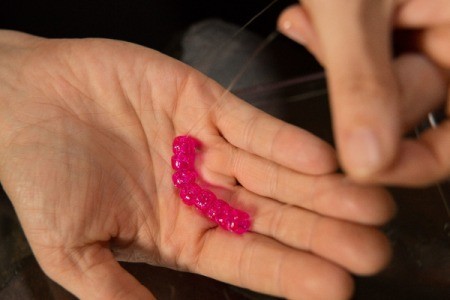
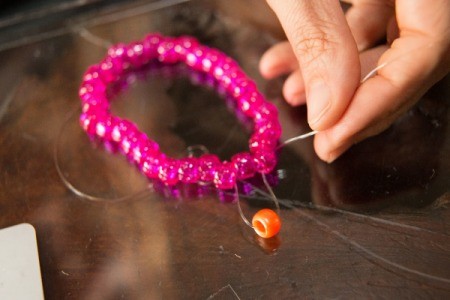
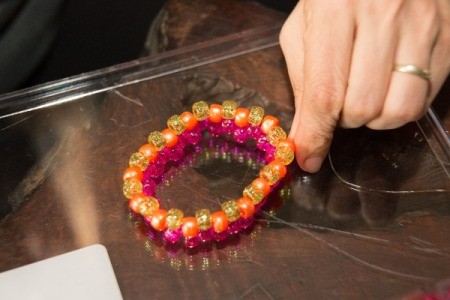
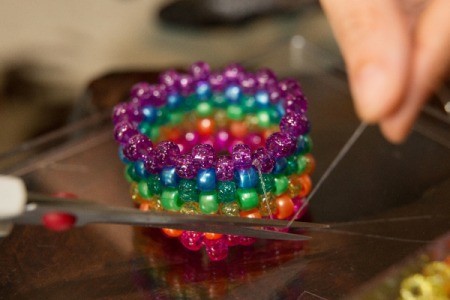
Count and sort out your beads to make sure you have enough of each color. Cut off a couple of feet of cord to start. You will be tying it at the end of every row so you can easily add cord when needed. You can do the entire bracelet with one long piece but it could be more frustrating for beginners.

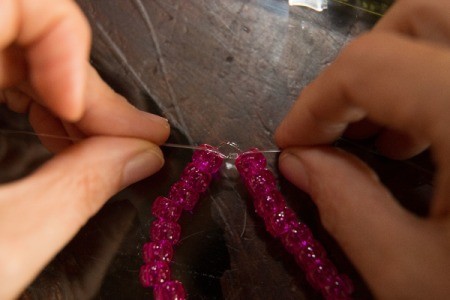
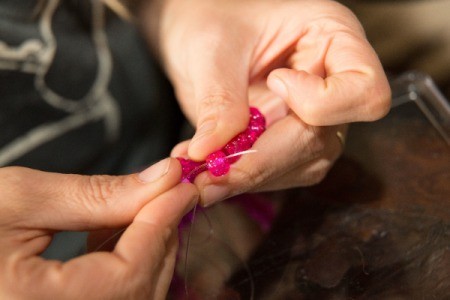
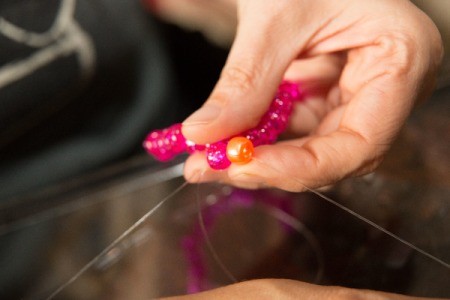
If you run out of cord, attach another piece to a part of the last row and tie it off tightly, using a square knot. I usually knot the two ends together the next time I go around for added reinforcement. If you tuck longer ends back through some of the middle beads before trimming them, you can prevent the knot pulling through when stretched.

  1. Take the first set of 30 red beads and string them onto the cord. Tie it in a square knot (right over left, then left over right) to make a single bracelet of beads and then tie it again. Give it a tug to ensure that it stays tied, as the cord is very slippery and comes untied easily. This is a good time to test the width on your wrist and make adjustments. String the cord through the entire bracelet a second time and tie it off again firmly.
  2. Beaded Rainbow Cuff
     
    Beaded Rainbow Cuff
     
    Advertisement

  3. Push up the closest red bead to the tied cord and string the cord through. Take one orange bead and string it onto the bracelet. The orange bead will push down the neighboring red bead, which creates a zig zag pattern. Go through next red bead and string another orange bead onto the bracelet.
  4. Beaded Rainbow Cuff
     
    Beaded Rainbow Cuff
     
    Beaded Rainbow Cuff
     
    Beaded Rainbow Cuff
     
  5. Continue adding orange beads. They will alternating like bricks between every other red bead. The bracelet will start to resemble a flower but will flatten out when you add later rows. Continue until you have added all 15 beads, then tie it off firmly.
  6. Beaded Rainbow Cuff
     
    Beaded Rainbow Cuff
     
    Advertisement

  7. Add the yellow beads in the same fashion, making sure to tie off and adjust the tension at the end of that row. The cuff should start to pull into the right shape now, making the process easier.
  8. Beaded Rainbow Cuff
     
    Beaded Rainbow Cuff
     
  9. Continue to add rows of colored beads in the correct order for your pattern. At the end of each row, double check to make sure you have not made any mistakes before tying off that row. Your final row will be a double row of the violet beads.
  10. Beaded Rainbow Cuff
     
    Beaded Rainbow Cuff
     
    Beaded Rainbow Cuff
     
    Beaded Rainbow Cuff
     
    Beaded Rainbow Cuff
     
  11. String the cord through the final two rows of violet beads and tie off firmly. Trim or tuck any loose ends. Stretch it out to test the knots. Your bracelet should be complete.
  12. Beaded Rainbow Cuff
     
    Advertisement

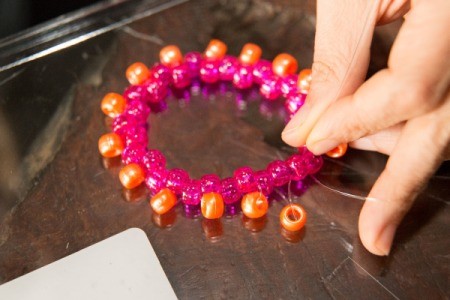
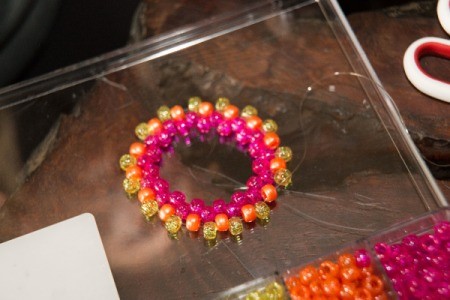
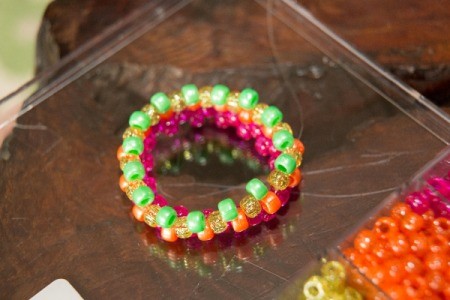
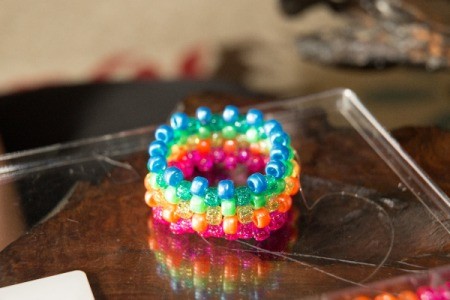
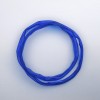
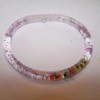
Although the supplies list the classic ROY G BIV rainbow colors of the rainbow, you can really use any graduated color scheme to create a rainbow look. The mixed set of beads did not have a red, so I used pink. I used a blue green as the seventh color to allow me to alternate between pearly and glitter beads. Indigo and violet can be tricky because most sets have one shade of blue and one of purple. In the clear rainbow bracelet below, I used blue green.

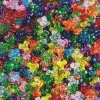
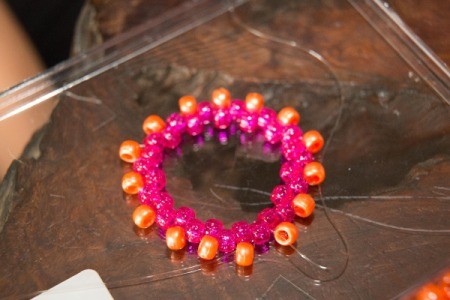
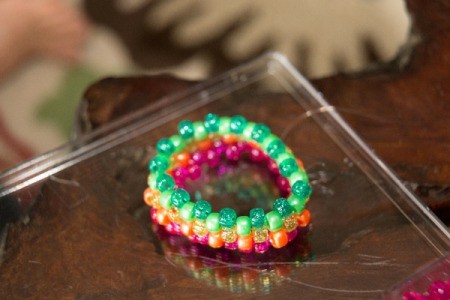
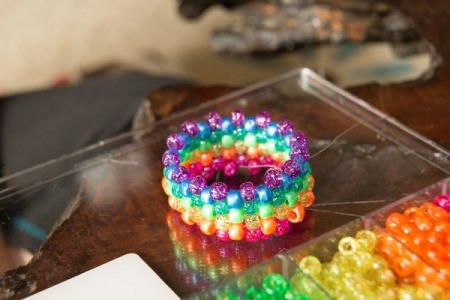
For a more impressive rainbow, add double rows of each color (30 beads each color) with triple rows for the ends (45 beads). Or you can shift between 14 graduated colors, just start and end with a double row.

Beaded Rainbow Cuff
 

March 6, 2017

Here is a perfect kanji cuff to make for a Minecraft fan. This is a page about beaded Minecraft creeper kandi cuff.

Beaded Minecraft Creeper Kandi Cuff

In These Pages
Categories
Crafts Beadwork Peyote StitchJuly 31, 2014
Pages
More
💘
Valentine's Ideas!
🍀
St. Patrick's Ideas!
🎂
Birthday Ideas!
Facebook
Pinterest
YouTube
Instagram
Categories
Better LivingBudget & FinanceBusiness and LegalComputersConsumer AdviceCoronavirusCraftsEducationEntertainmentFood and RecipesHealth & BeautyHolidays and PartiesHome and GardenMake Your OwnOrganizingParentingPetsPhotosTravel and RecreationWeddings
Published by ThriftyFun.
Desktop Page | View Mobile
Disclaimer | Privacy Policy | Contact Us
Generated 2024-02-05 13:38:24 in 14 secs. ⛅️️
© 1997-2024 by Cumuli, Inc. All Rights Reserved.
https://www.thriftyfun.com/Making-a-Kandi-Cuff-Bracelet.html