Check out these Felt Craft Ideas shared by the ThriftyFun community!
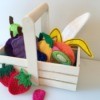
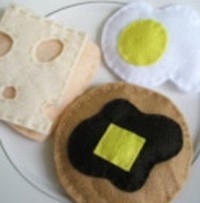
I have tons of felt scraps from various felt projects and couldn't bring myself to throw them away. So, using only scraps, I made a variety of felt foods for my daughter, using basic doll stuffing as filler for some of the "puffier" food.
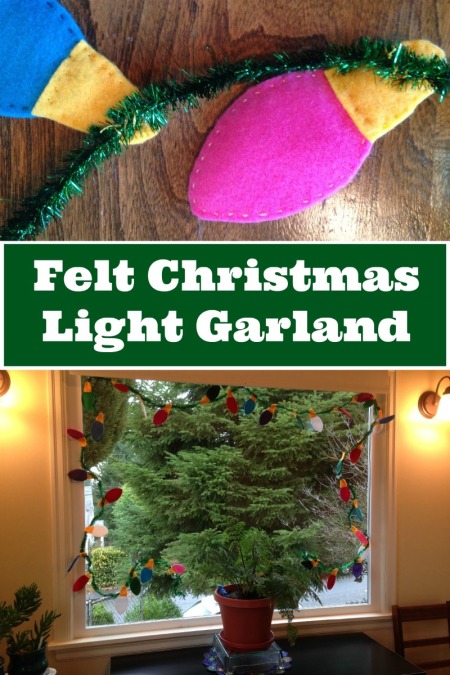
This is a page about making a felt Christmas light garland. This festive Christmas light garland would look great on the tree, in a window, or hung across the mantle.
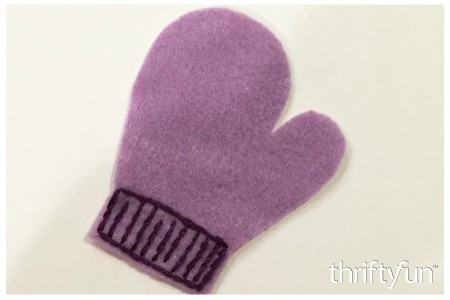
This is a page about making a felt mitten ornament. Felt ornaments are easy enough to make that the kids can join in the fun.
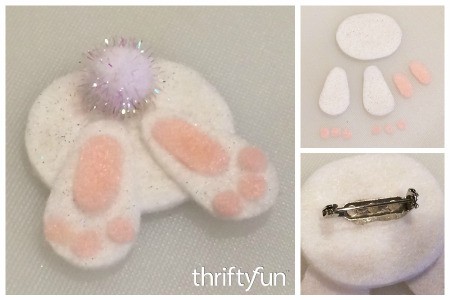
This cute pin will bring a smile to your face whenever you wear it. This is a page about making a felt bunny bottom pin.
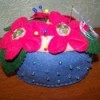
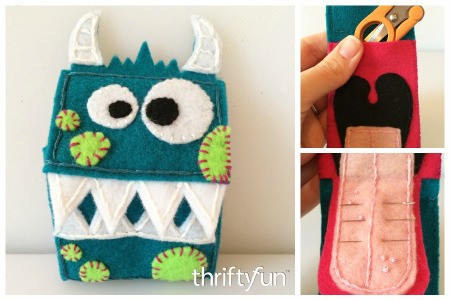
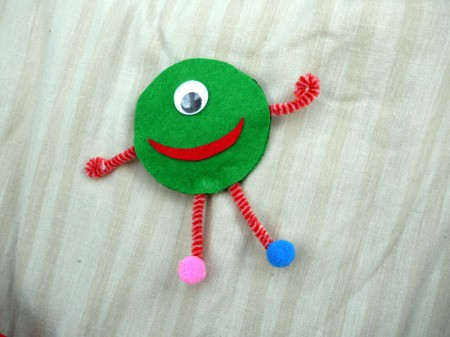
This is a page about making a felt monster sewing kit. This cute purse sized sewing kit is fun to make and would make a special gift for a friend, if you can actually part with it.
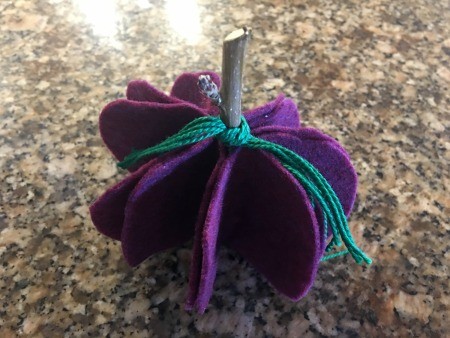
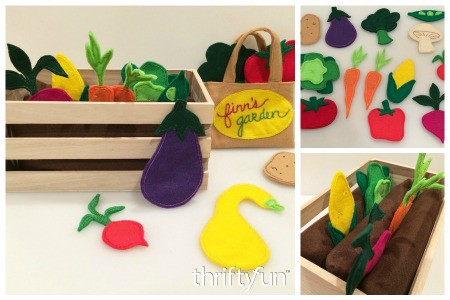
This is a page about making a felt veggie garden. Your little one can garden rain or shine with this felt veggie garden. It would also be a fun gift for a gardening enthusiast.
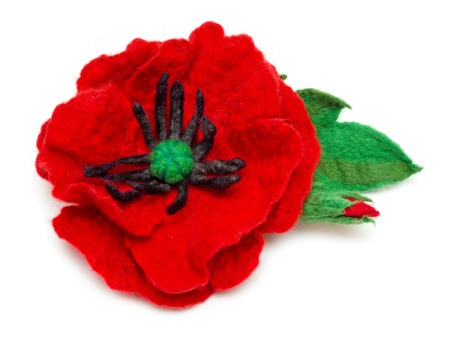
This is a page about felt pin ideas. Felt is a popular crafting material, because it is easy to use in numerous no-sew projects. You can create beautiful label pins and accessories with felt.
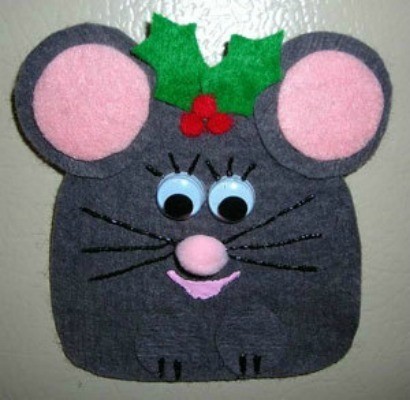
This page is about felt mouse pin craft. A cute mouse pin can be made for simple fun.
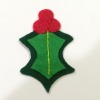
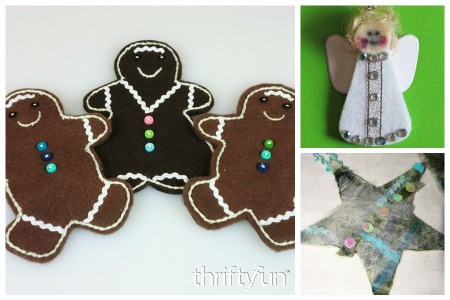
This is a page about making felt Christmas ornaments. Felt has been used for years to make holiday decorations.
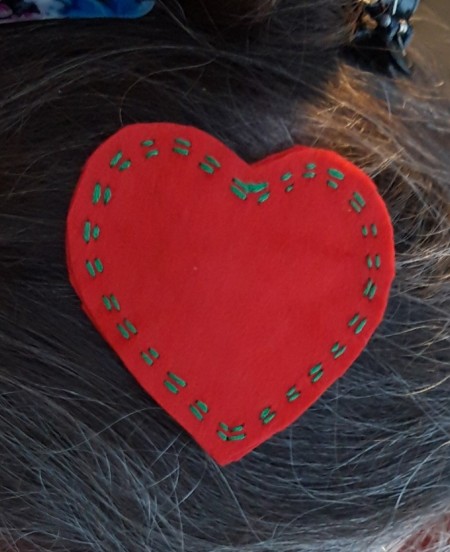
Gather some red felt, a heart shaped template, hair clip, and some embroidery floss and a needle to make this felt heart hair clip. It is quite easy to do and fun to wear. Add embellishments as desired.
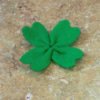
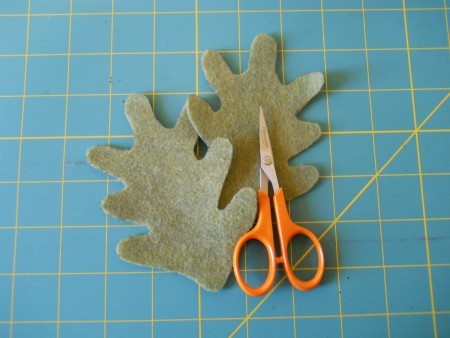
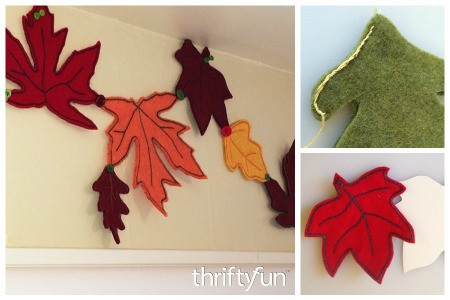
Felt comes in so many great colors and is very easy to work with when crafting. Felt leaf shapes can be detailed with embroidery backstitches and used to make wall hangings, garlands, and so much more.
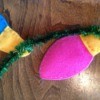
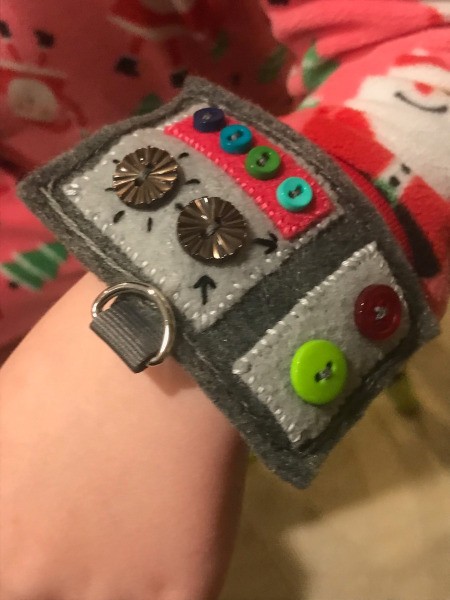
Use your crafting skills to enhance your child's imagination. If they need a wristband control panel to charge their batteries or for performing other functions, get out your felt, button, and thread. This version even has its own charging cord; a very important accessory.
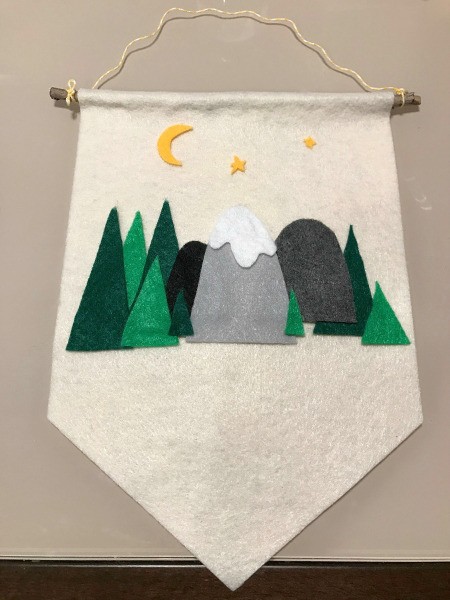
Using the theme of your choice, you can make a cute felt pennant for your child's room. This is a page about how to make a pennant flag for a kid's room.
Felt is a very easy material to work with even for younger children. This cute badge is a craft project that they can help make or do on their own.
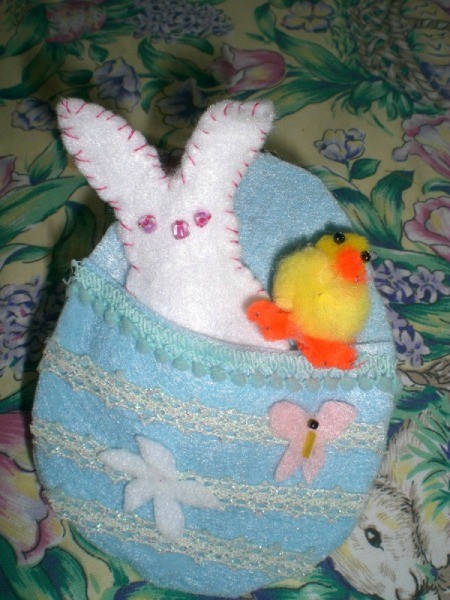
You can make this cute felt egg filled with a bunny and chick with the instructions on this page. This is a page about felt Easter bunny craft.
Create a unique Christmas card for a friend or family member complete with a cute felt package motif. This page is about making a felt Christmas present card.

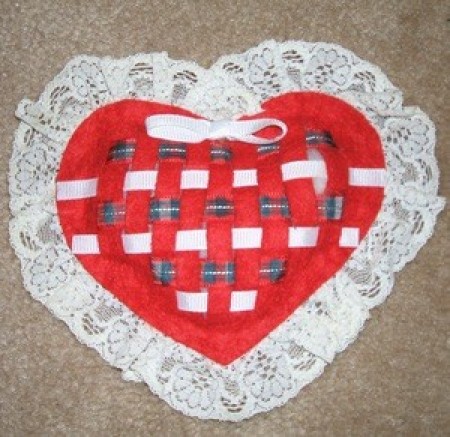
Ribbon woven through a felt heart helps you create these beautiful handmade sachets. This is a page about woven felt sachet heart.
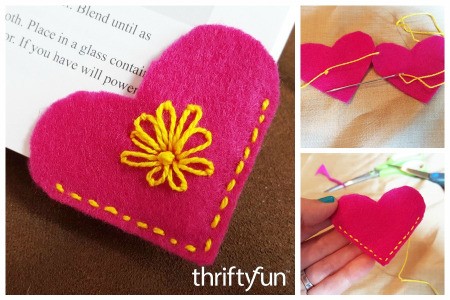
Felt page corner bookmarks are fun and easy to make for your own use or to give as gifts. This is a page about making a felt heart bookmark.
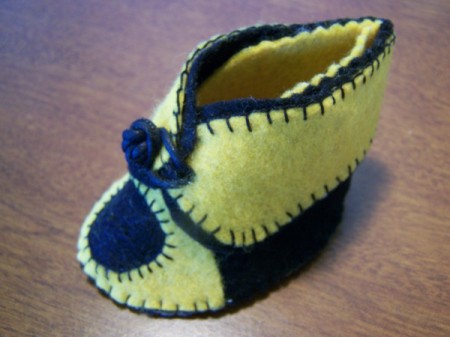
This is a page about making felt baby booties. Felt is an easy material to work with. Use some to make a cute pair of baby booties.
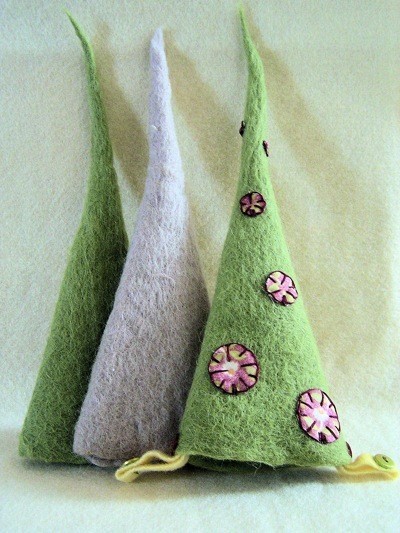
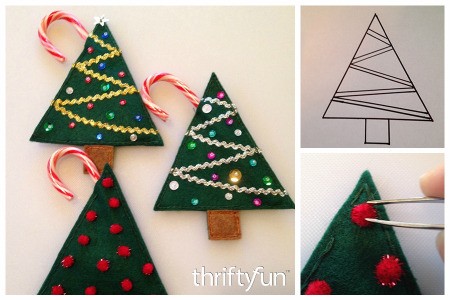
This is a page about making felt trees. Start with heavy felt material and you too can make your own version of these festive tree decorations for the holidays.
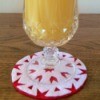
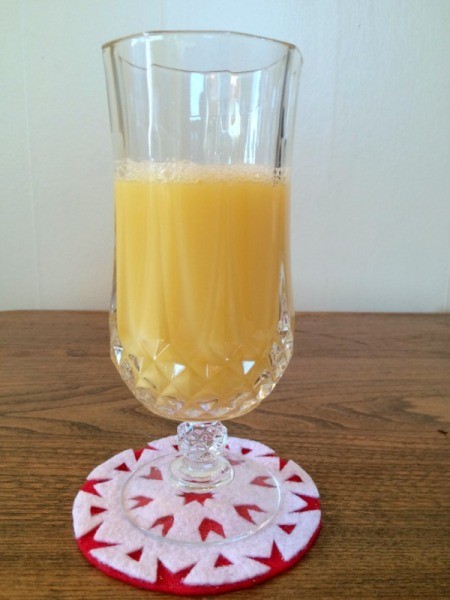
This is a page about making felt snowflake coasters. Based on paper snowflake designs, these two layer felt coasters will look beautiful on your holiday table.
This is a page about making a felt leaf garland. You can make a colorful fall leaf garland using felt cutouts.
This is a page about making a felt wristband. An easy felt and button project for an older child can be a bracelet.

This is a page about making felt candy cane holders. This easy craft project holds a candy candy and can be made as a Christmas tree, or another iconic holiday object.
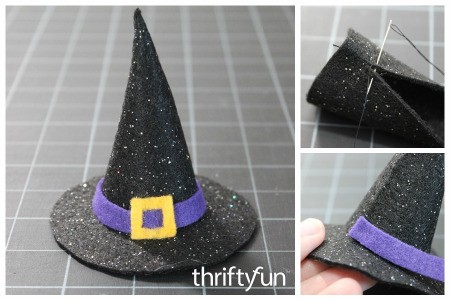
This is a page about making a mini felt witch hat. This cute little witch hat can be used as part of a variety of Halloween decorations.