Check out these tips.
Winter is breaking, Spring is around the corner, and once again, I'm looking at all of the garden catalogs, but one thing is different this year. My husband lost his job, and we can't buy anything we want. Thank goodness I love starting plants from seed.
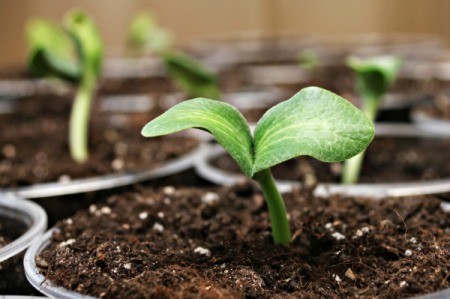
I am in the process of planting several thousand pansy seed. This being my first time to grow pansies from seed, I really wasn't prepared.
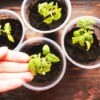
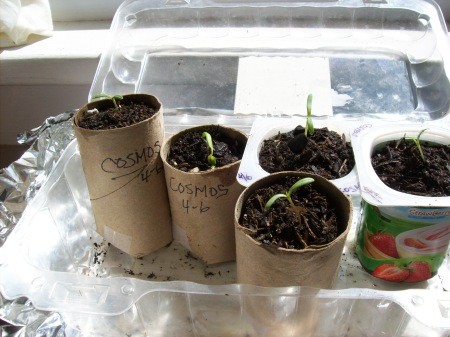
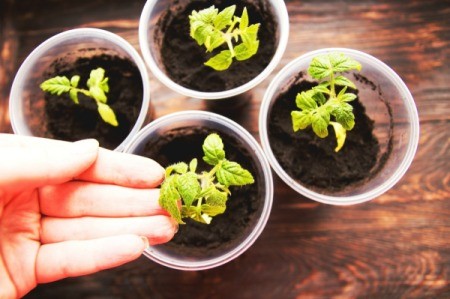
When it's time to transplant my seedlings into larger pots, I usually have a good supply of recycled plastic yogurt cups. But this year, I ran out of them. This turned out to be a good thing as it forced me to try something new. And probably even better.
I am going to start this by saying, "My husband is the best." He helps me with everything and he is always encouraging me to find new things that I love and enjoy.
To plant seeds and not take up a lot of space, use vinyl pouches and hang them on your windows with suction cups and water them with a turkey baster. This works well in a window that gets a lot of warm southern exposure light.
I love collecting seeds to propagate. I have been most successful in sprouting even difficult seeds by creating my own tiny greenhouse. I could buy one, but I prefer to use what I find in my own recycle bin.
Maybe one day I'll have an honest to goodness greenhouse. Til that day, I'll continue to 'make do' with what I have.

I have my medicine in my purse so I always stuff the doser cup with toilet tissue or facial tissue. It makes these darling little seed starters.
Do you start your own seeds each spring? Start saving your orange, grapefruit, Cutie, and such peels. Instead of peeling them normally, first slice them in half. Use the empty halves to fill with soil and your seeds. I have some old rusty muffin pans I use to stand them up in. You plant the entire thing.

An easy way to sprout seeds is to put the seed on a coffee filter and fold it over. Wet it and put it in a baggie. Close the baggie and wait for it to sprout.
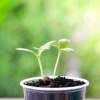
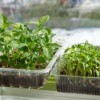
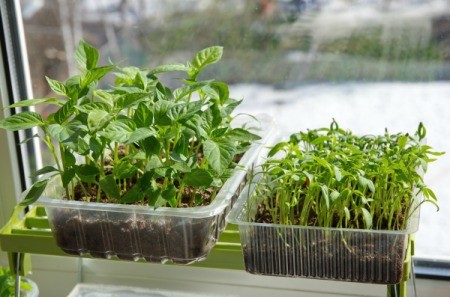
I use my strawberry container, or any type that has a clear top, to start my plants and veggies in. This acts as a mini green house for free.
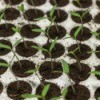
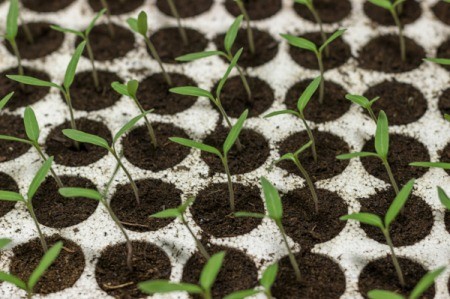
It's March. Time to start your garden seedlings! You know the clear egg cartons and the clear croissant or cookie containers with clear lids that you get at the grocery store? Don't throw them away! Buy seed starter discs and soak them in these containers.
I read somewhere and am looking forward to trying this with my granddaugher. Start seeds in empty egg shells. Treat the carton like a lil green house.
Save your paper or other take-out coffee cups to plant seeds in if you start seeds for the garden in the house, as we do here in upstate NY.
I did not have good luck with starting plants from seeds until I started using Jiffy 7 peat soil pellets indoor seed starter.
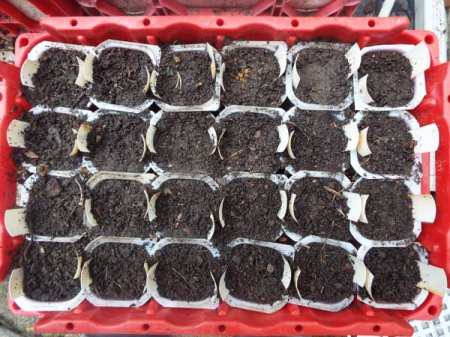
Use the inner plastic lining from a biscuit tin or an egg box to sow seedlings before transferring out of doors or into larger pots. Saves a few cents.
On February 1st, we planted tomatoes, peppers, basil, and peppermint. We are going to experiment with our Wall O Waters this year, so are preparing our plants well ahead of the normal Mother's Day planting date in our area.

When you start seeds in the early spring, you need to keep them gently warmed to get the best rate of germination. The perfect gentle heat is on top of the refrigerator.
This page is about 12 steps to sowing seeds indoors. Following these steps you can extend your growing season by as much as two months.
This is a page about determining when to start seeds indoors. Knowing your hardiness zone, frost dates, and the germination time line for your chosen seeds is important to deciding when to start seeds indoors.
This is a page about what you need to start seeds indoors. With proper light, indoor space, and growing medium, you can get a jump on the growing season.
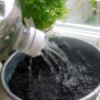
This is a page about recycled drink bottle for watering seeds. Using a small plastic drink or water bottle you can make a convenient device for watering seeds.

This is a page about sprouting seeds. You can often save money and grow plants not readily available at a nursery or big box store, by sprouting your own seeds.
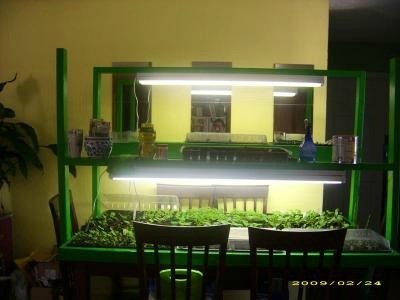
This is a page about starting seeds under fluorescent lights. When starting seeds indoors, you don't need to buy expensive grow lights, fluorescent lights will do the trick.
Here are the questions asked by community members. Read on to see the answers provided by the ThriftyFun community.
I live in Nebraska and have decided to start my own garden. I was wondering when do you start planting the seeds indoors so that I can later put them outside?
I recently bought a second-hand seed sprouter kit, comprising of two plastic ridged trays and a lid, plus a bottom plastic tray. Unfortunately, there are no instructions listed on the box or a leaflet inside.
I am growing a garden this year and starting my seeds inside. My cats keep getting into them. Can I cover them with plastic and still use my grow lights?
I have a vegetable garden and this was my first. It did very well, however, I want to start seeds inside and transfer them into the ground next time.
What is the best way to start flower seeds, should I put them in peat pots and wait till they sprout to plant them or should I just put the seeds in the ground and let them grow that way? Help!
I would like to start some perennial seeds indoors, basically, carnations, dianthus, poppies, etc. How and when do you start them indoors to plant by next spring?